Project Beachin': Restoring and Racing a 1967 Beach Mk5C Formula Vee

My name is Nimrod, and I’m a glutton for work and addicted to mechanics and racing. :rofl: I’ve been going to RMVR race meetings to help address my addiction, but doing so only increased the urges, particularly when Mayor of Veeville Reah Mortimer urged me to drive his FV at June Pueblo during lunch. Way to dig in the hook deeper :rofl:

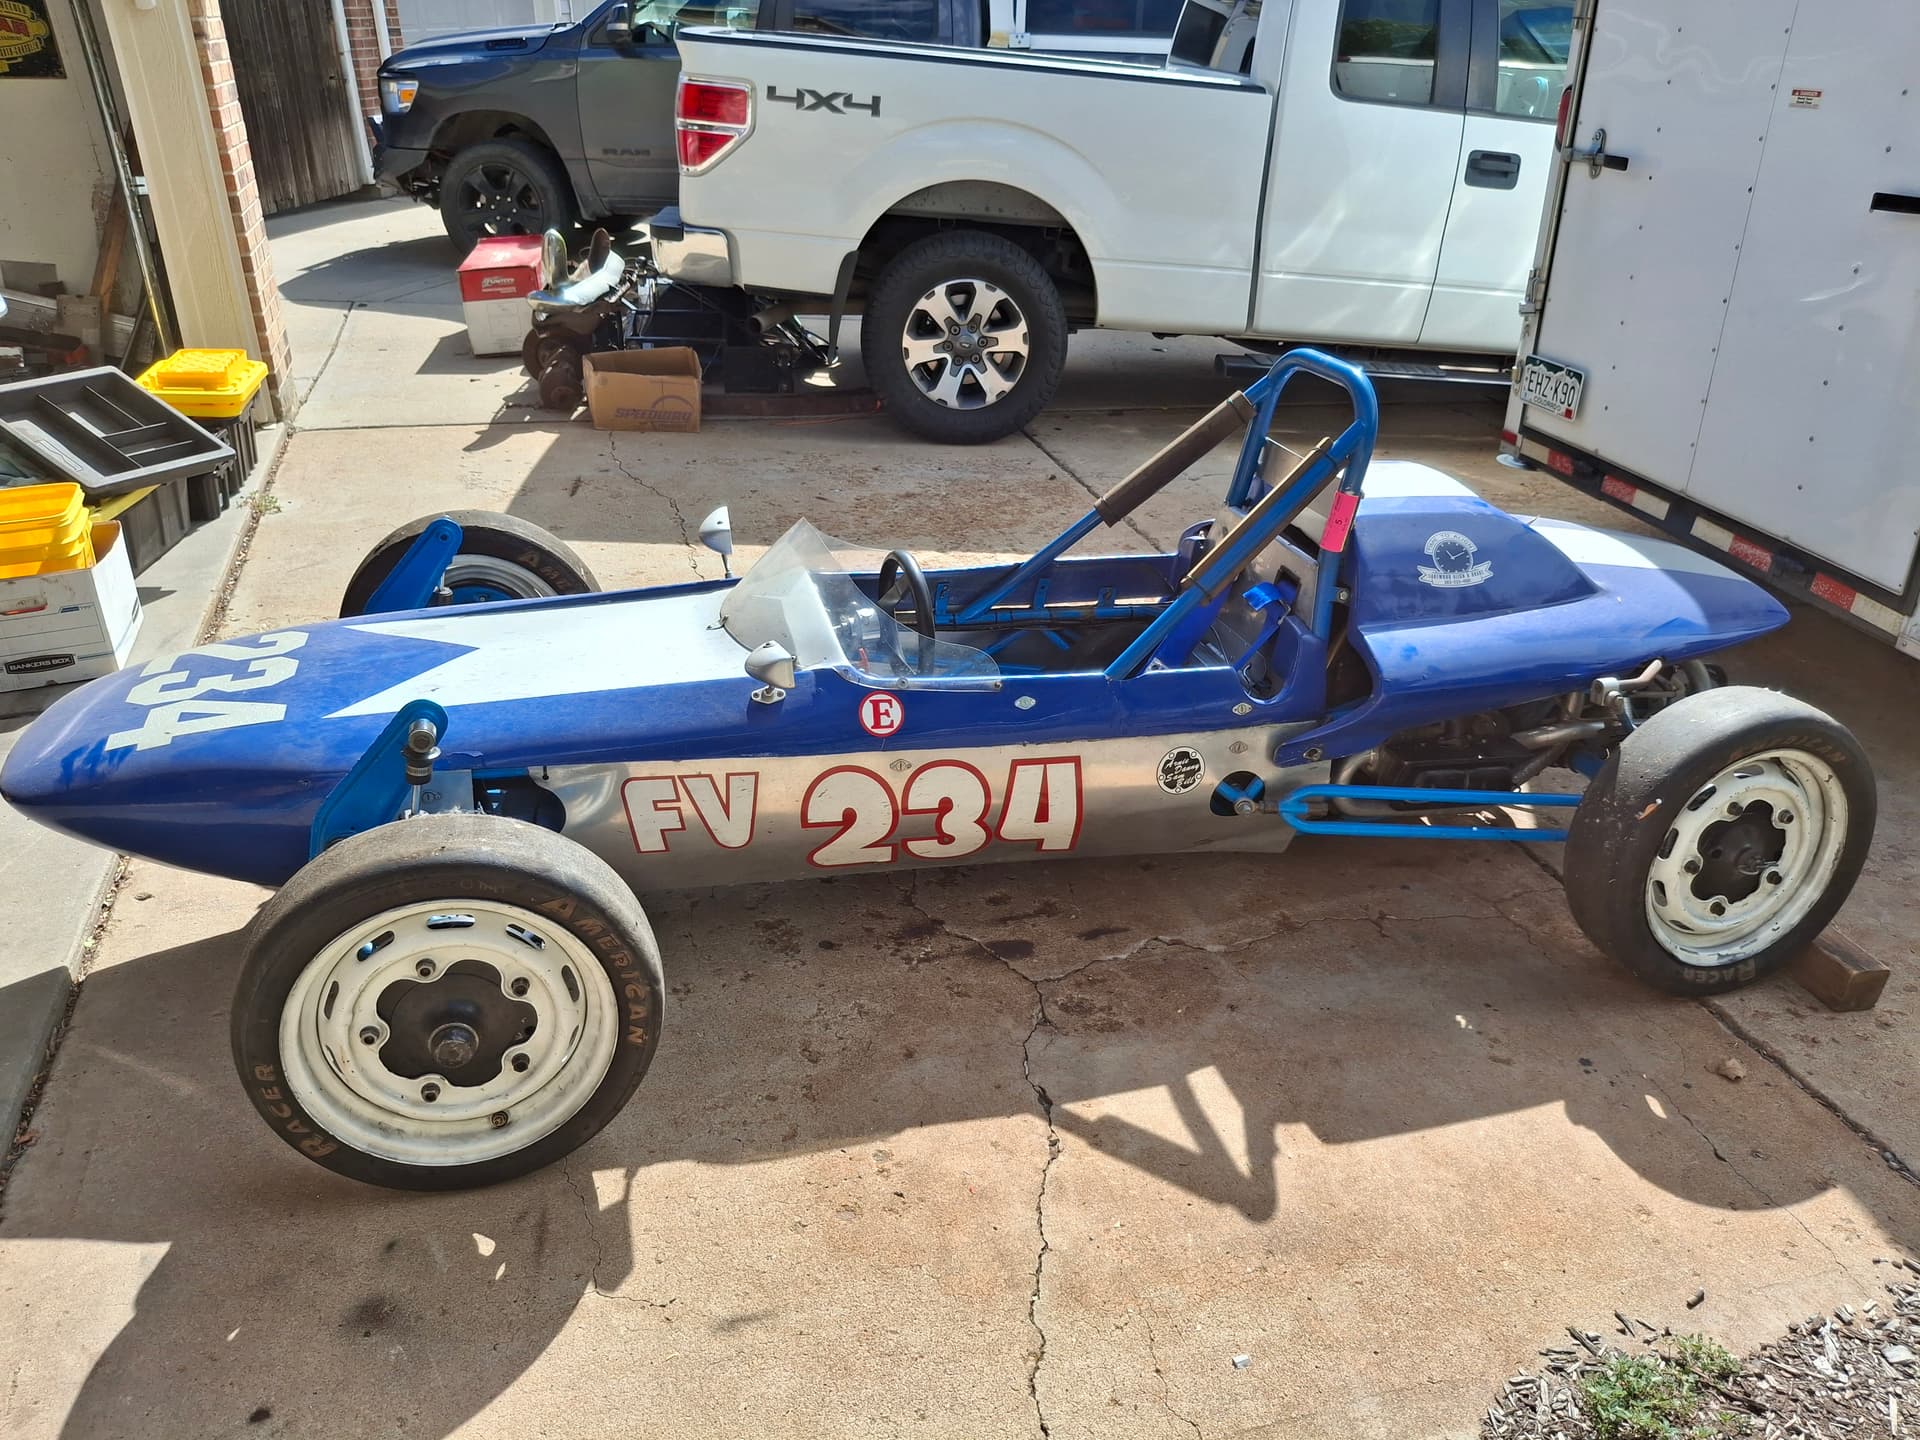
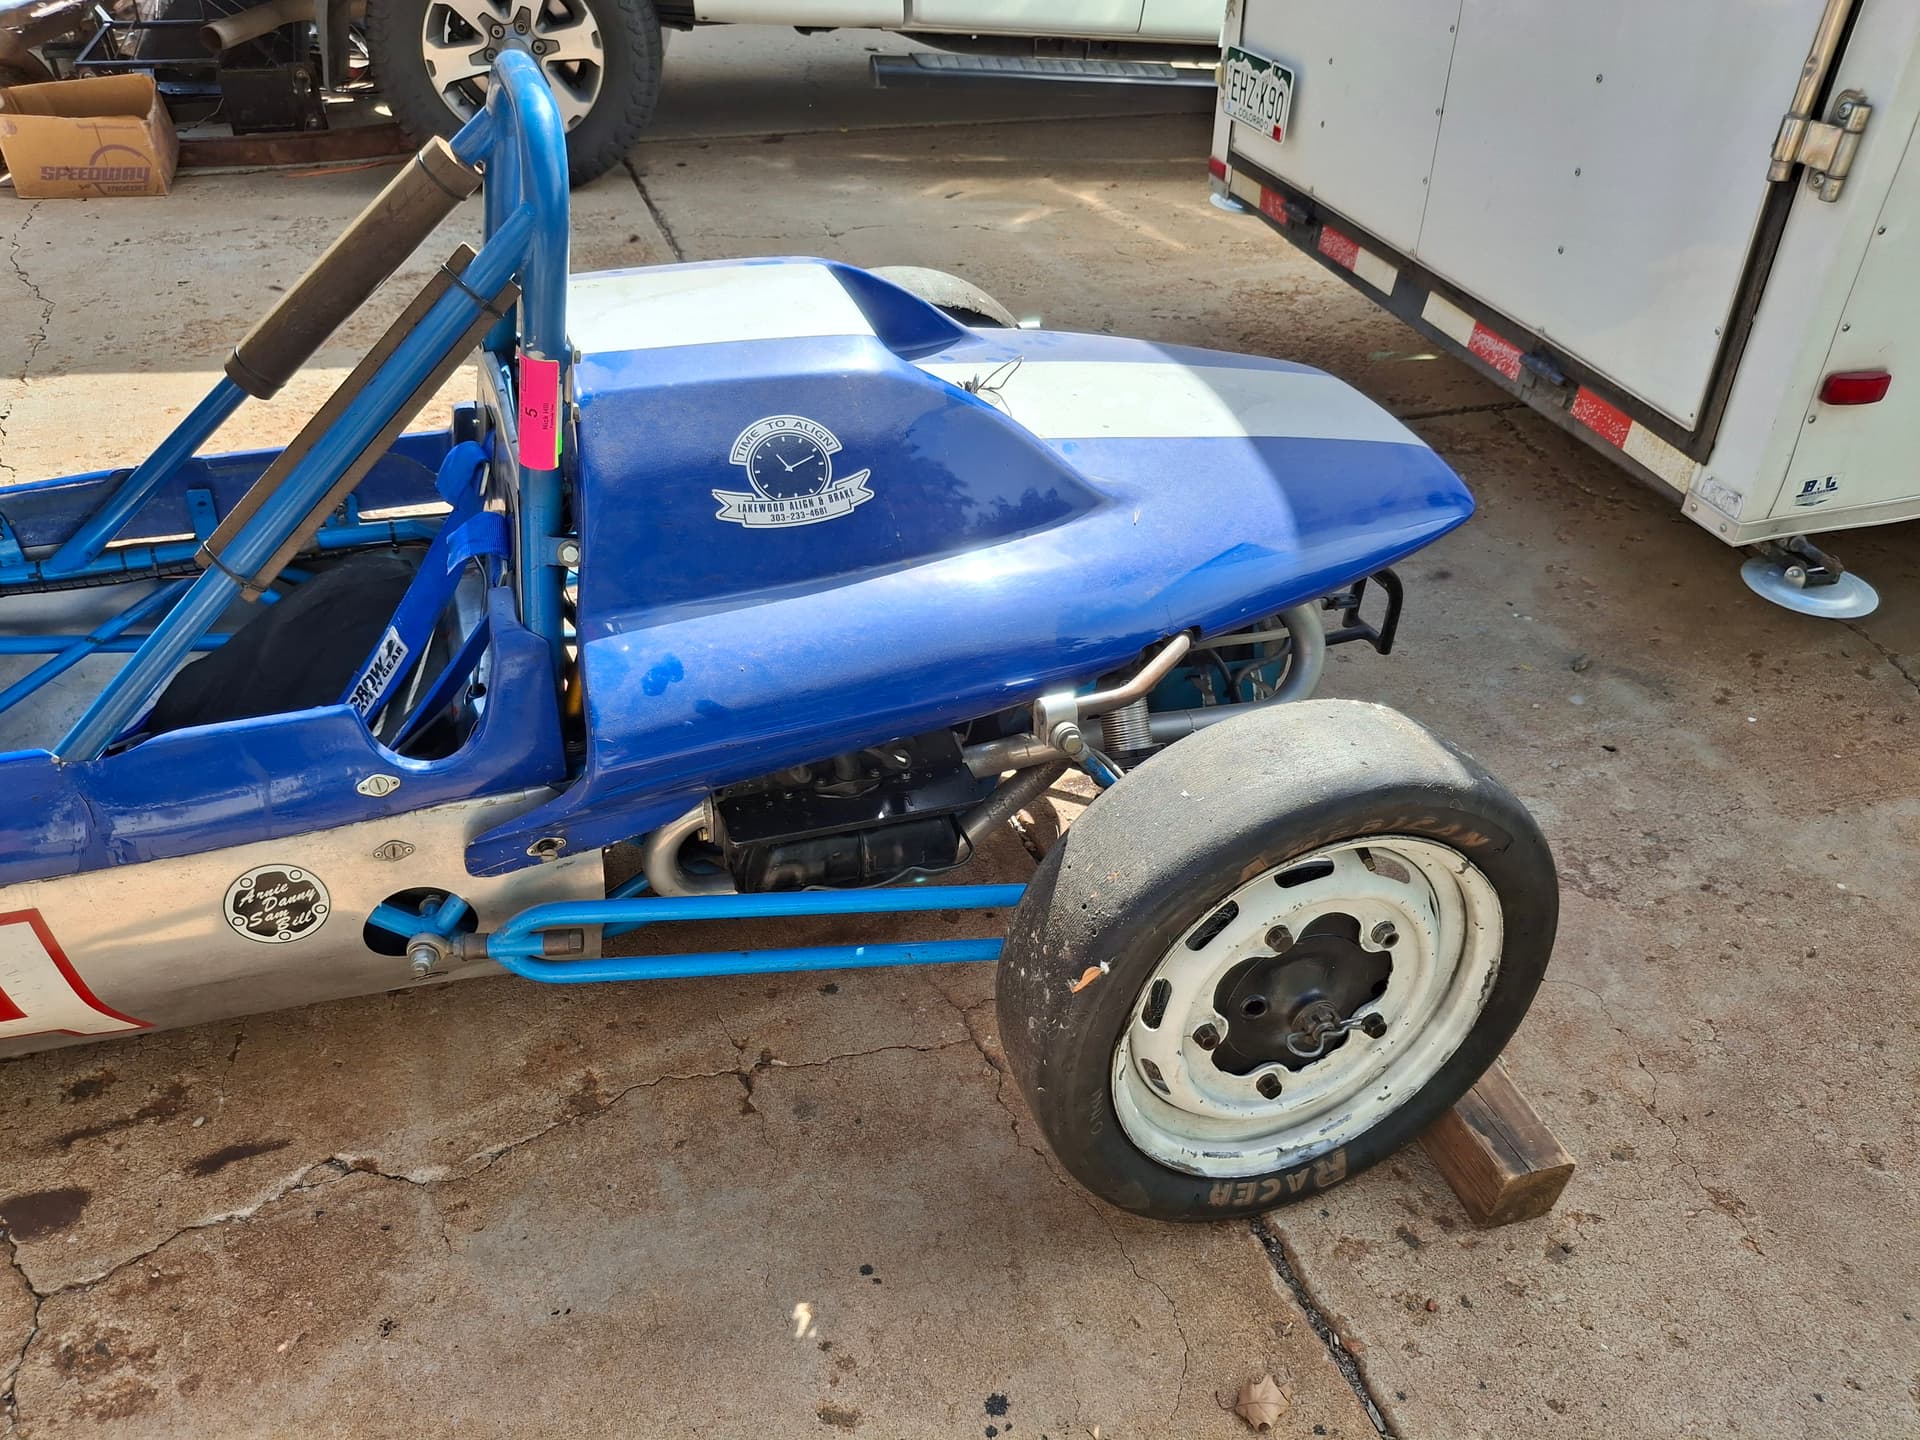
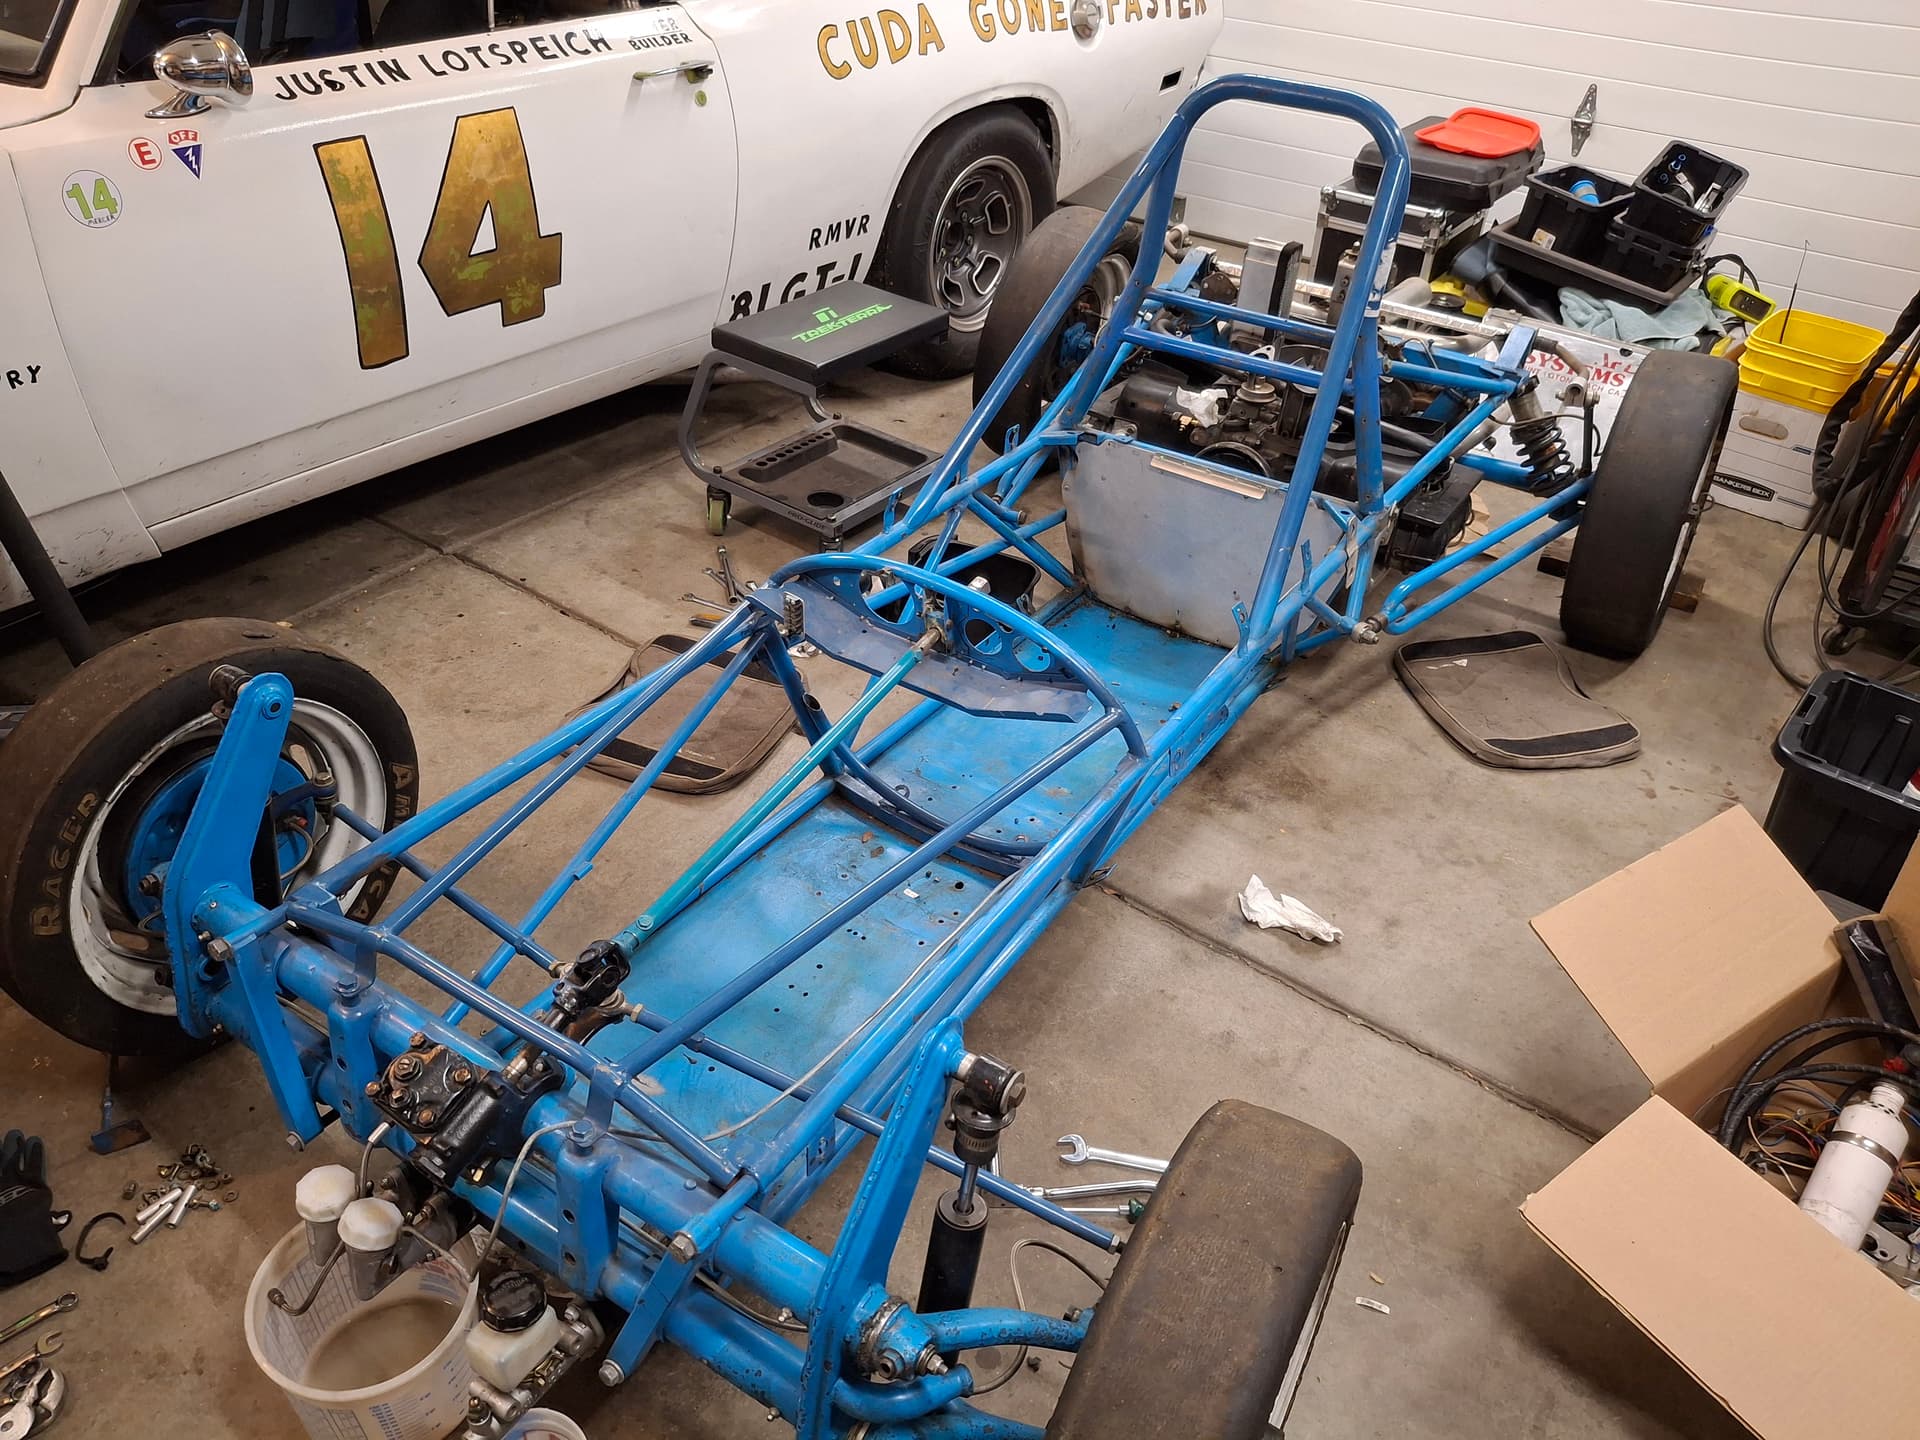
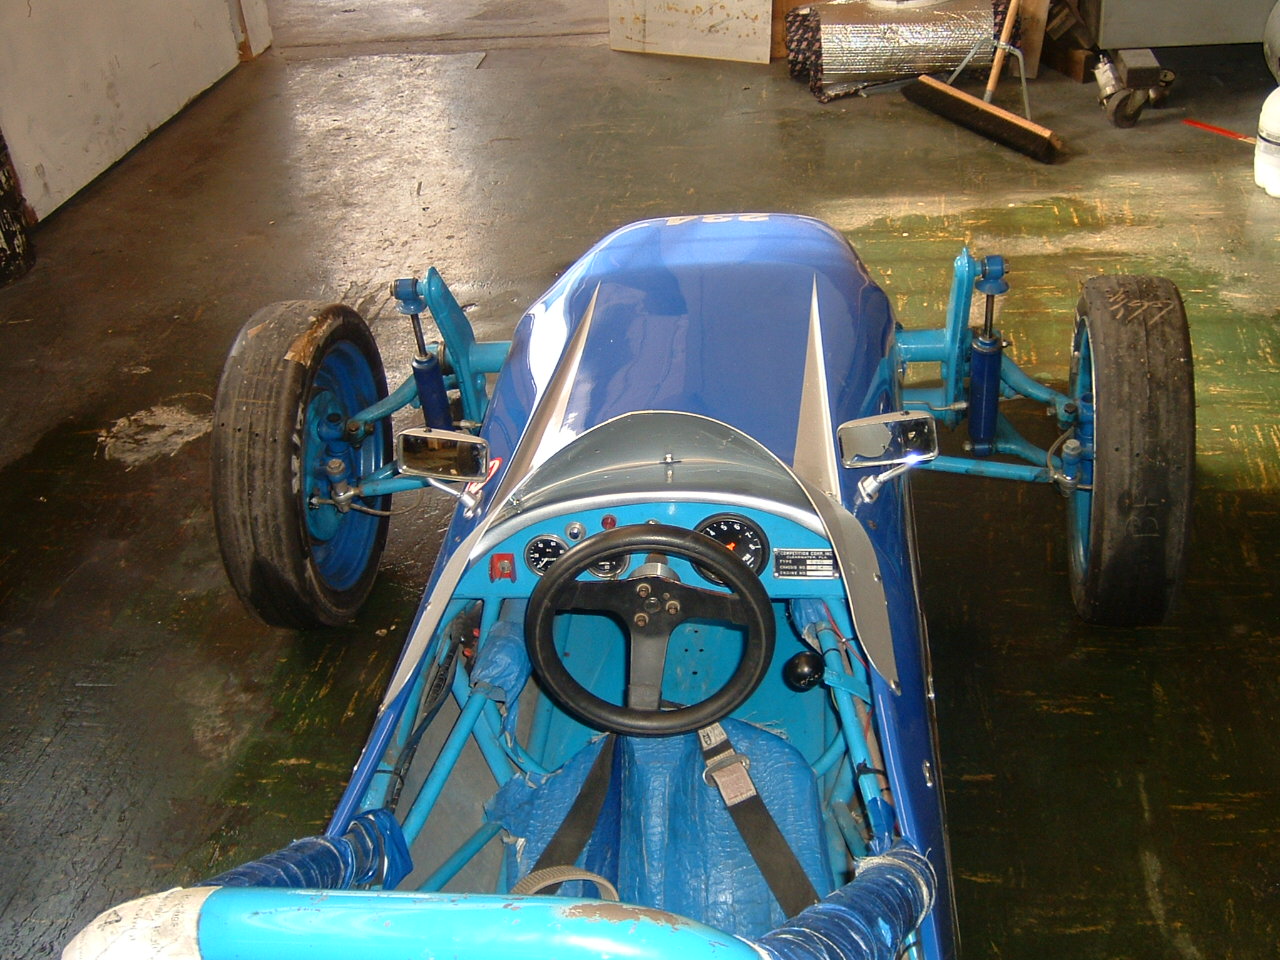
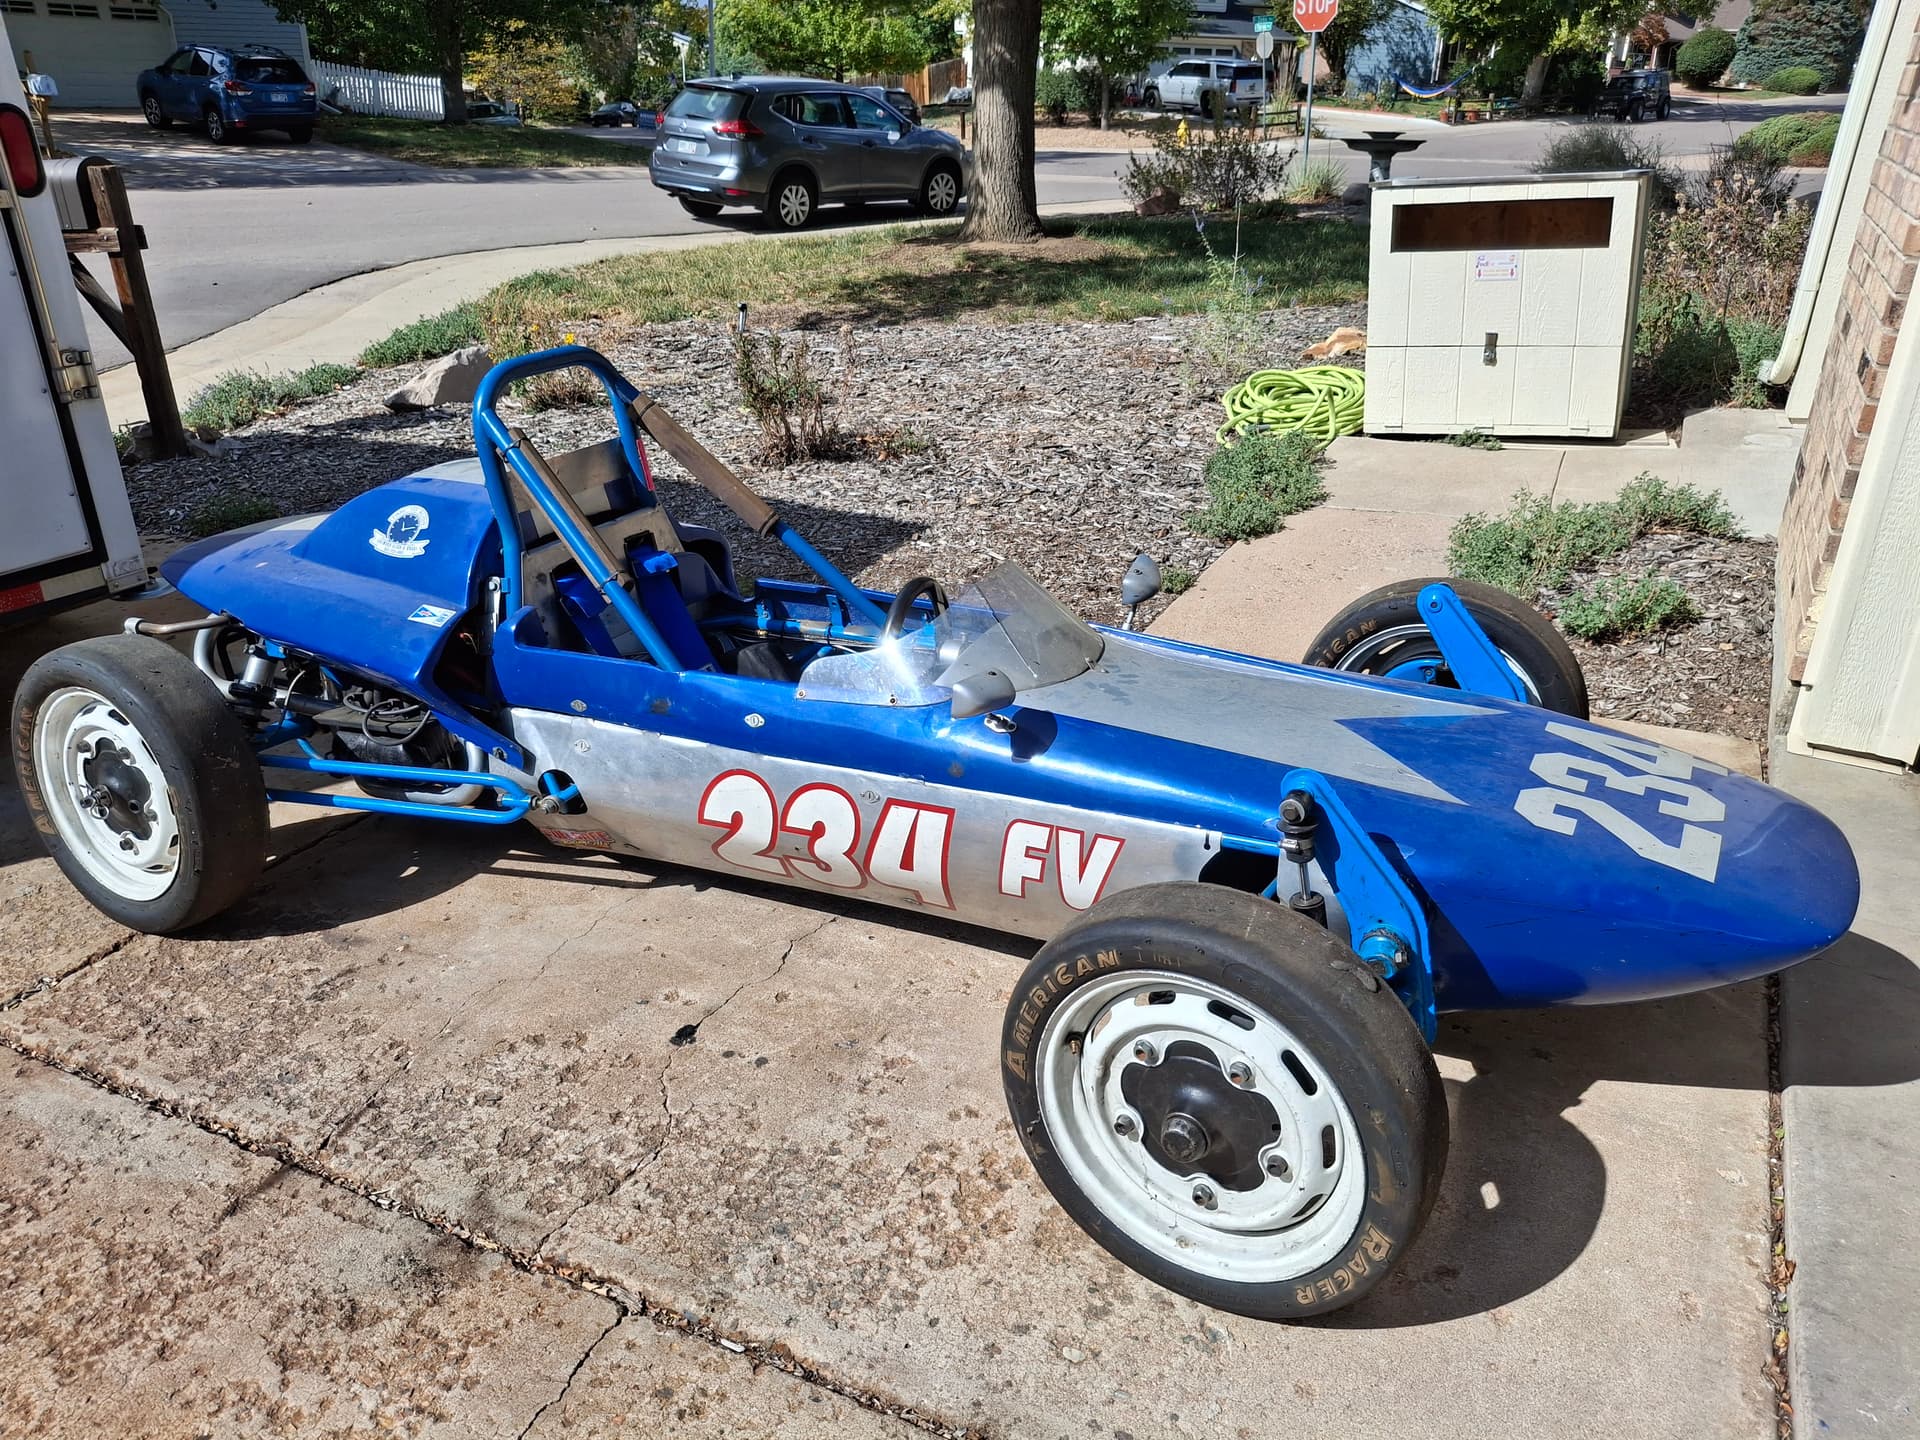
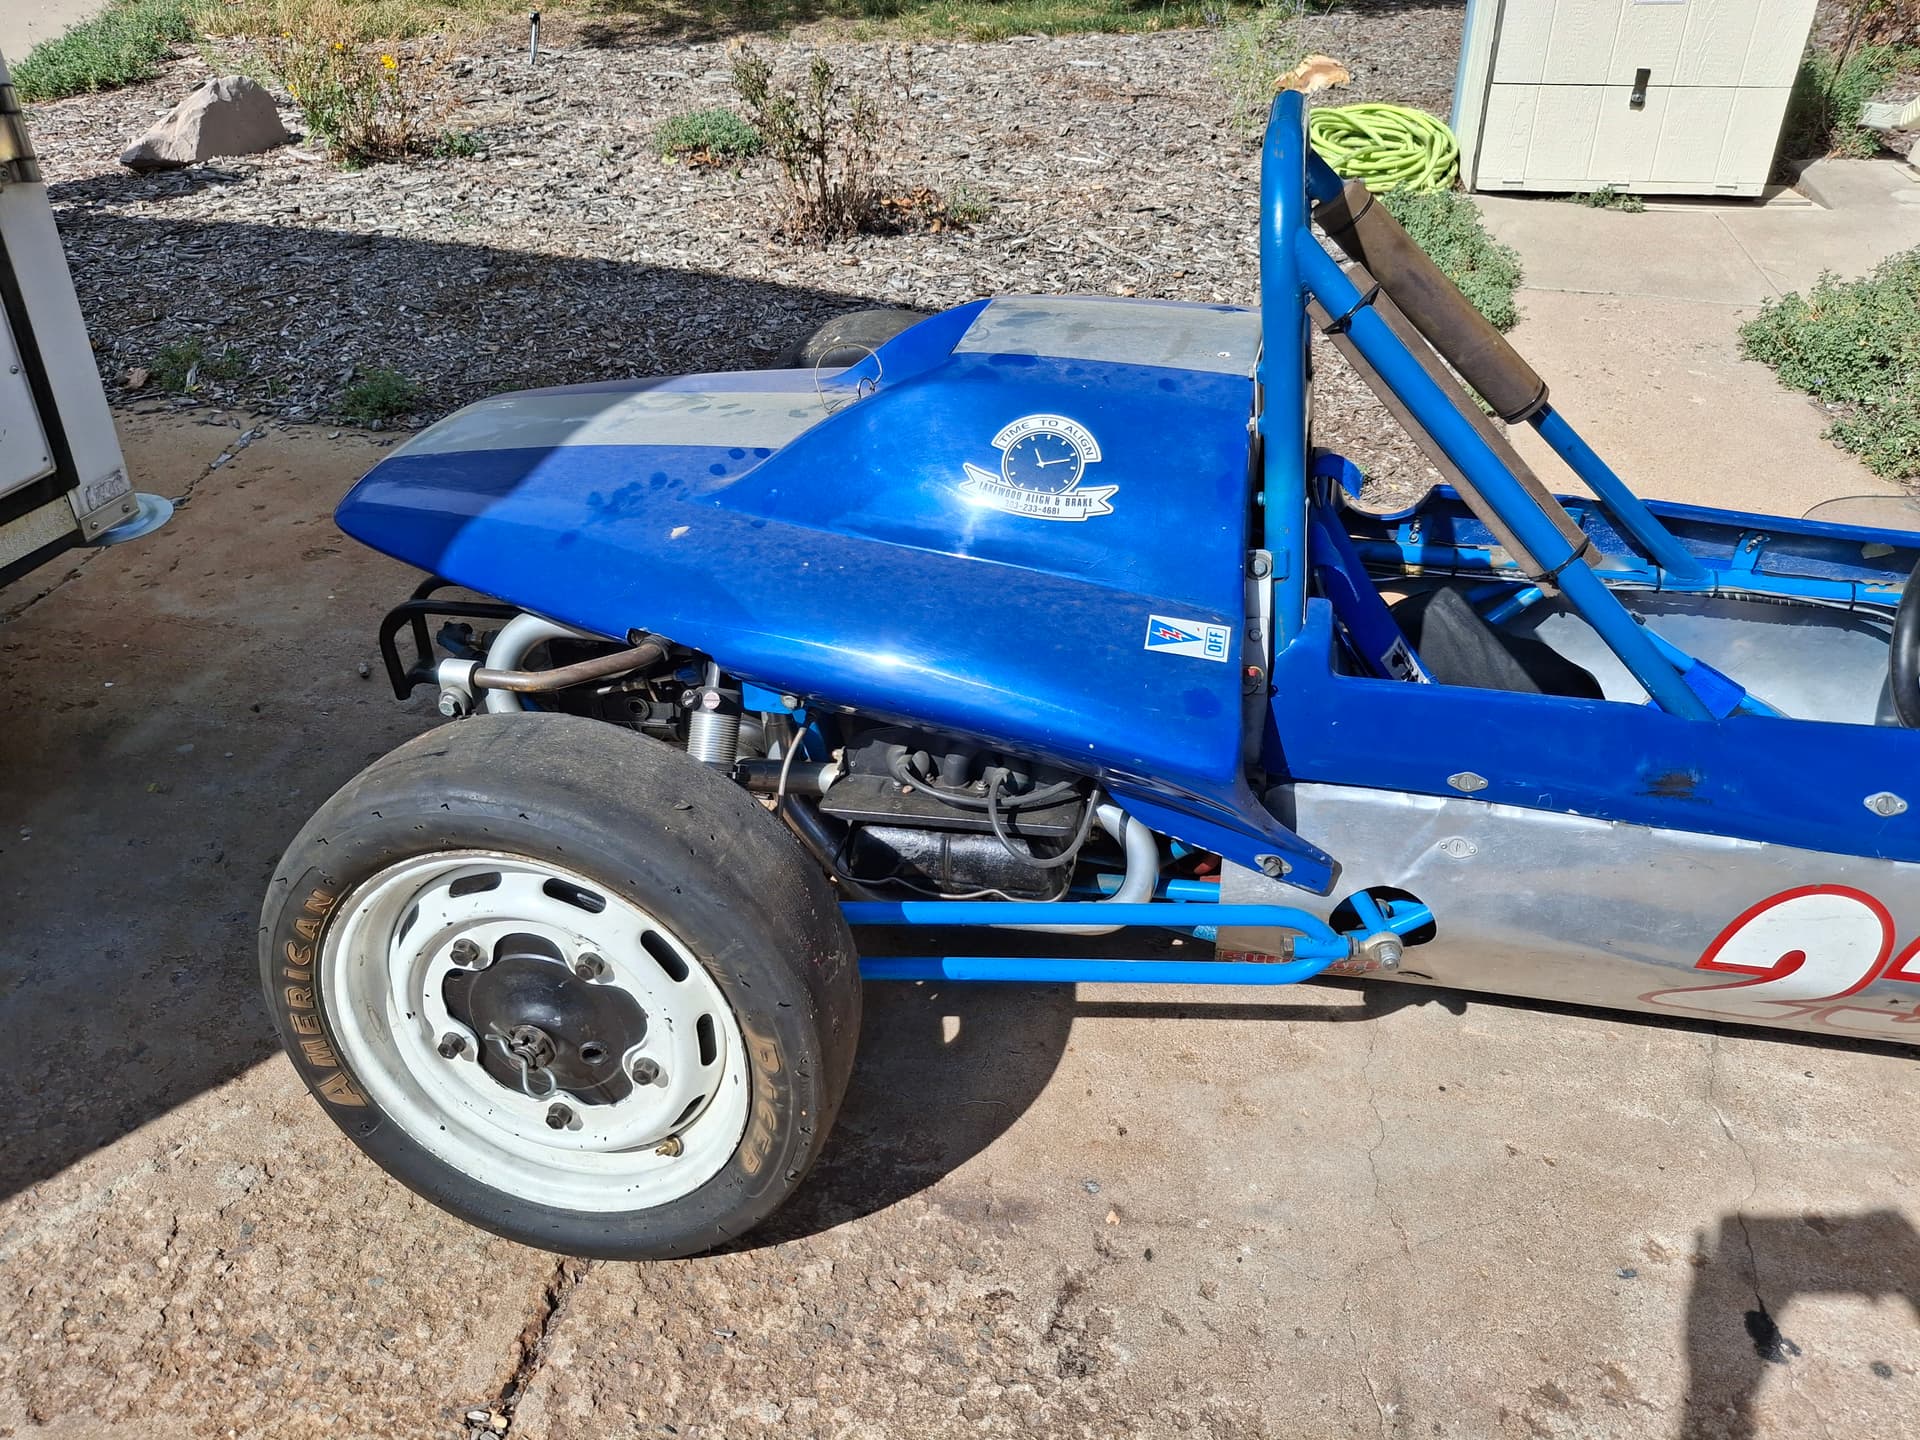
Thanks to the truly class act Nick Hill @Nick_H :wink:, I am the new, proud, excited owner of what was his first FV that he mothballed a few years ago: a 1967 Beach Mark 5C with a 1380 cc engine built by Dave “Turtle” Tourtelot. The car has survived this long that I am going to fully restore it to RMVR FV-1 including using period-correct parts when reasonably possible in preparation for the 2027 season when I hope to split my driving between it and the Barracuda.

The story goes that the car was a strong runner under Nick’s shoe and stewardship until it stopped going into gear at its last race. Nick obtained his current 1997 Mysterian M2, and the Beach got beached. According to Nick, once the shifting issue is addressed, the car is more or less race-ready, but he cautioned me that the hours on the engine justify an overhaul soon and that the brakes may need replacing.

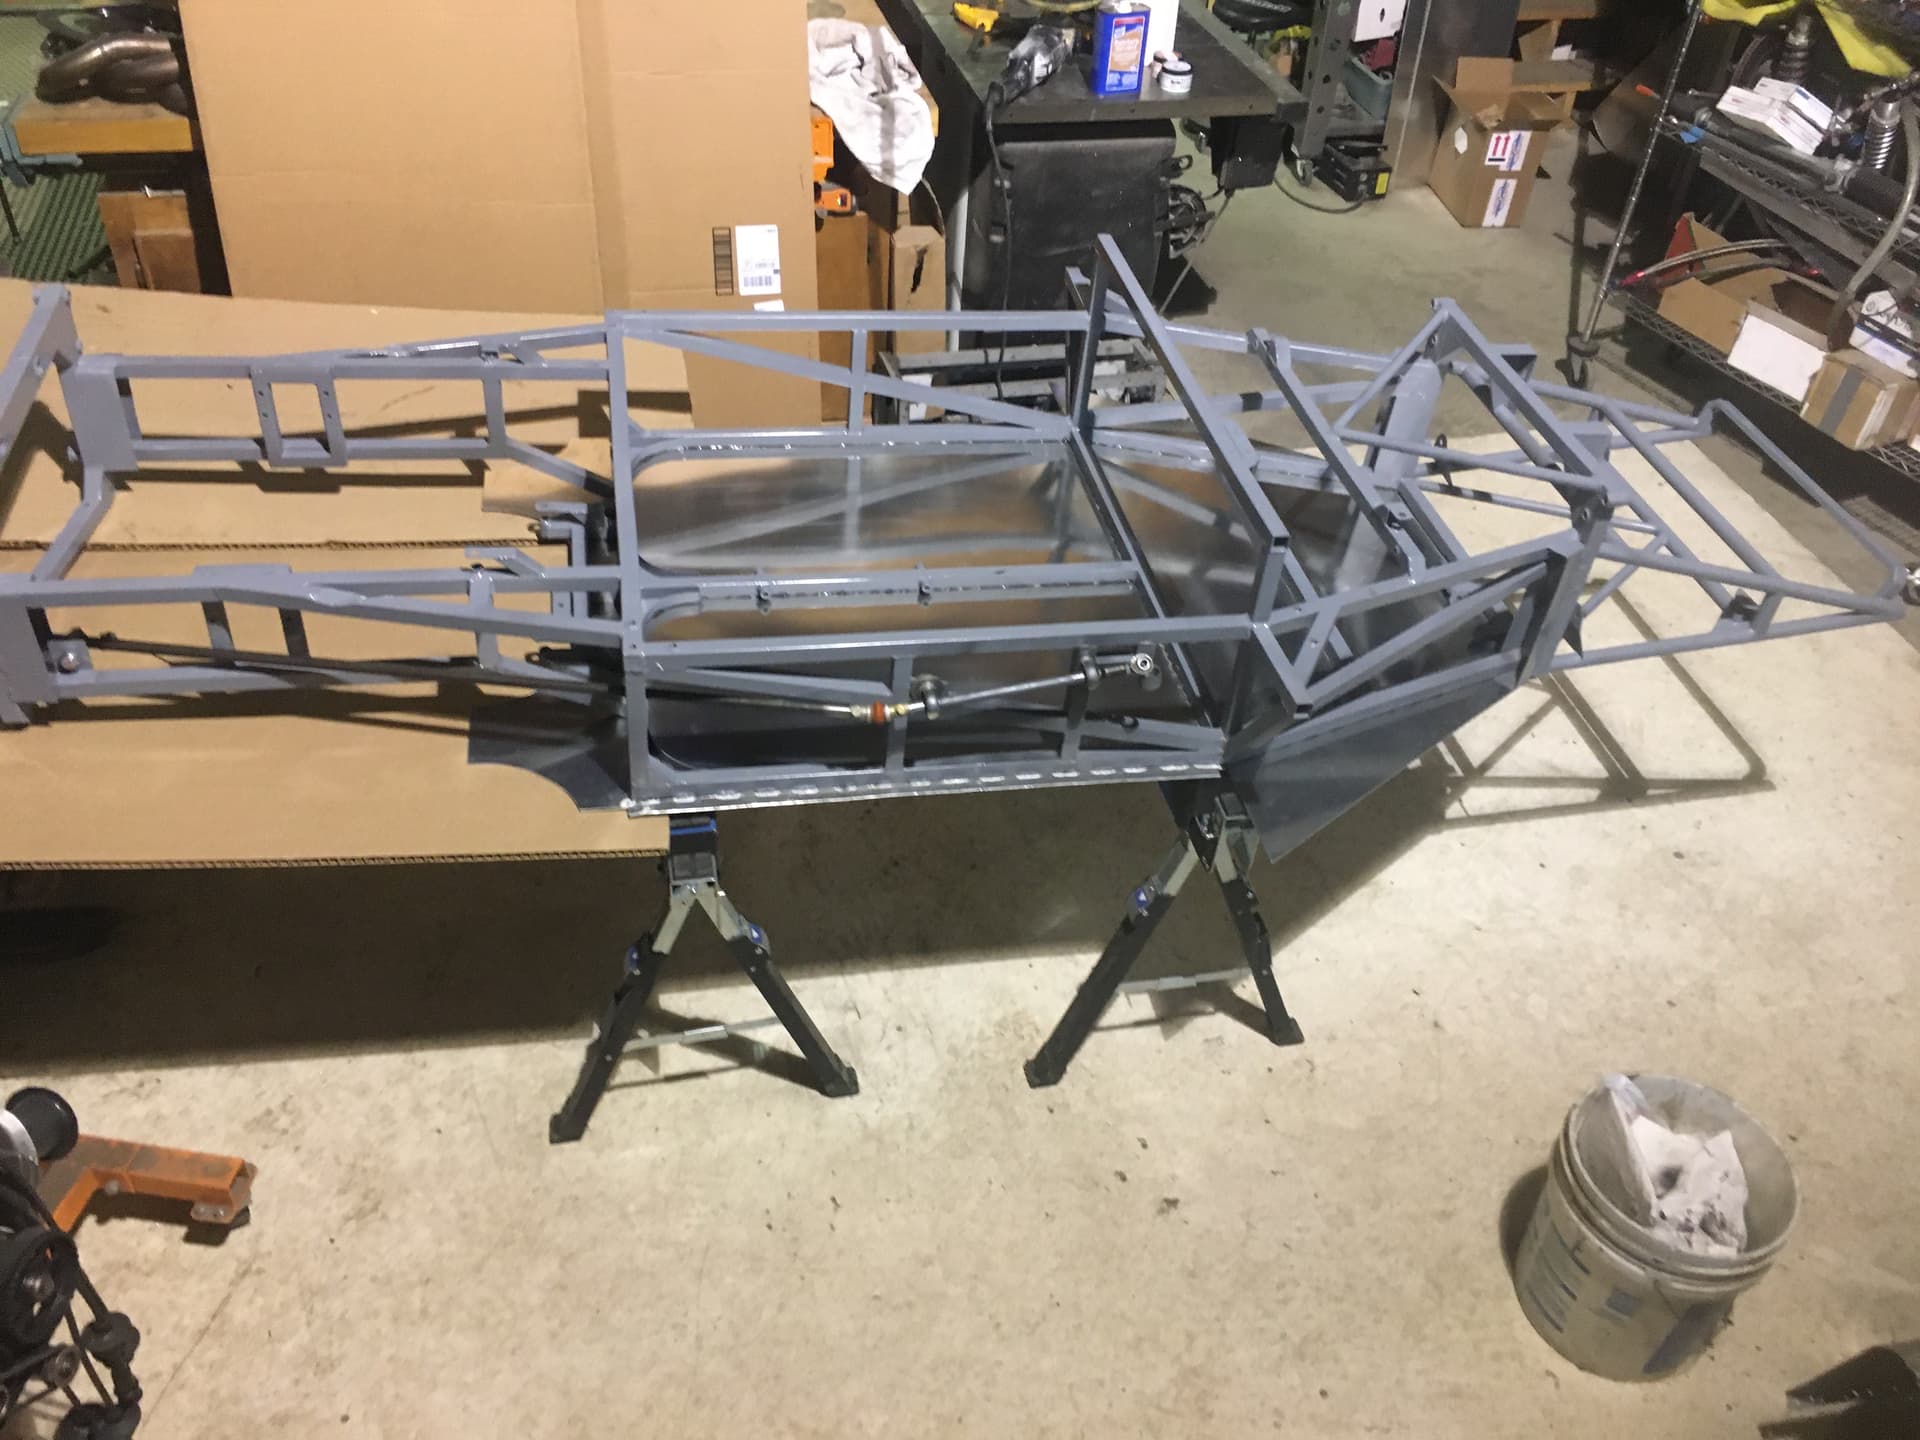
I’m going to go twenty steps further and restore the car to its 1960’s glory with my twist to the livery. The plan this fall and winter, along with addressing some minor Barracuda improvements, is to

  • Entirely dismantle the car
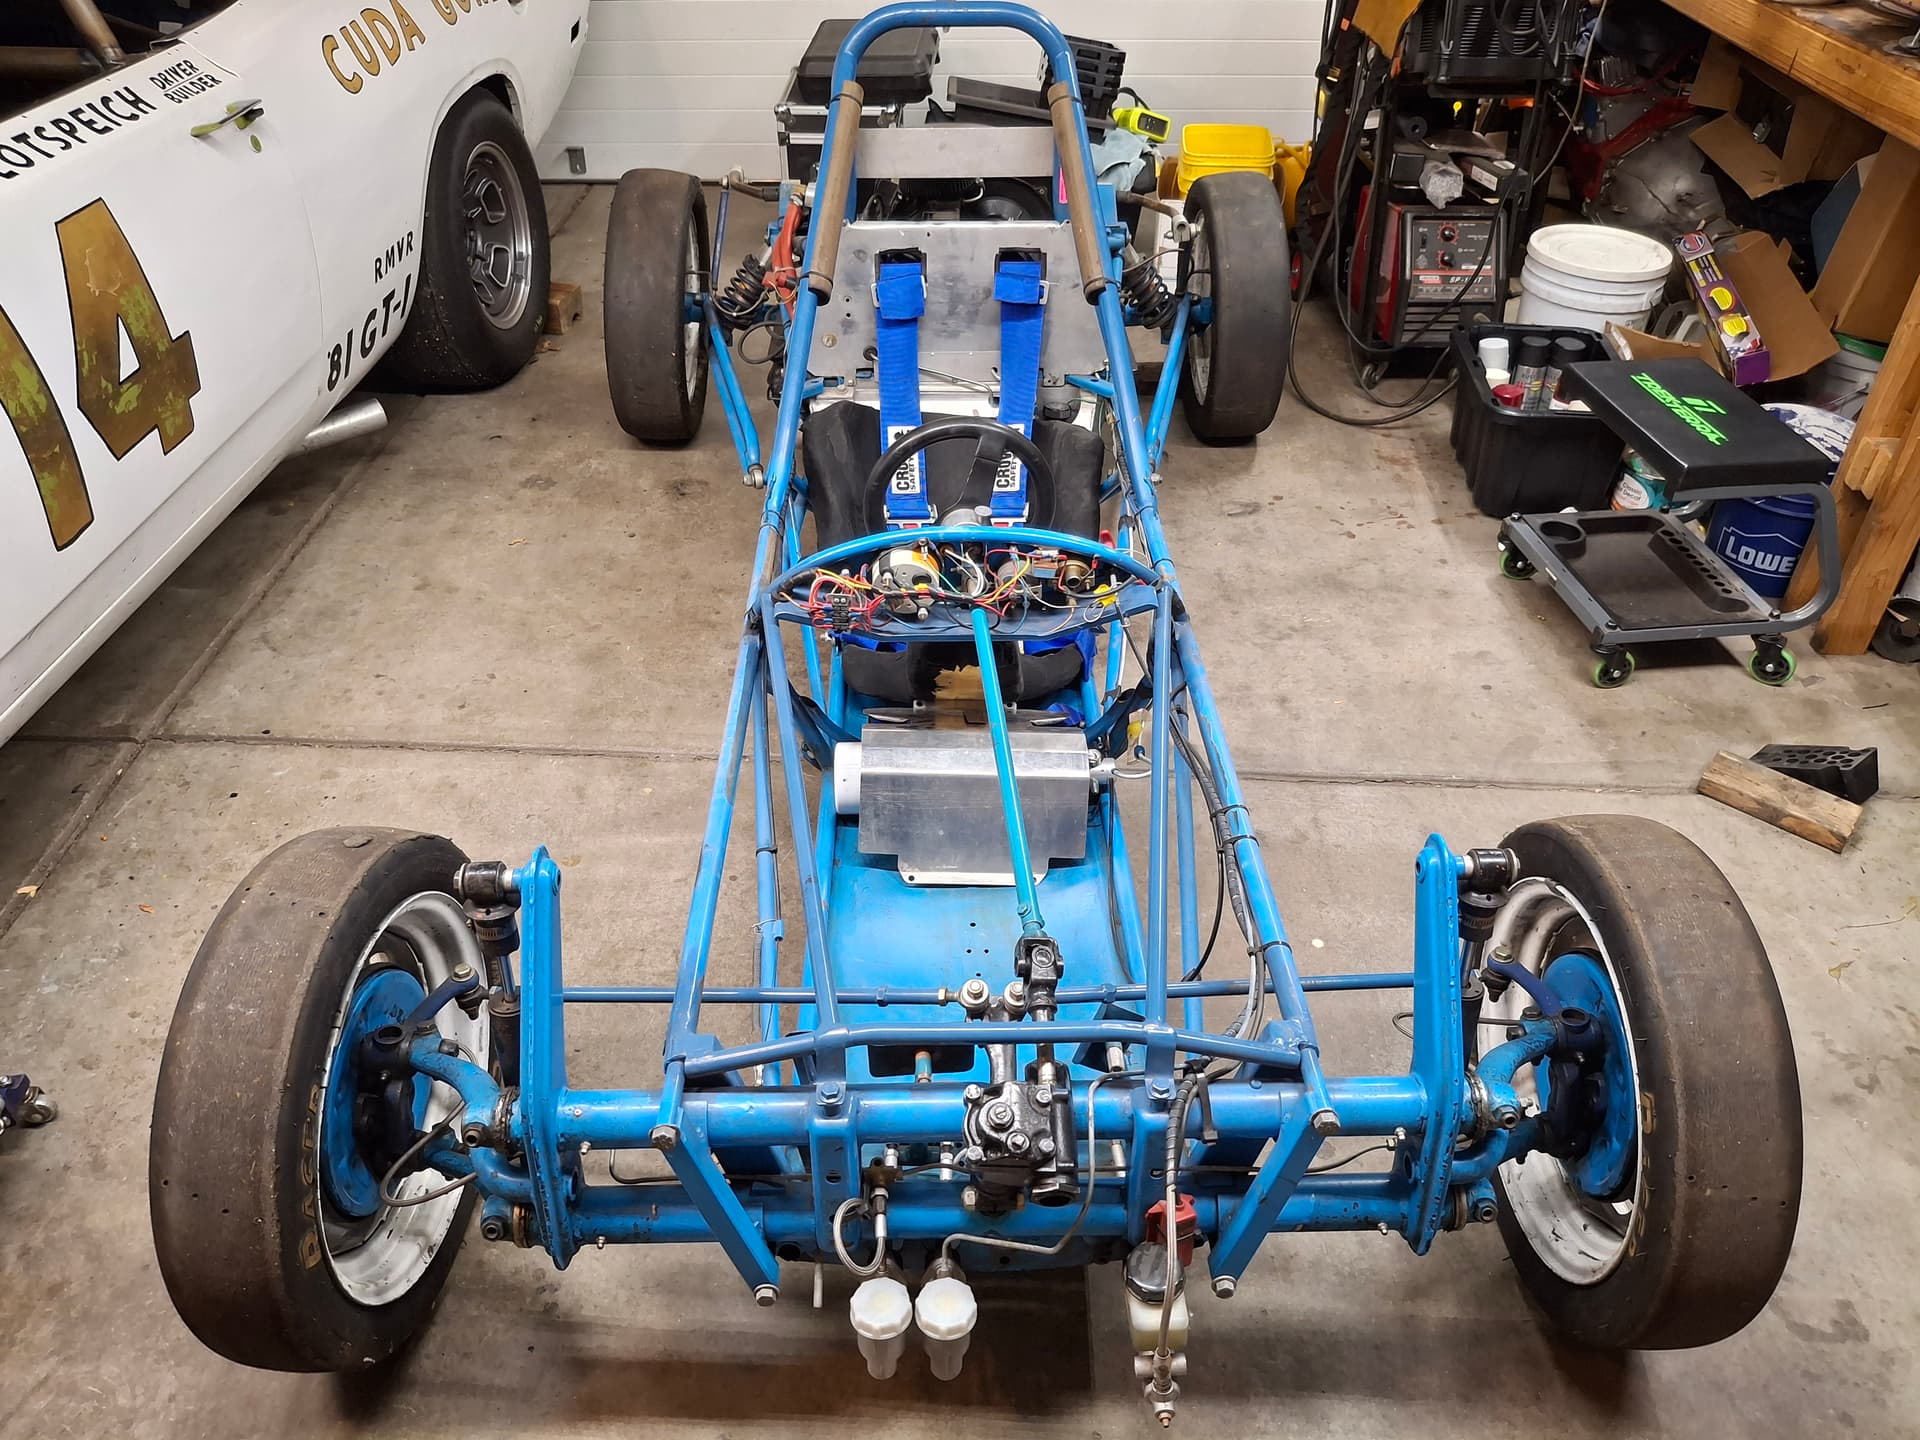
  • Strip the chassis, suspension, and brake components to bare metal
  • Inspect for cracks and repair any damage
  • Paint the chassis/suspension/brake components
  • Rewire the car
  • Likely replumb the brake and fuel lines to clean them up
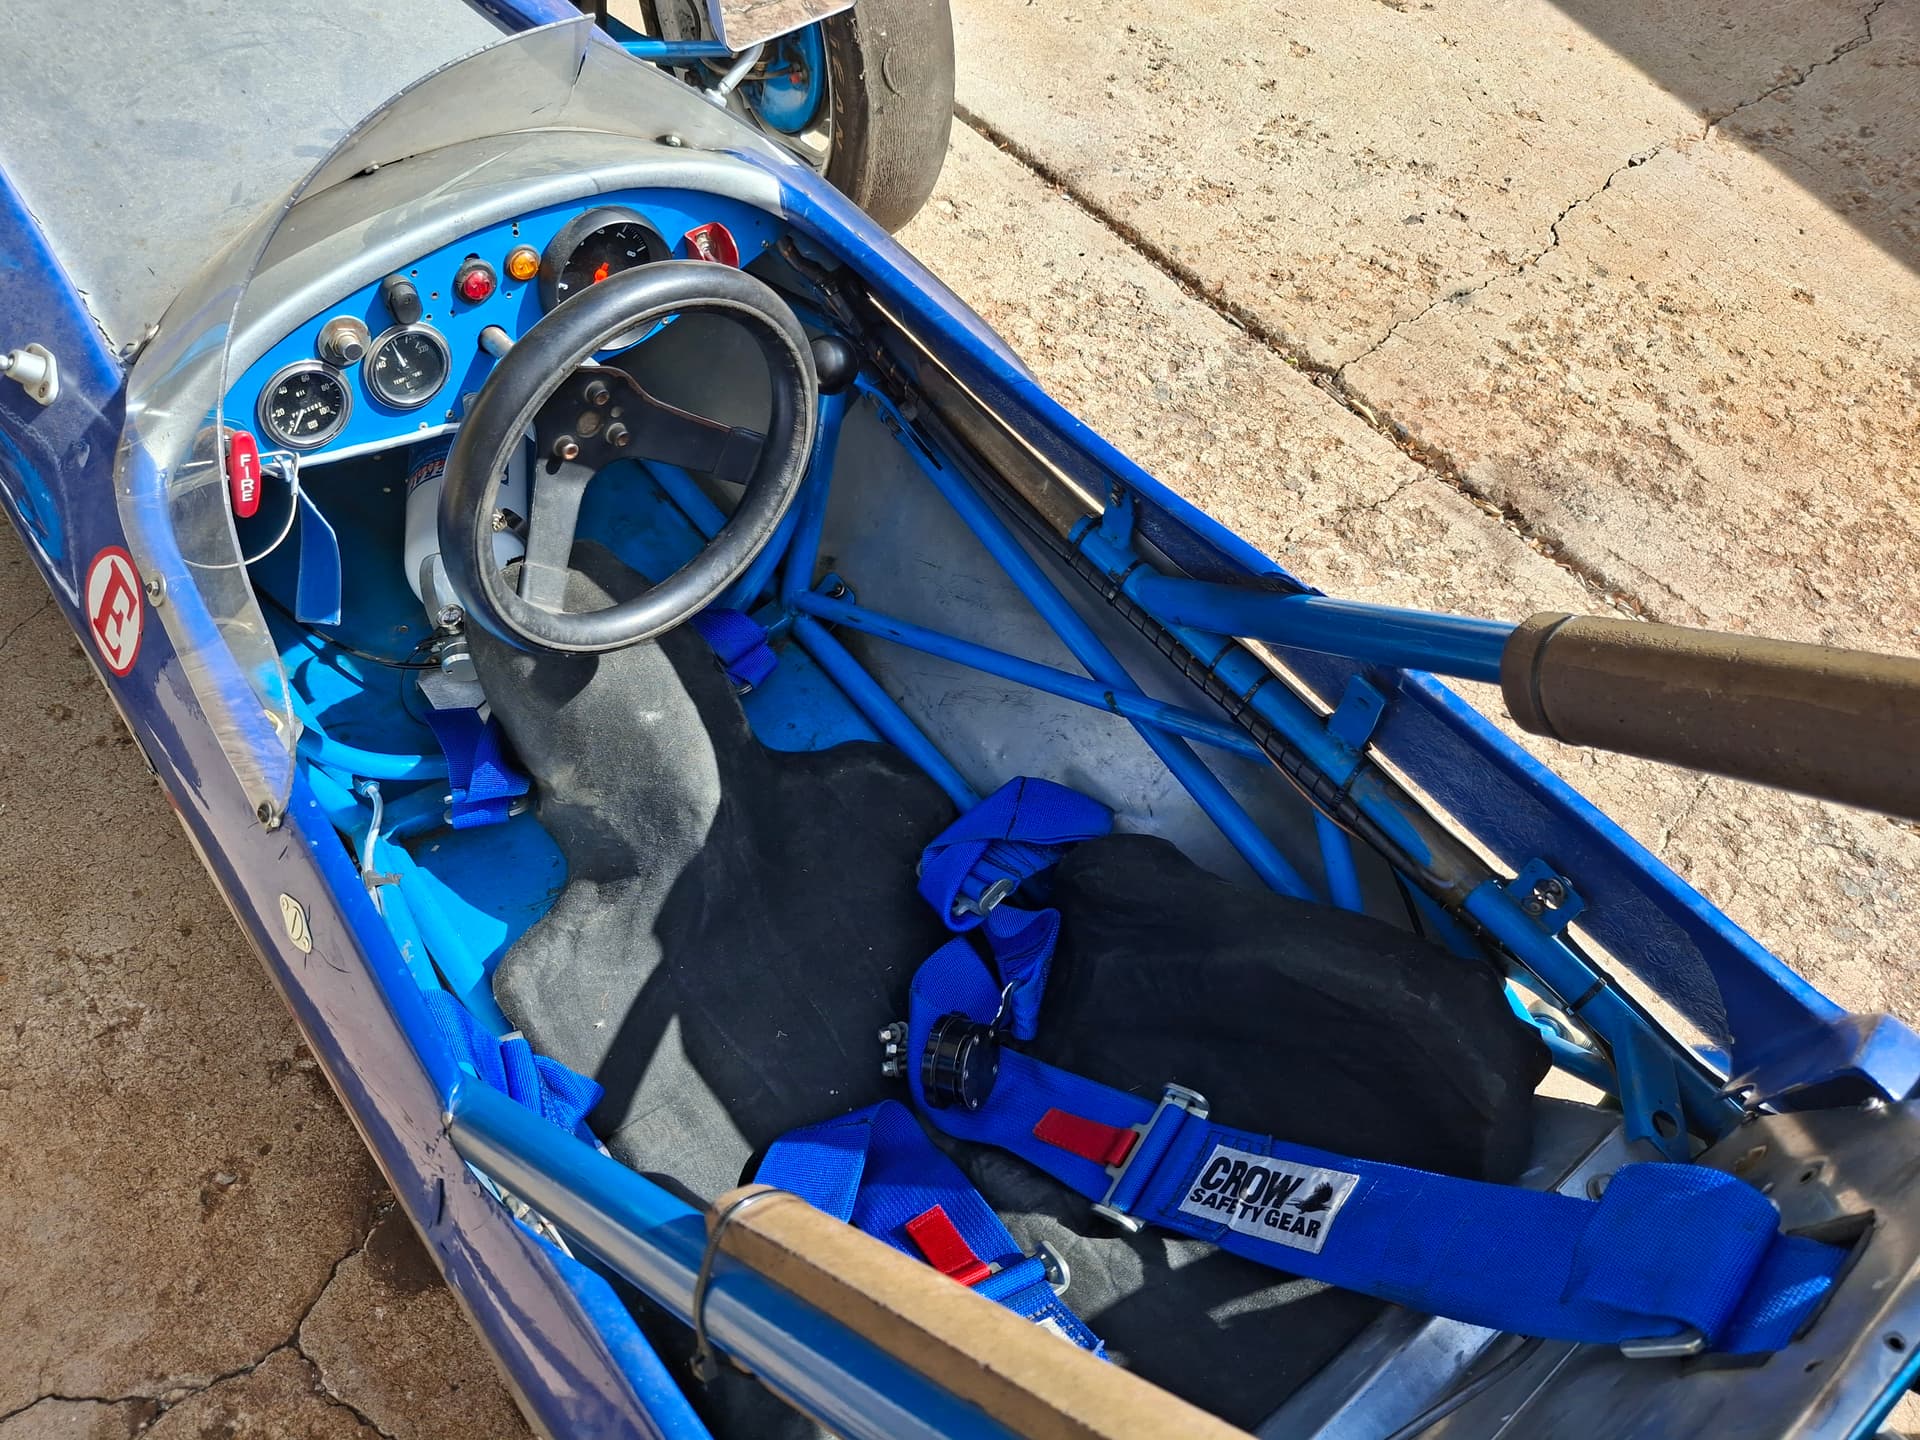
  • Fabricate a new dashboard to repair holes and remove some unwanted switches
  • Replace the modern tachometer with a period Stewart Warner tach to match the SW oil pressure and oil temp gauges
  • Replace the modern side mirrors with period mirrors
  • Fabricate a new windscreen (the current one is cracked)
  • Fabricate an expanding foam seat
  • Replace the safety harness
  • Make repairs to the bodywork and paint it, which might include building new aluminum lower panels since the current ones are bent, dented, and cracked and have some unnecessarily large cutouts that might impact aerodynamics
  • Diagnose and repair the shifter issue and examine the transaxle for any necessary seal replacements.
  • Jess Valentine has graciously agreed to allow me to shadow him as we overhaul the engine together, about which I’ve most excited
  • Assemble the car
  • Shake it down and drive the heck out of it!

For the livery, I want to pay homage to my grandfather on my mother’s side, Mervyn “Spud” Westerly, and the 1948 Kurtis Kraft Indy car “City of Tacoma” he helped build and crew to a sixth place finish, which had chrome suspension with burgundy and cream bodywork. The Beach’s suspension will get either silver or burgundy paint since I don’t want to weaken the steel through chroming, a burgundy nose and lower portion, and a cream upper. I’m leaning toward burgundy for the chassis with a cream roll bar. The wheels will get silver paint. The car is hereby christened the “City of Aurora.” For the car number, I want to pay homage to my father Brent Lotspeich with #68 that he used in his 3/4 Midget racing days. Here’s a photo hanging on my wall from the 1948 Indy 500 with my grandfather standing on the far right.
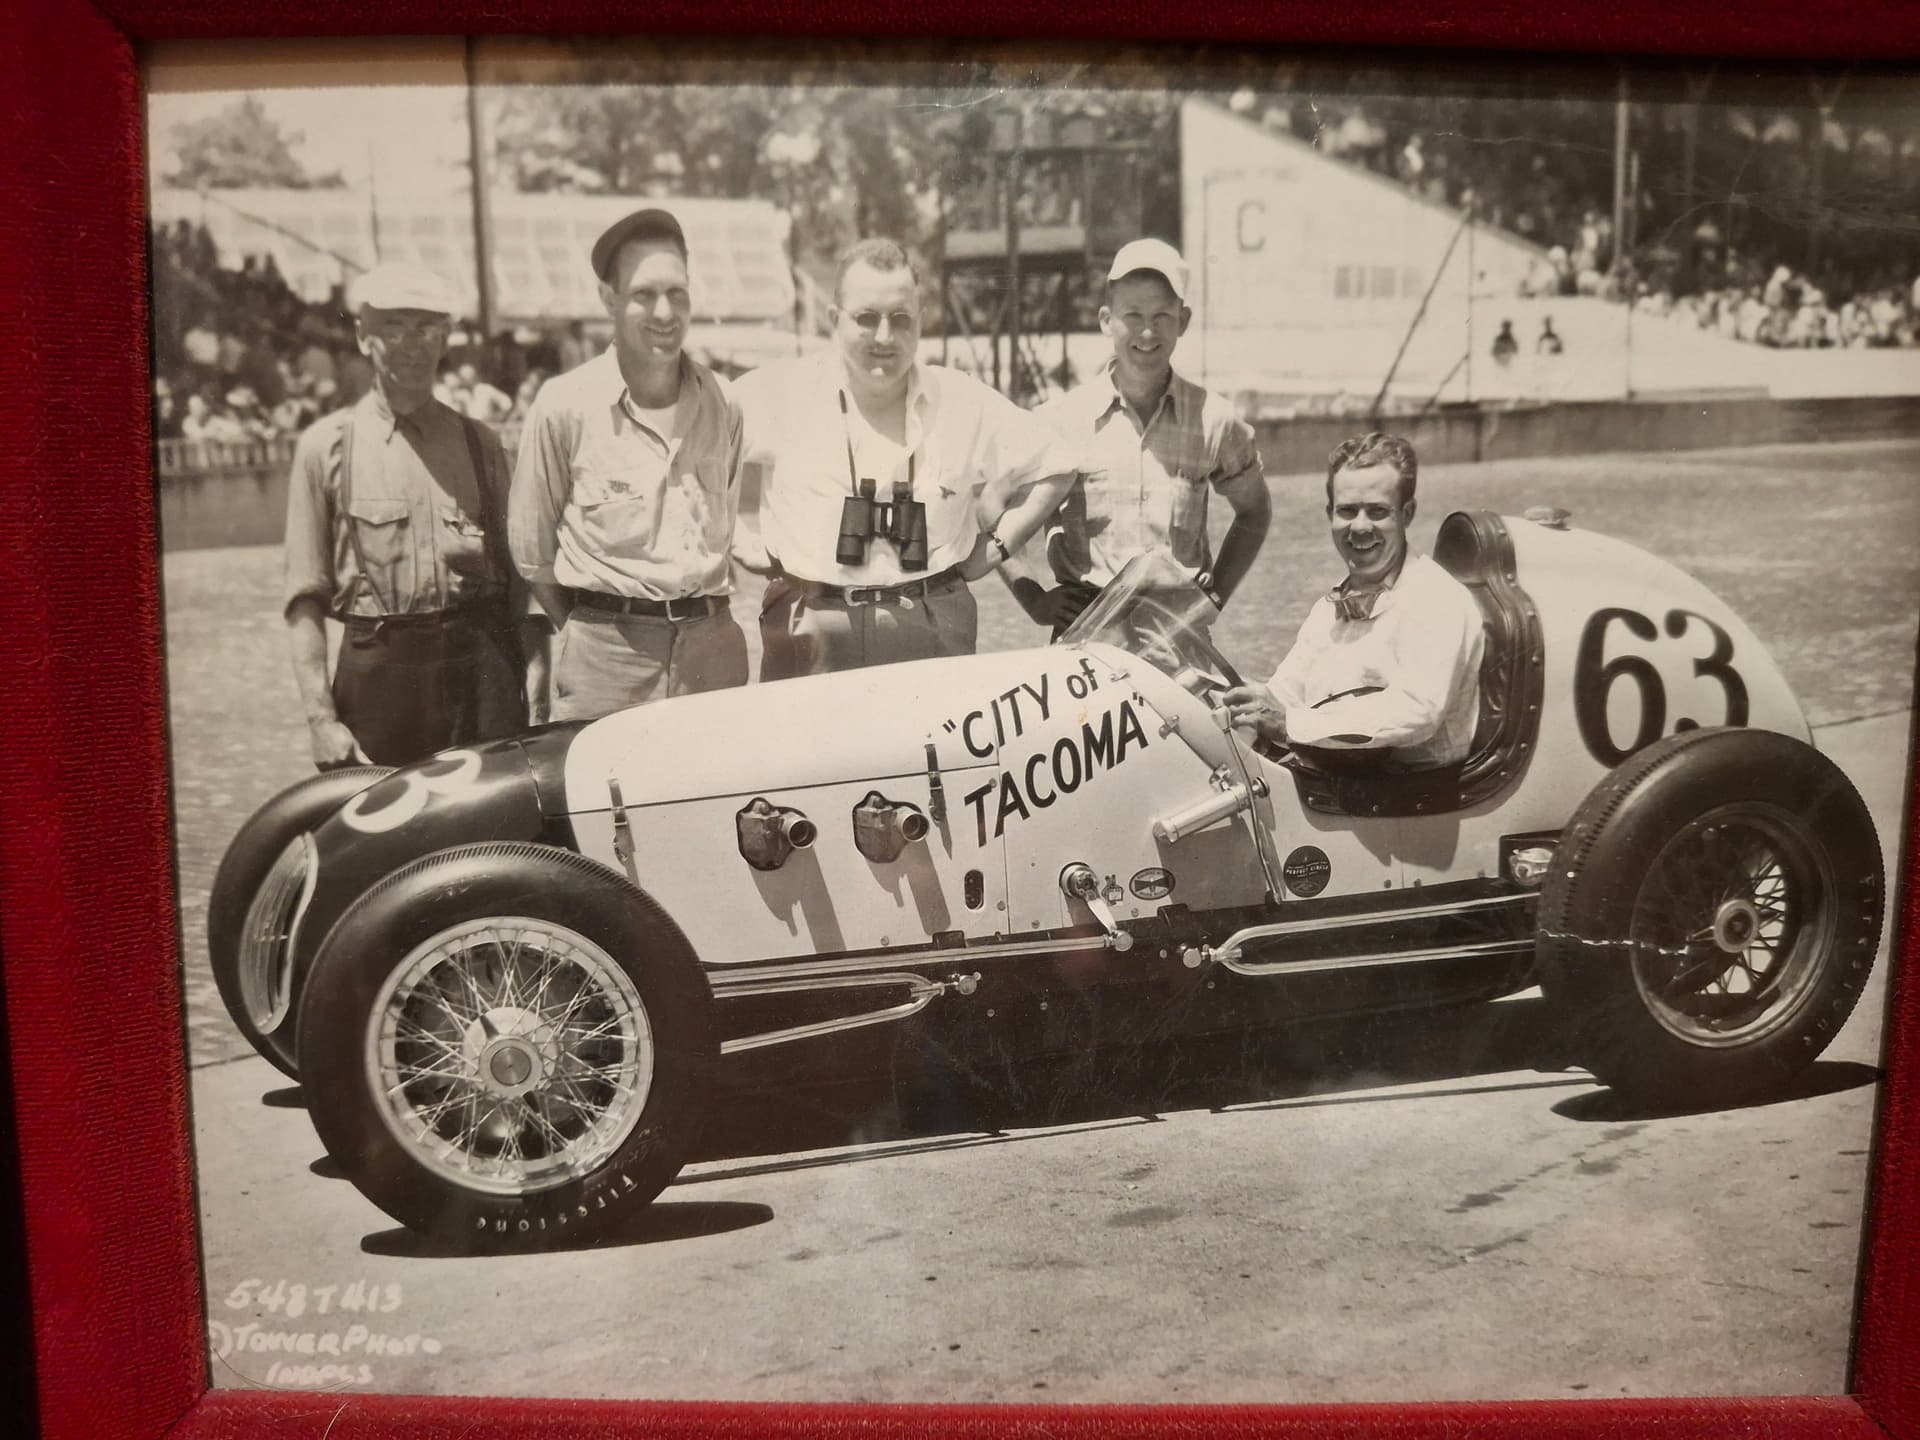
Nick and I brought the Beach to my house today, and here’s where the journey begins. A huge thanks to Nick and his wife Missy for their generosity and racing enthusiasm in getting me into a Vee and allowing me the opportunity to restore such a rare and unique car.
Post Alert:
@jonUU
@Sportsracer
@Datsun78
@Bob_Alder
@Rich
@Nick_H
@jackson_prime101
@Raybob9289
1 Like

Well Nimrod, aka Justin, I see the addiction runs strong in you!

I can tell you building, maintaining, and racing two cars in different classes is a full time job. Ask me how I know.

Racing a Vee will definitely make you a better driver. As they say driving a slow car fast is more satisfying than driving a fast car slow. Vee’s are momentum cars ( in truth all cars are) and learning how to conserve your momentum will make you fast.

When I started racing 100cc karts I learned that using the brakes was fastest way to lose. You control weight transfer with the throttle and your hips.


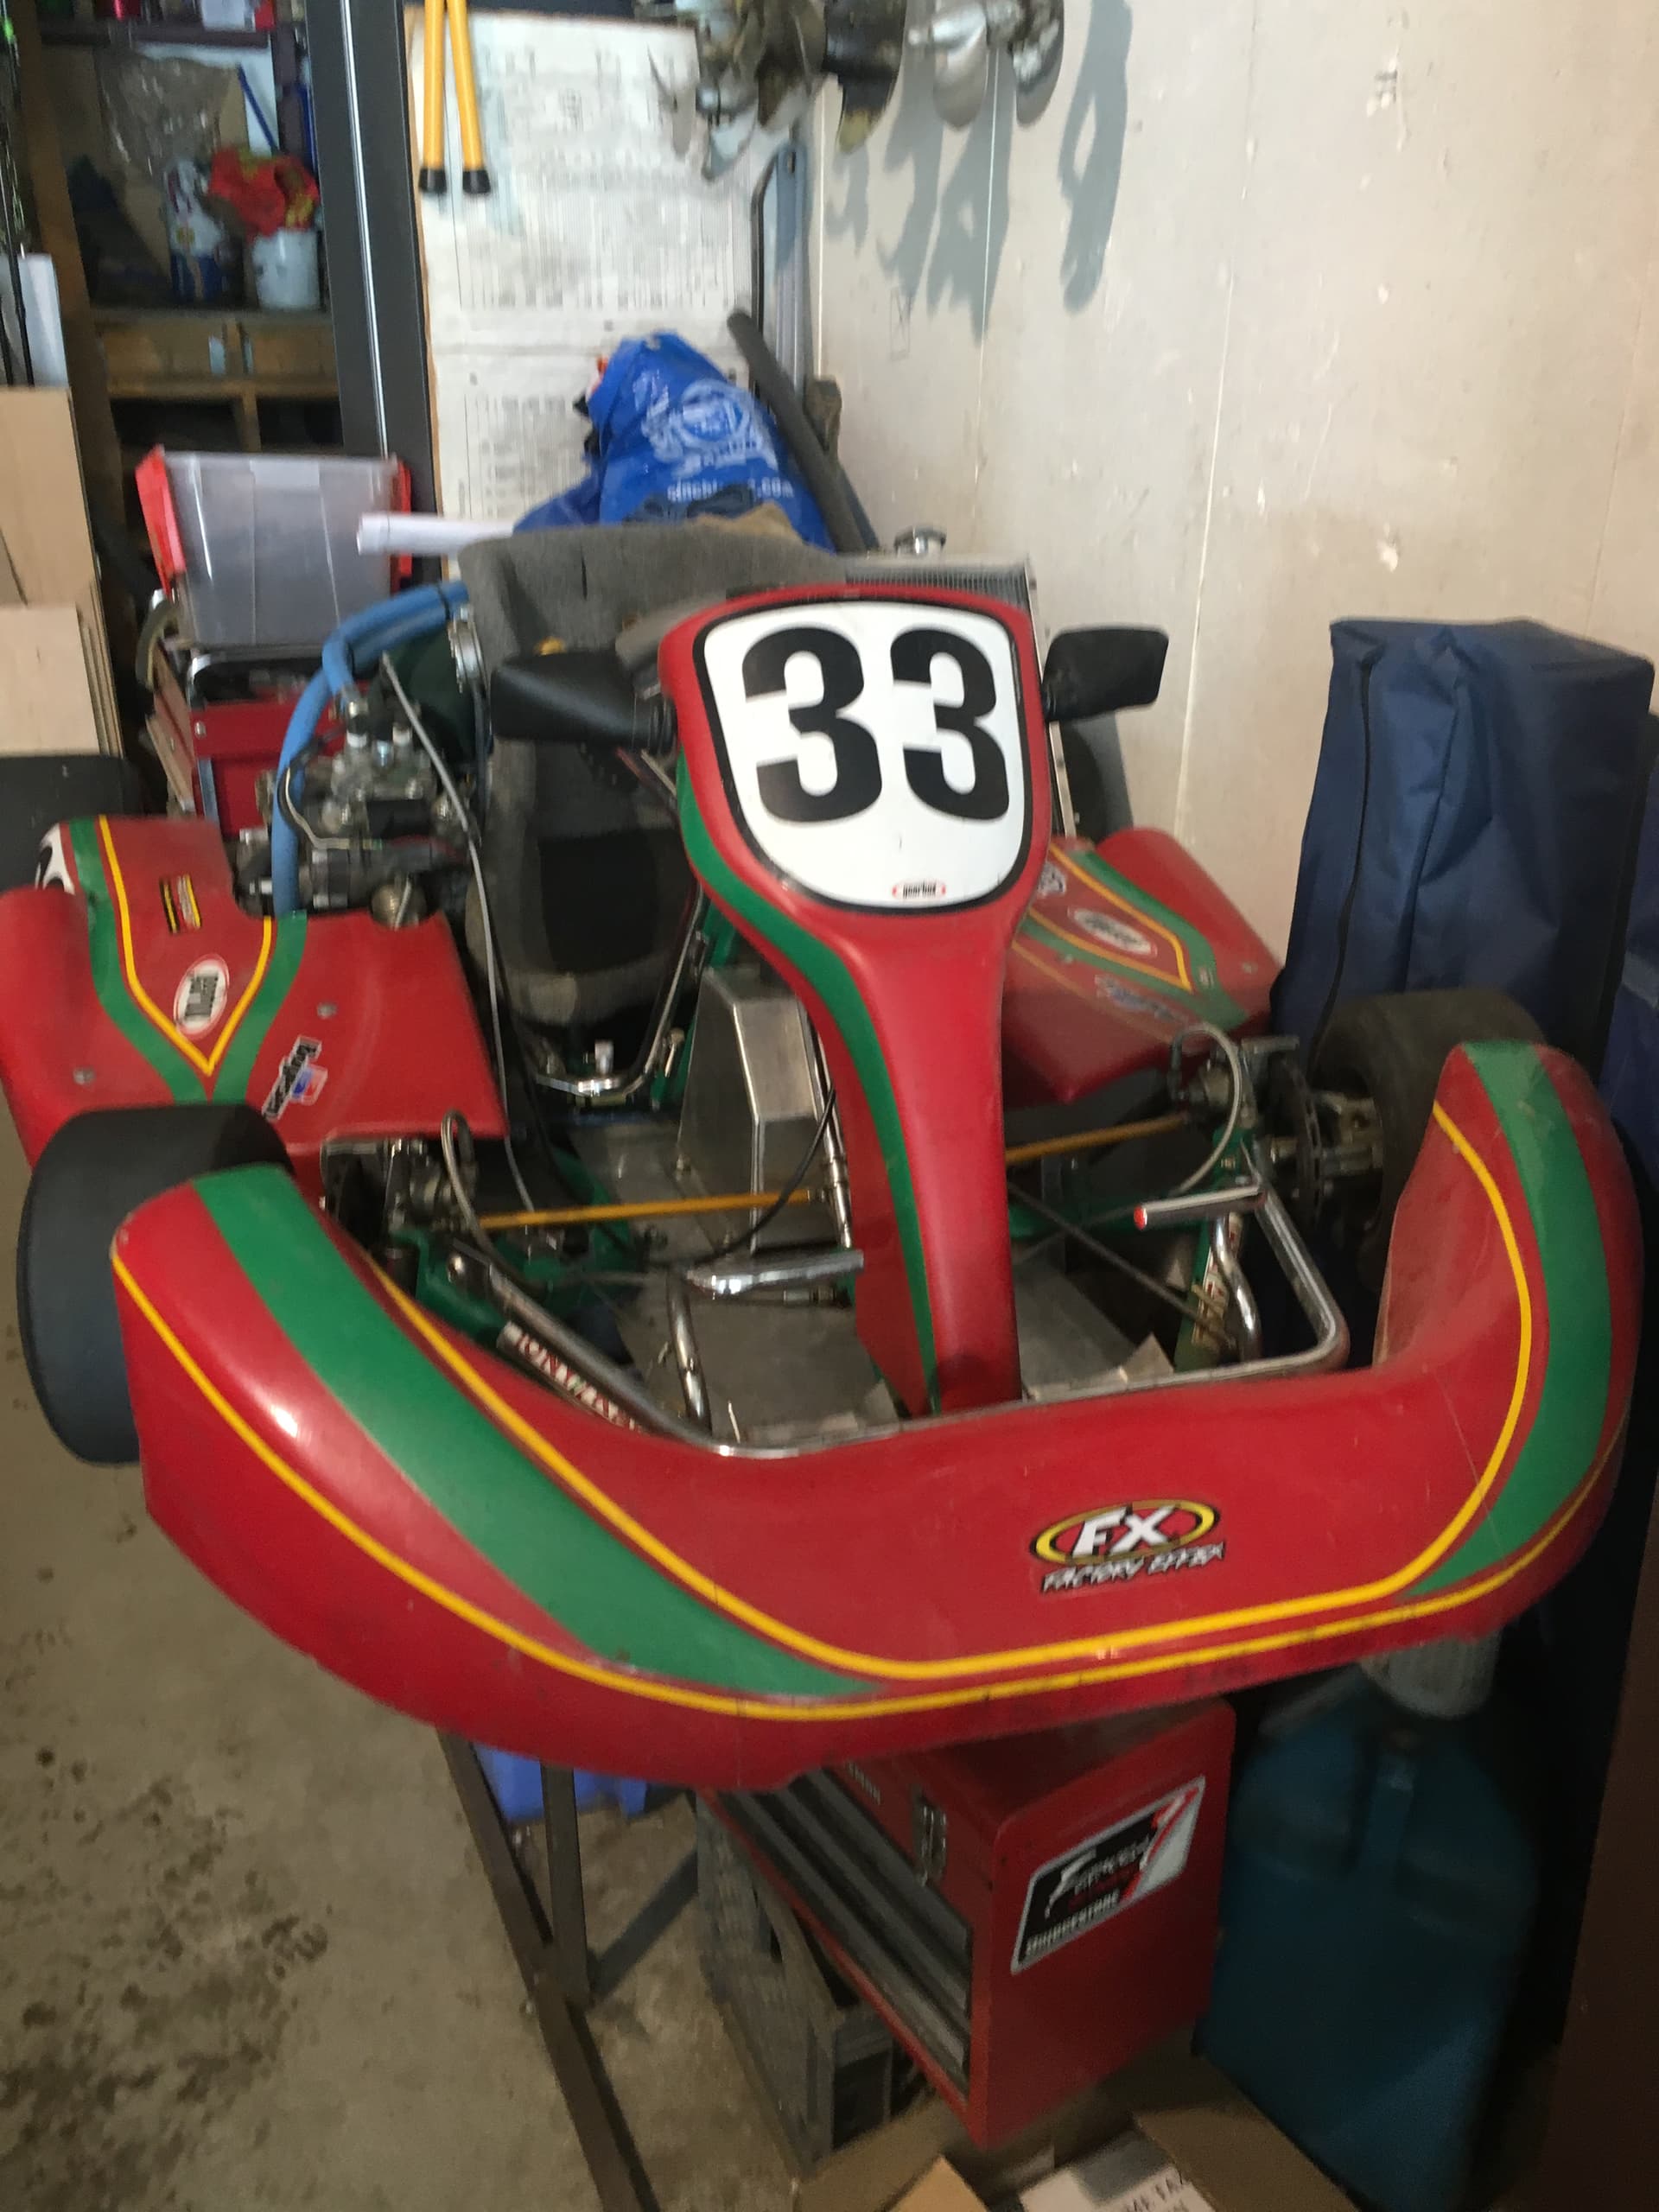
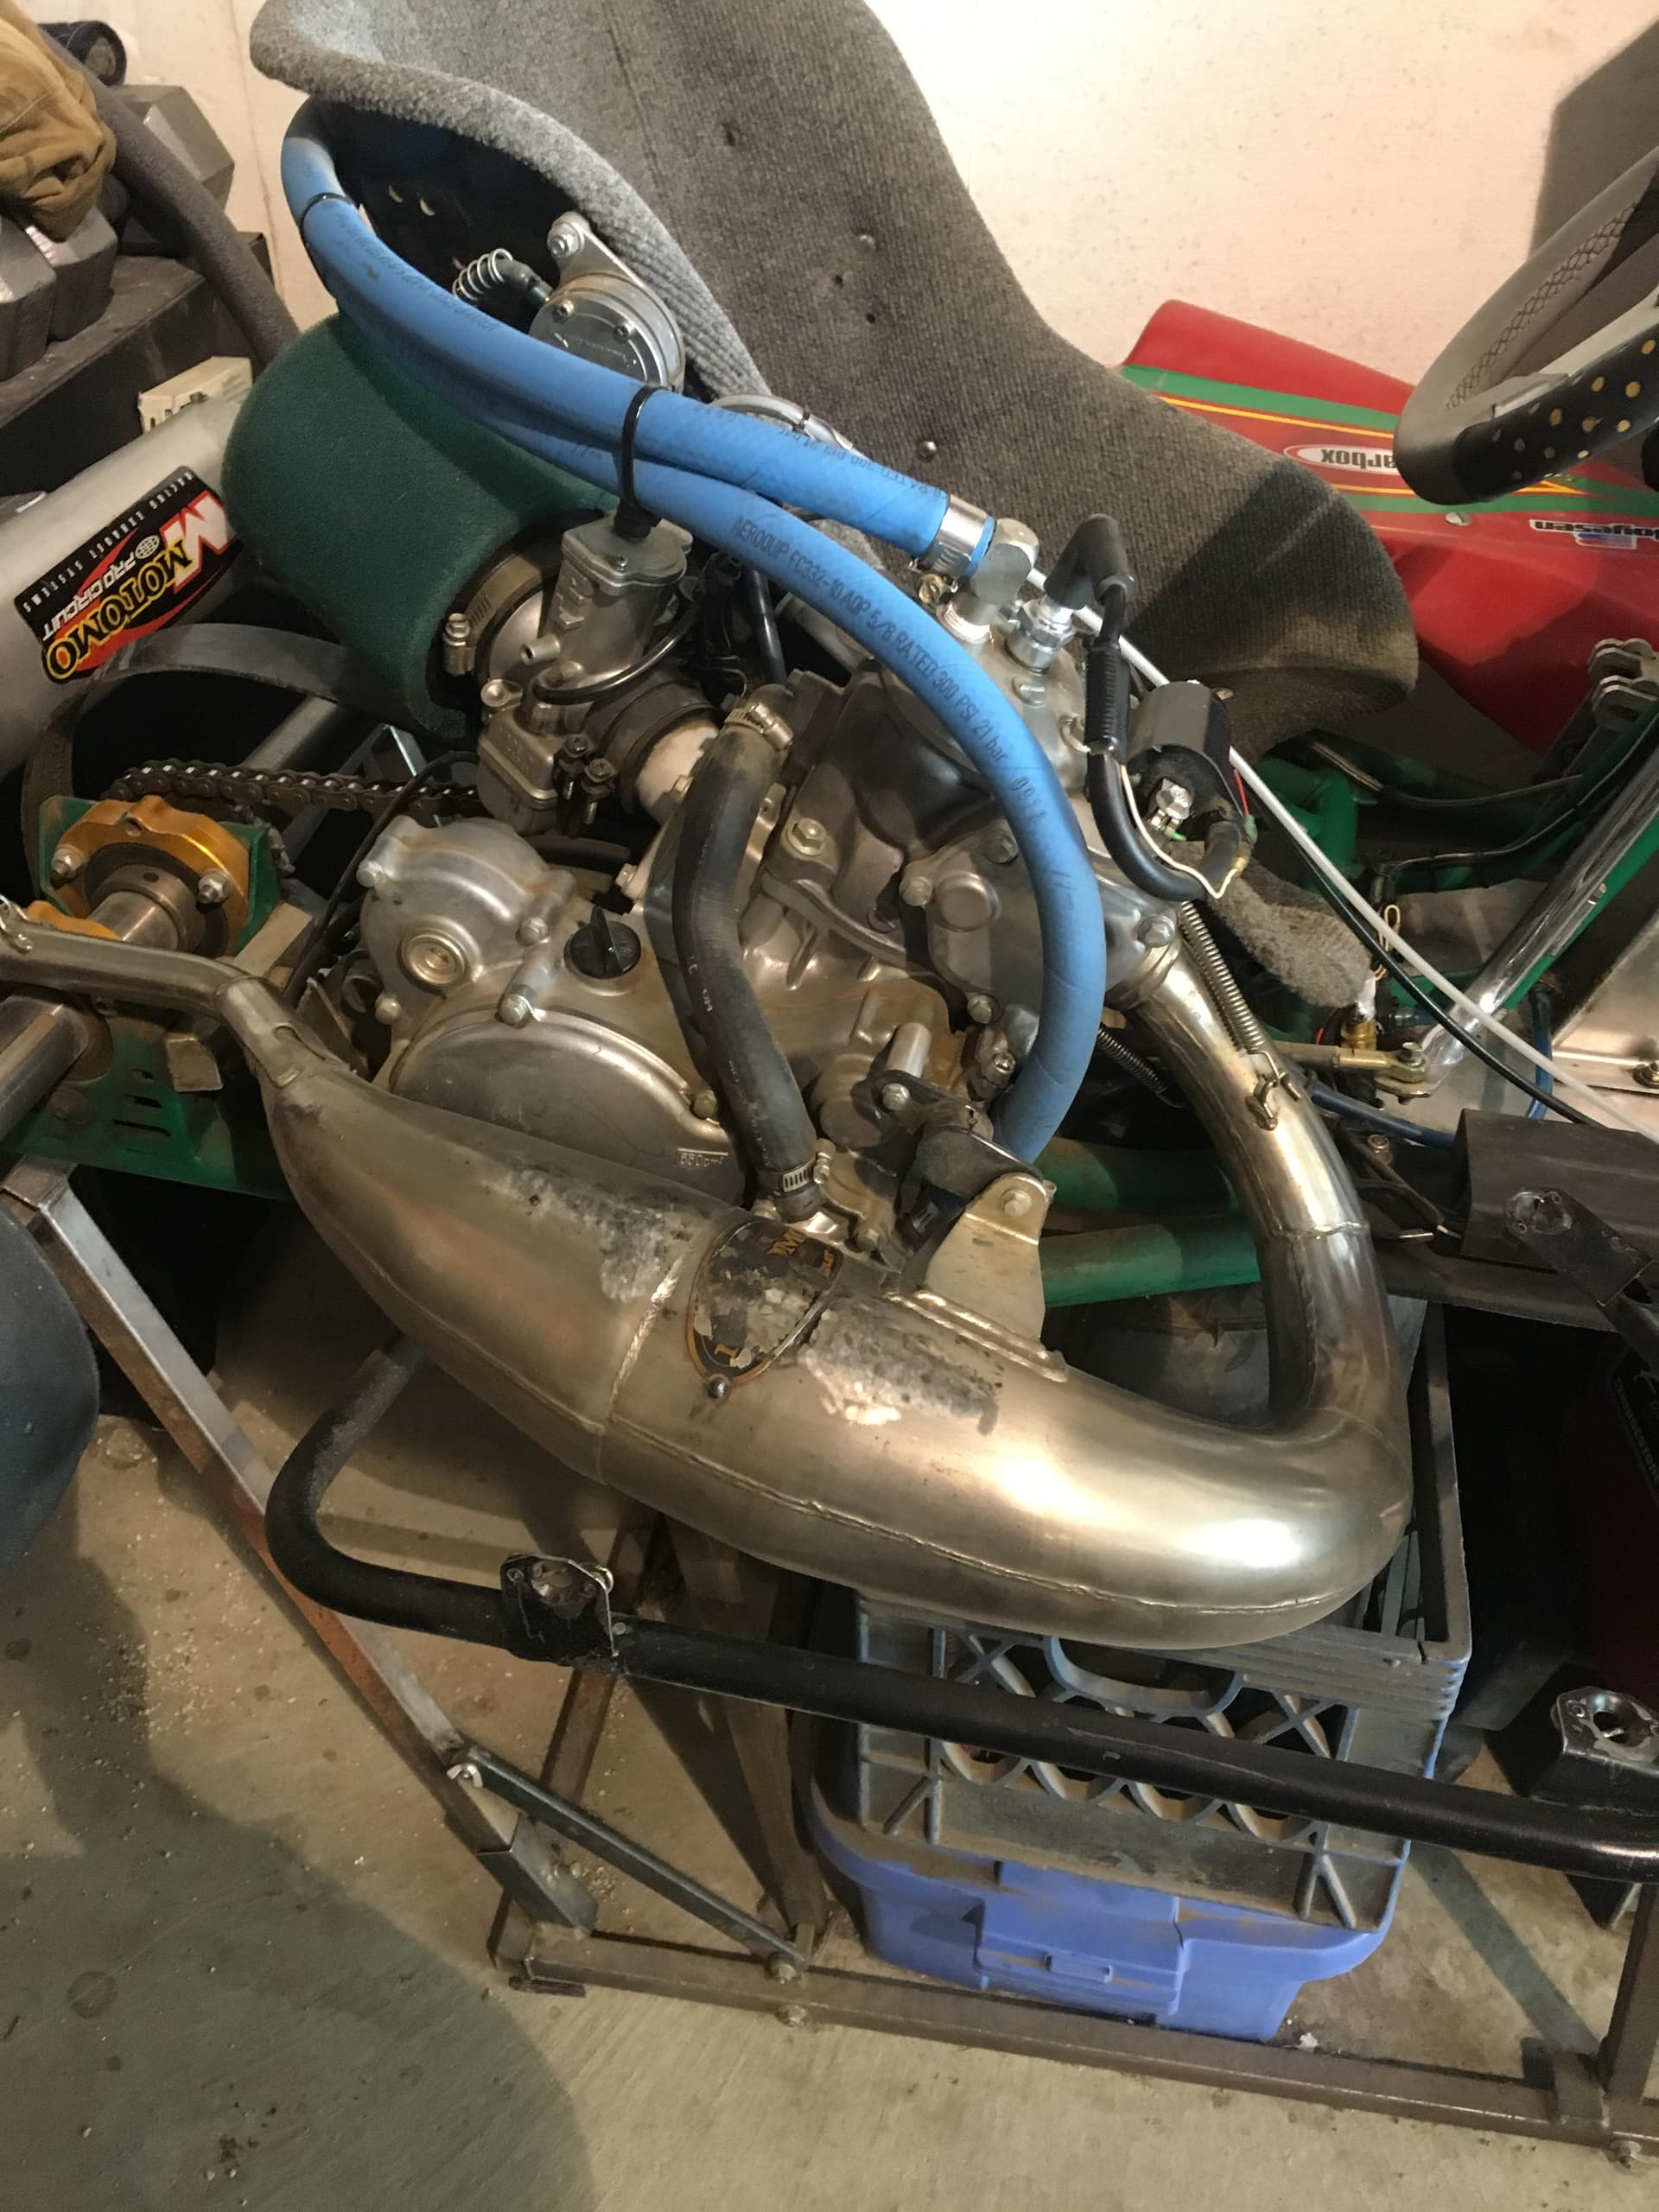
My shifter kart that I still own.

As you restore the chassis pay particular attention to the shift linkage. Replace any fixing that causes play. Also the apex joints if they have any slop what so ever. Another ask me how I know.

Also chrome suspension looks great but does induce embrittlement. I have used prismatic powders super chrome powder coat and I’m impressed with the results. If you’re going to attend the feedback meeting I can bring an A arm I fabbed for you to see the results.

Best
Tom

1 Like

@Sportsracer, thanks, as always. I’m really looking forward to the experience with the car first for the fun but second because such a strong focus on less braking and more momentum will undoubtedly make me a better driver in the Barracuda.

Yes, I plan on replacing anything with slop that shouldn’t have slop for sure. And, yes, I should be at the feedback session and would love to see that powder coating. I hesitate to powder coat since it can hide cracks, but getting a chrome look would really make the paint scheme pop.

I raced this beach back in the 90’s & early 2000’s. Great car & that’s where I learned to be a reasonably good driver. The Beach was very reliable and a ball to drive. The Vee class is very competitive so you’ll have a fun time racing it.

@dreimol, that’s awesome. Are you Keith Treseder by chance? RMVR records show it was a Treseder car from about 1995 - 2019 or so when it went to Jess Valentine.

No. I’m Dave Reimold. I bought the car in 1995 and sold it to Treasdor in 2001. Talk to Bob Alder, I think he still remembers me.

Thanks, Dave. I’ll have to see if your logbook for the car is included in the stack of paperwork I got.

Should be a fun project, let me know if you need anything.
IMHO, I avoid powder coating on suspension and frame. It makes it harder to detect cracks during a visual inspection. A nice coat of rustoleum will last for years and is easy to touch up if needed.
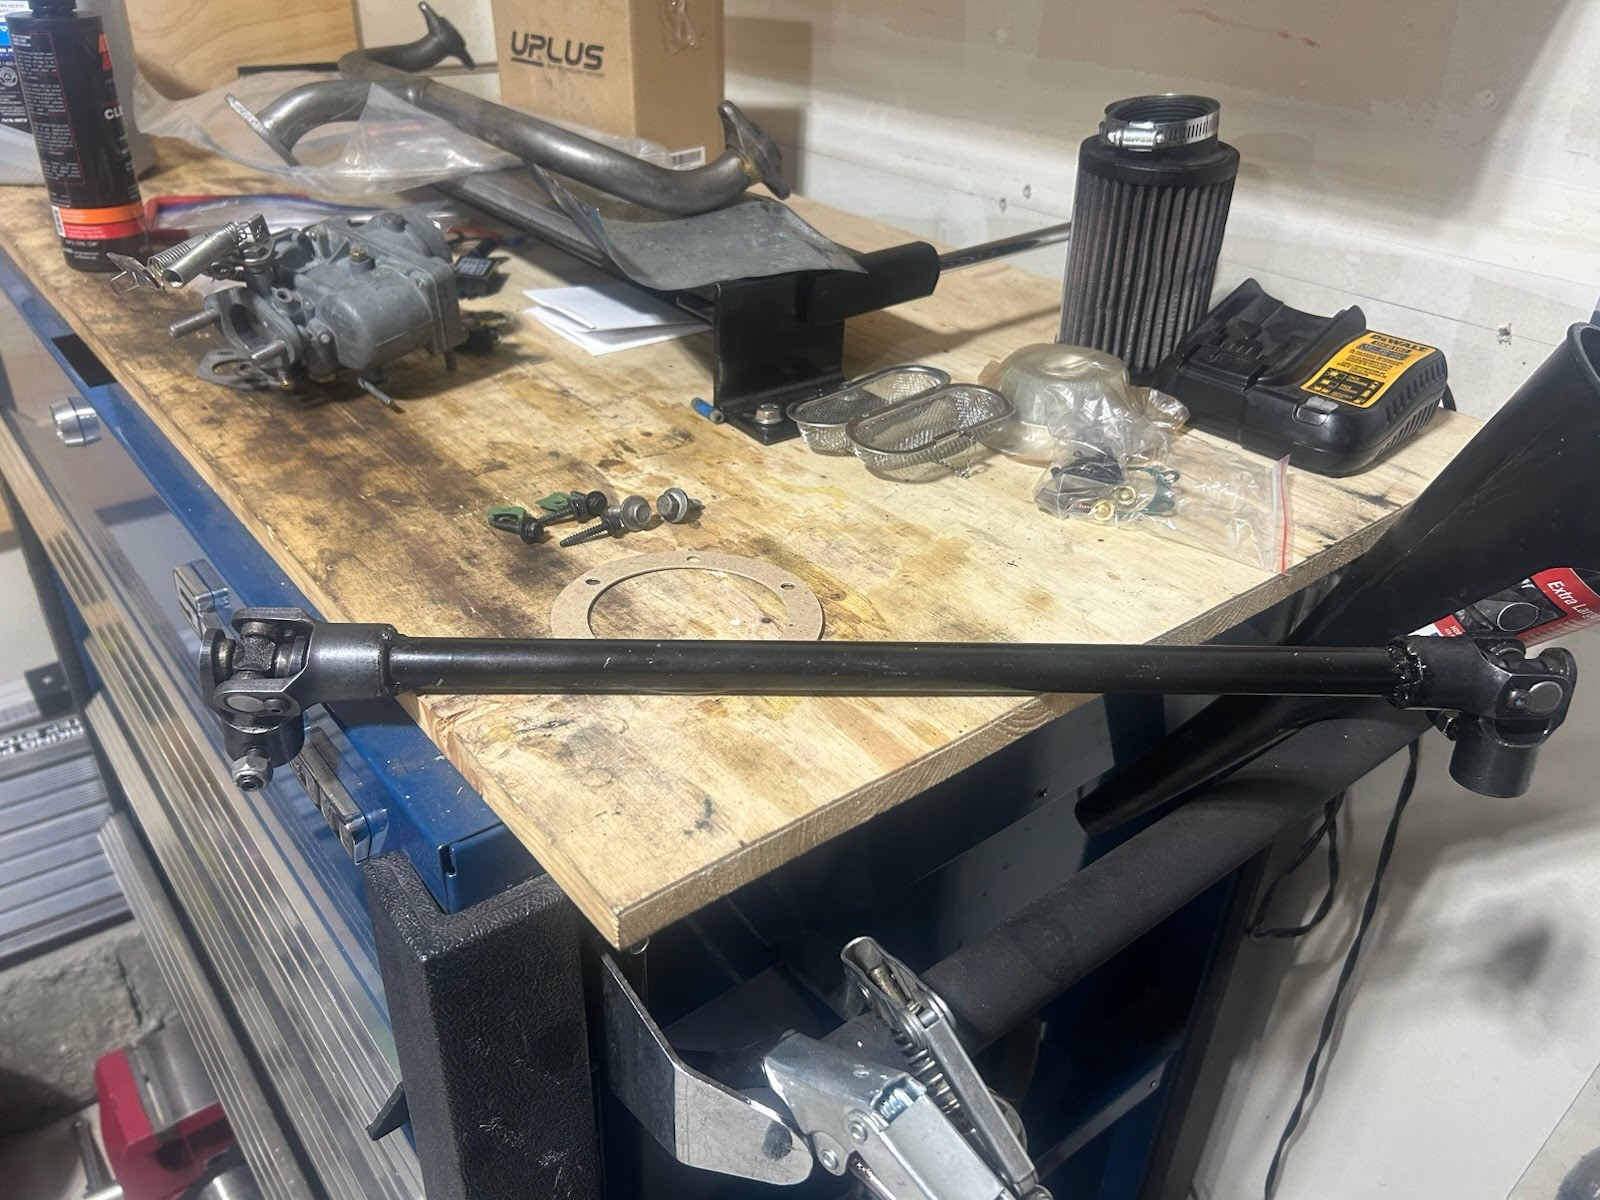
For FV shifters, I’ve started using rebuildable GM steering joints and hollow tube for the shaft. Cheaper than the standard apex joints and with hollow tube, overall the assembly is lighter. An track we only use 3-4 anyways so the side to side isn’t as critical as it would be say autoxing.
Looking forward to the livery. Like your Cuda, my son, wife and I painted the Zink with rollers well over 10 years ago. My livery is Herbie based as watching those movies in the shop was and still is a fun memory from my childhood while my dad and uncle worked away on MGs and Allards they took to Sebring.
A FV (like any momentum car) will teach you finesse. They’re very forgiving, but will amplify goofs. On the other hand, a good drive against a fellow racer is one of the most rewarding experiences I’ve had on track.

Hey @GeorgeCurl, thanks for the support and advice.

Do you mean a GM rag-type steering joint? Or a more the mini U-joint type? Got any photos?

I use the mini U-joints. 5/8 smooth bore to 3/4 spline in my case. I just bored the splines out to 3/4 smooth to fit 3/4 OD pipe. Larger diameter than a standard helicopter joint, but the roller bearings need next to no mx and the built in seals keep the crud out.

1 Like

Thanks for the photo, @GeorgeCurl. Looks great.

I’ve made good progress in the evenings disassembling the car. It’s a really cool process peeling back the layers of time seeing the different decades of parts and modifications people have done to the car to keep it going. Part of me feels bad undoing what so many have done, but the other part of me understands that it’s my turn in the lineage and that all the hard work others put into the car allowed it to survive and make its way into my garage.

The disassembly has gone relatively smoothly, and I’m still surprised at how small an area the parts take up compared to when I disassembled the Barracuda. I can get used to this Vee thing. :grin: My mind is also hard at work already planning repairs and modifications.

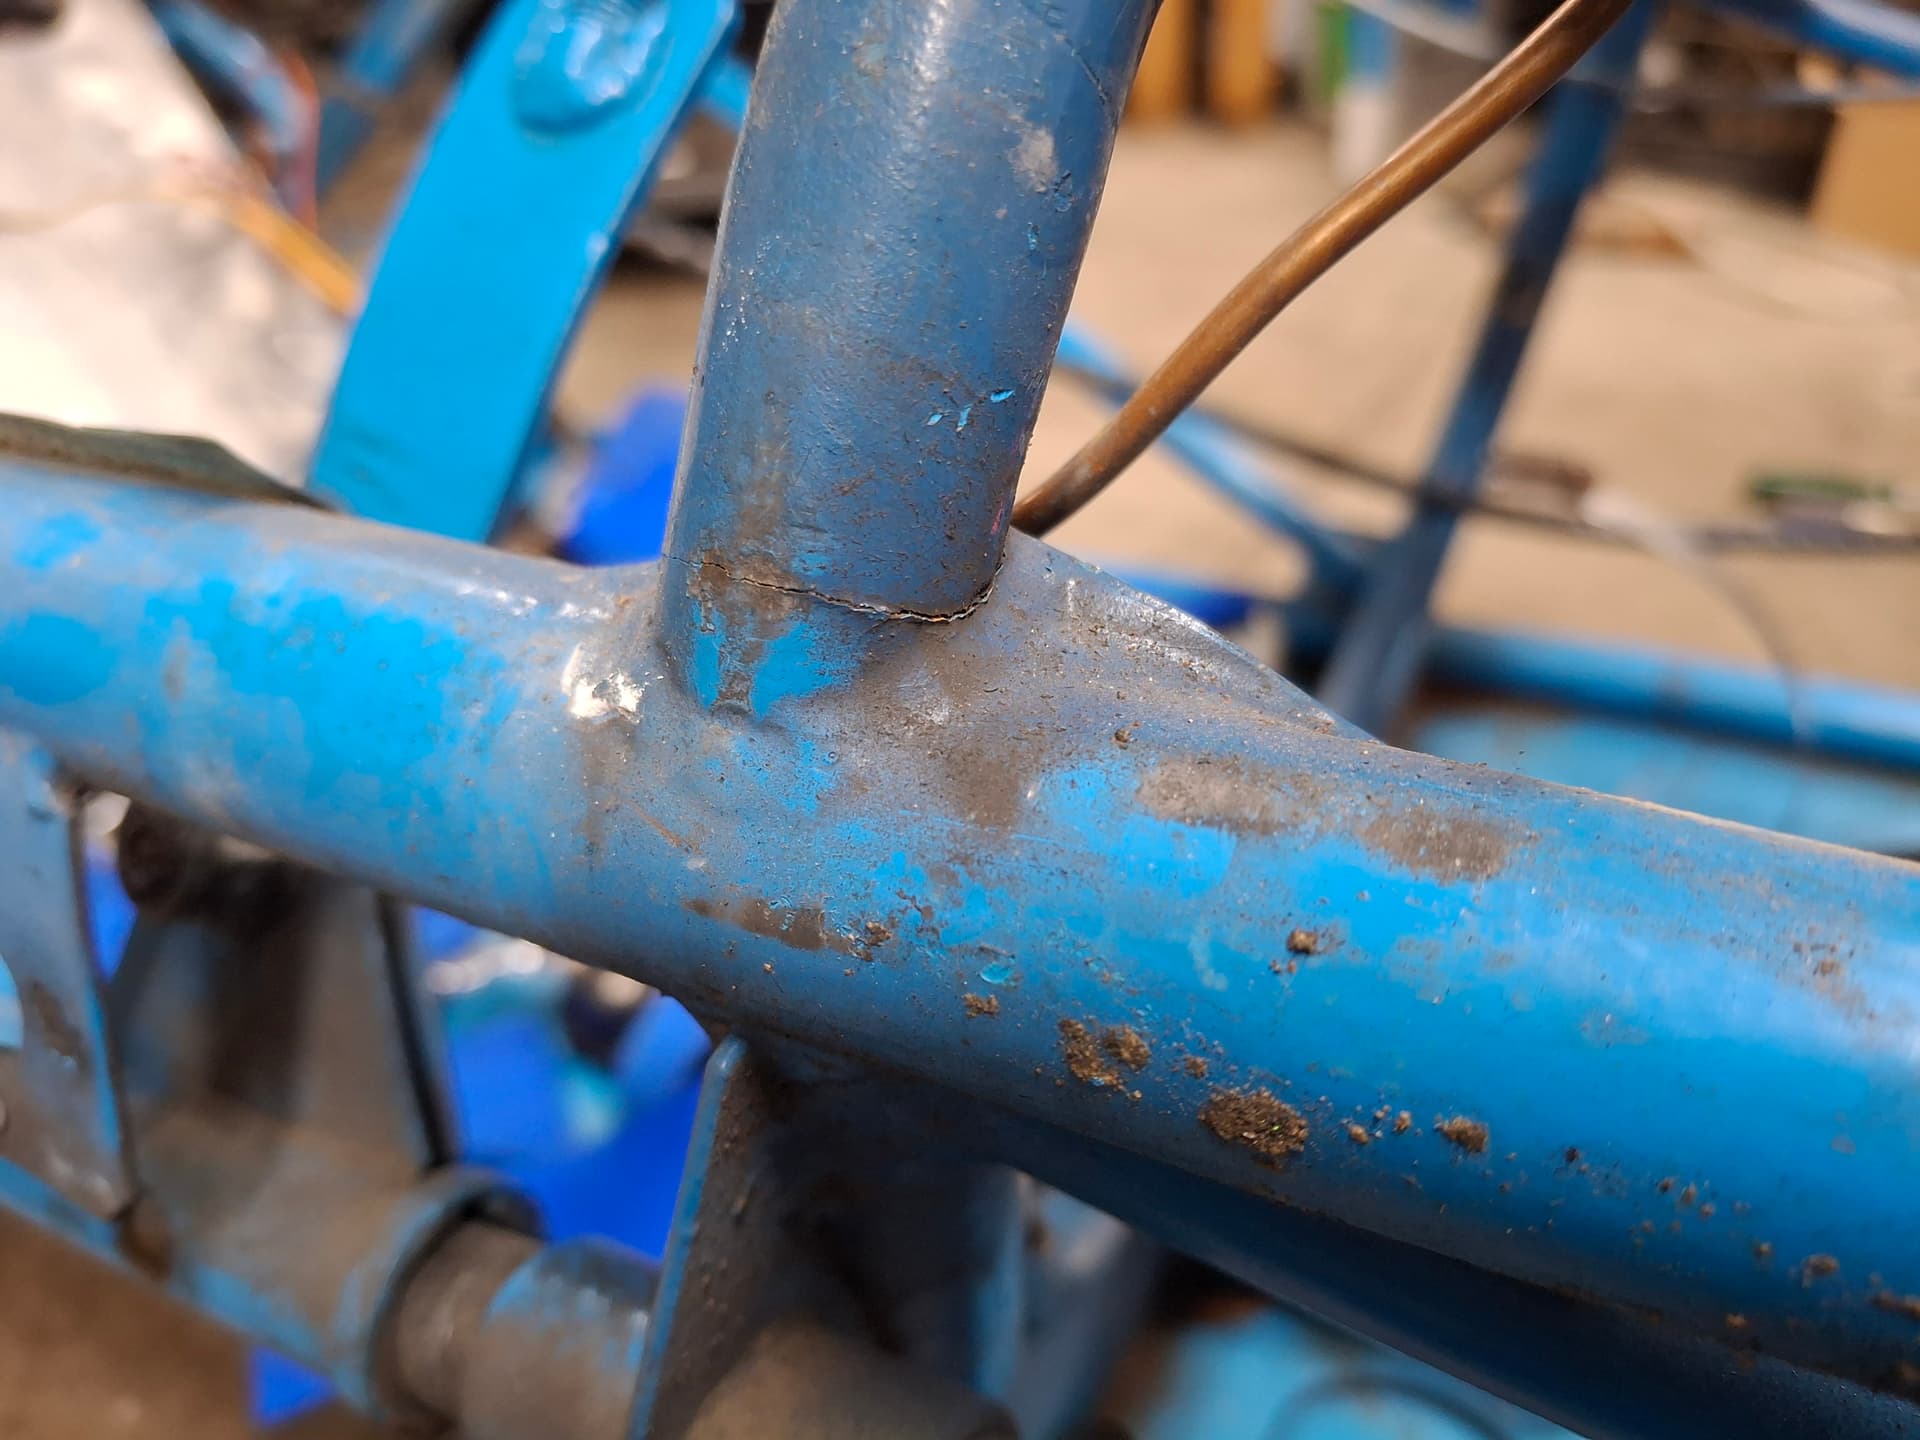
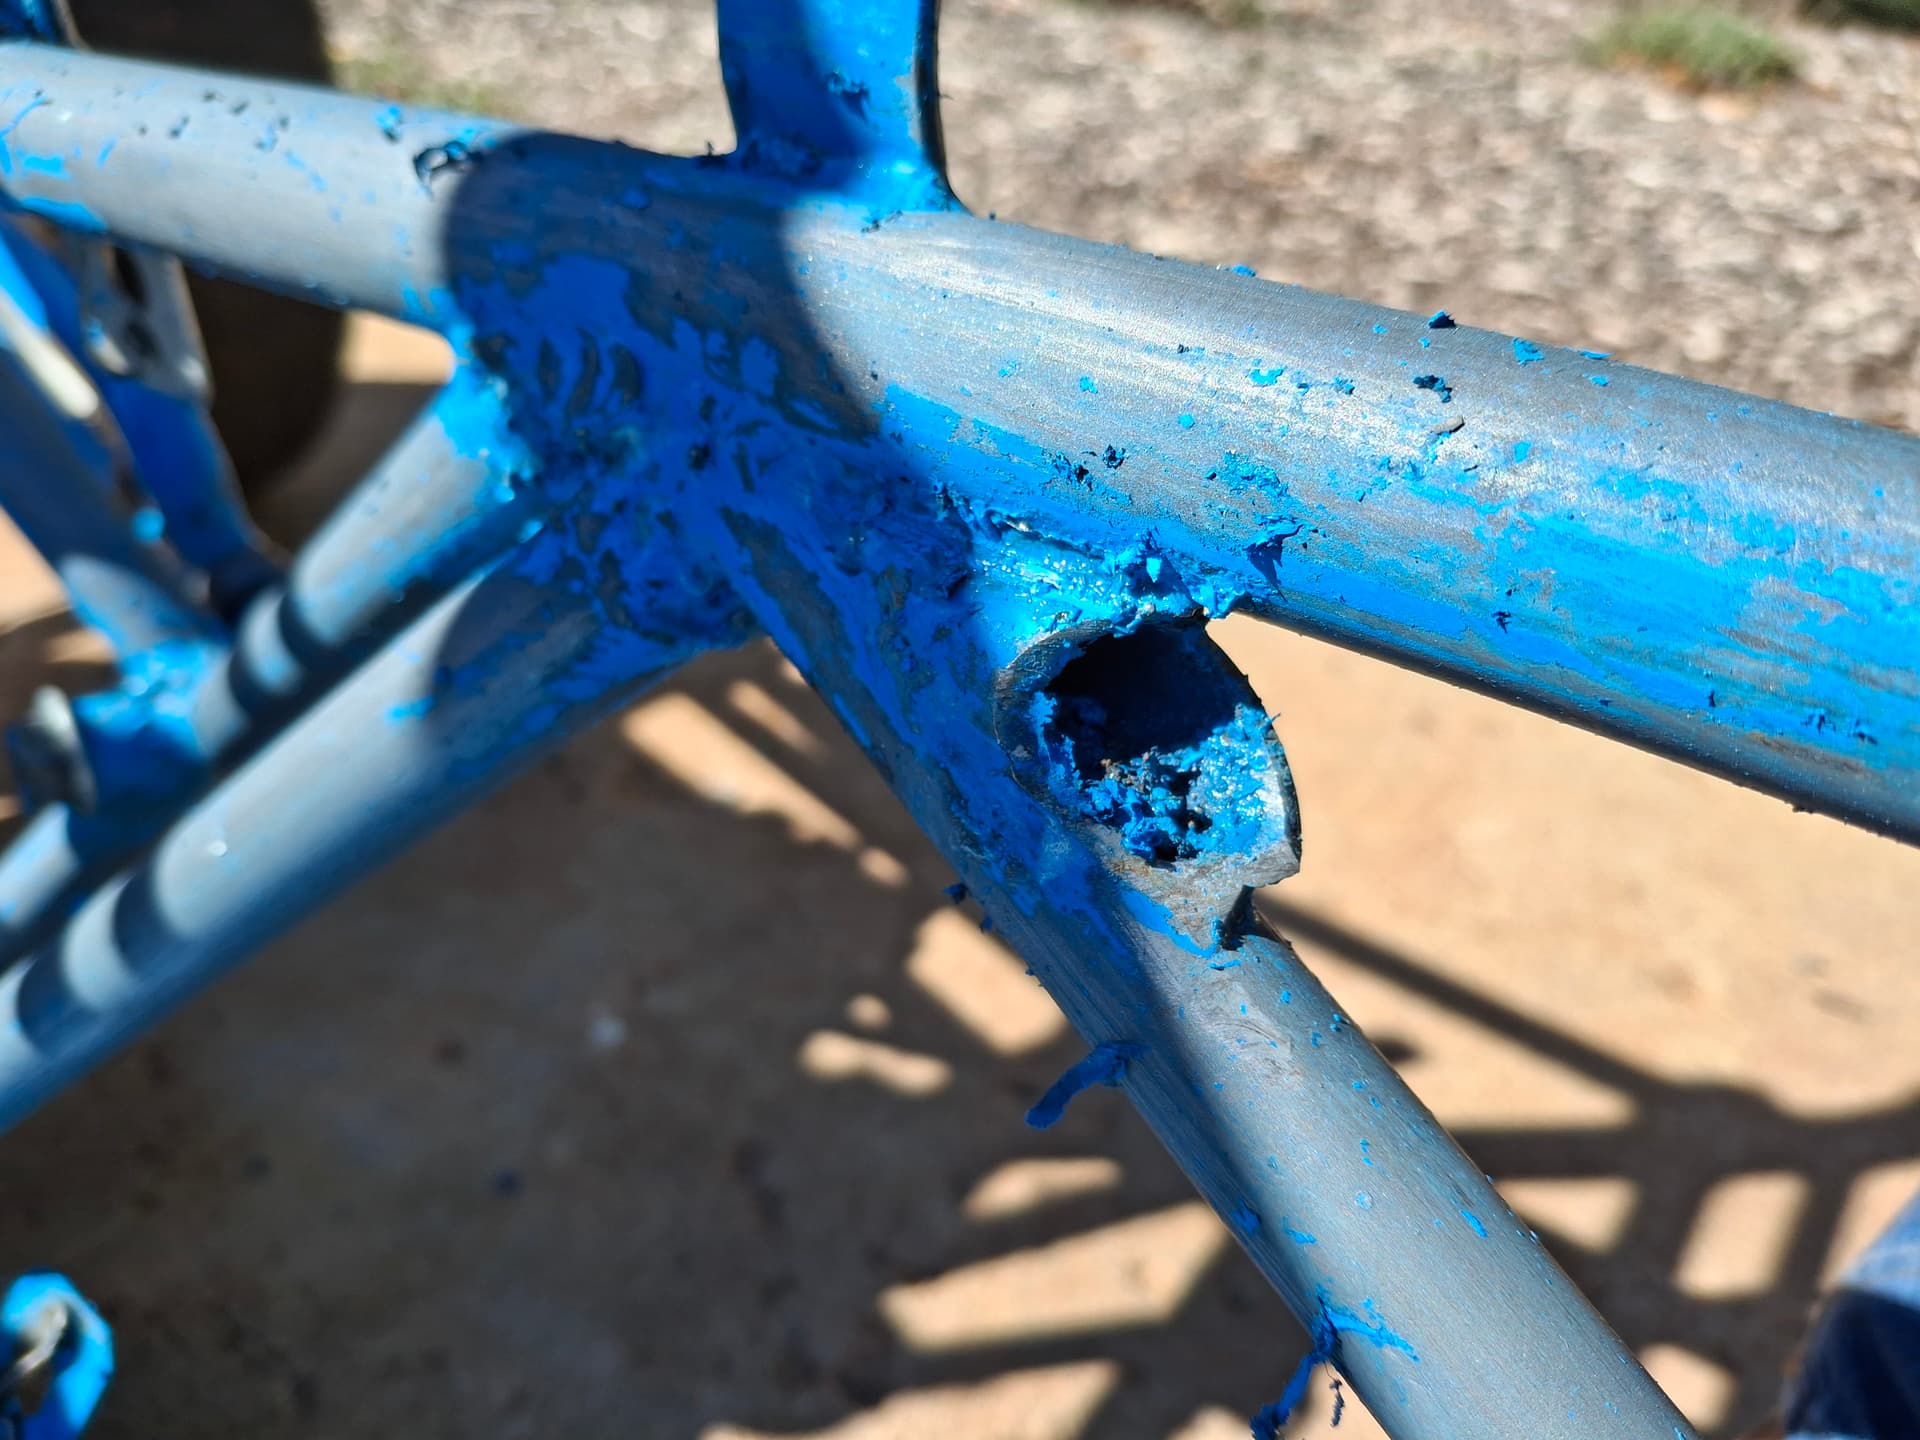
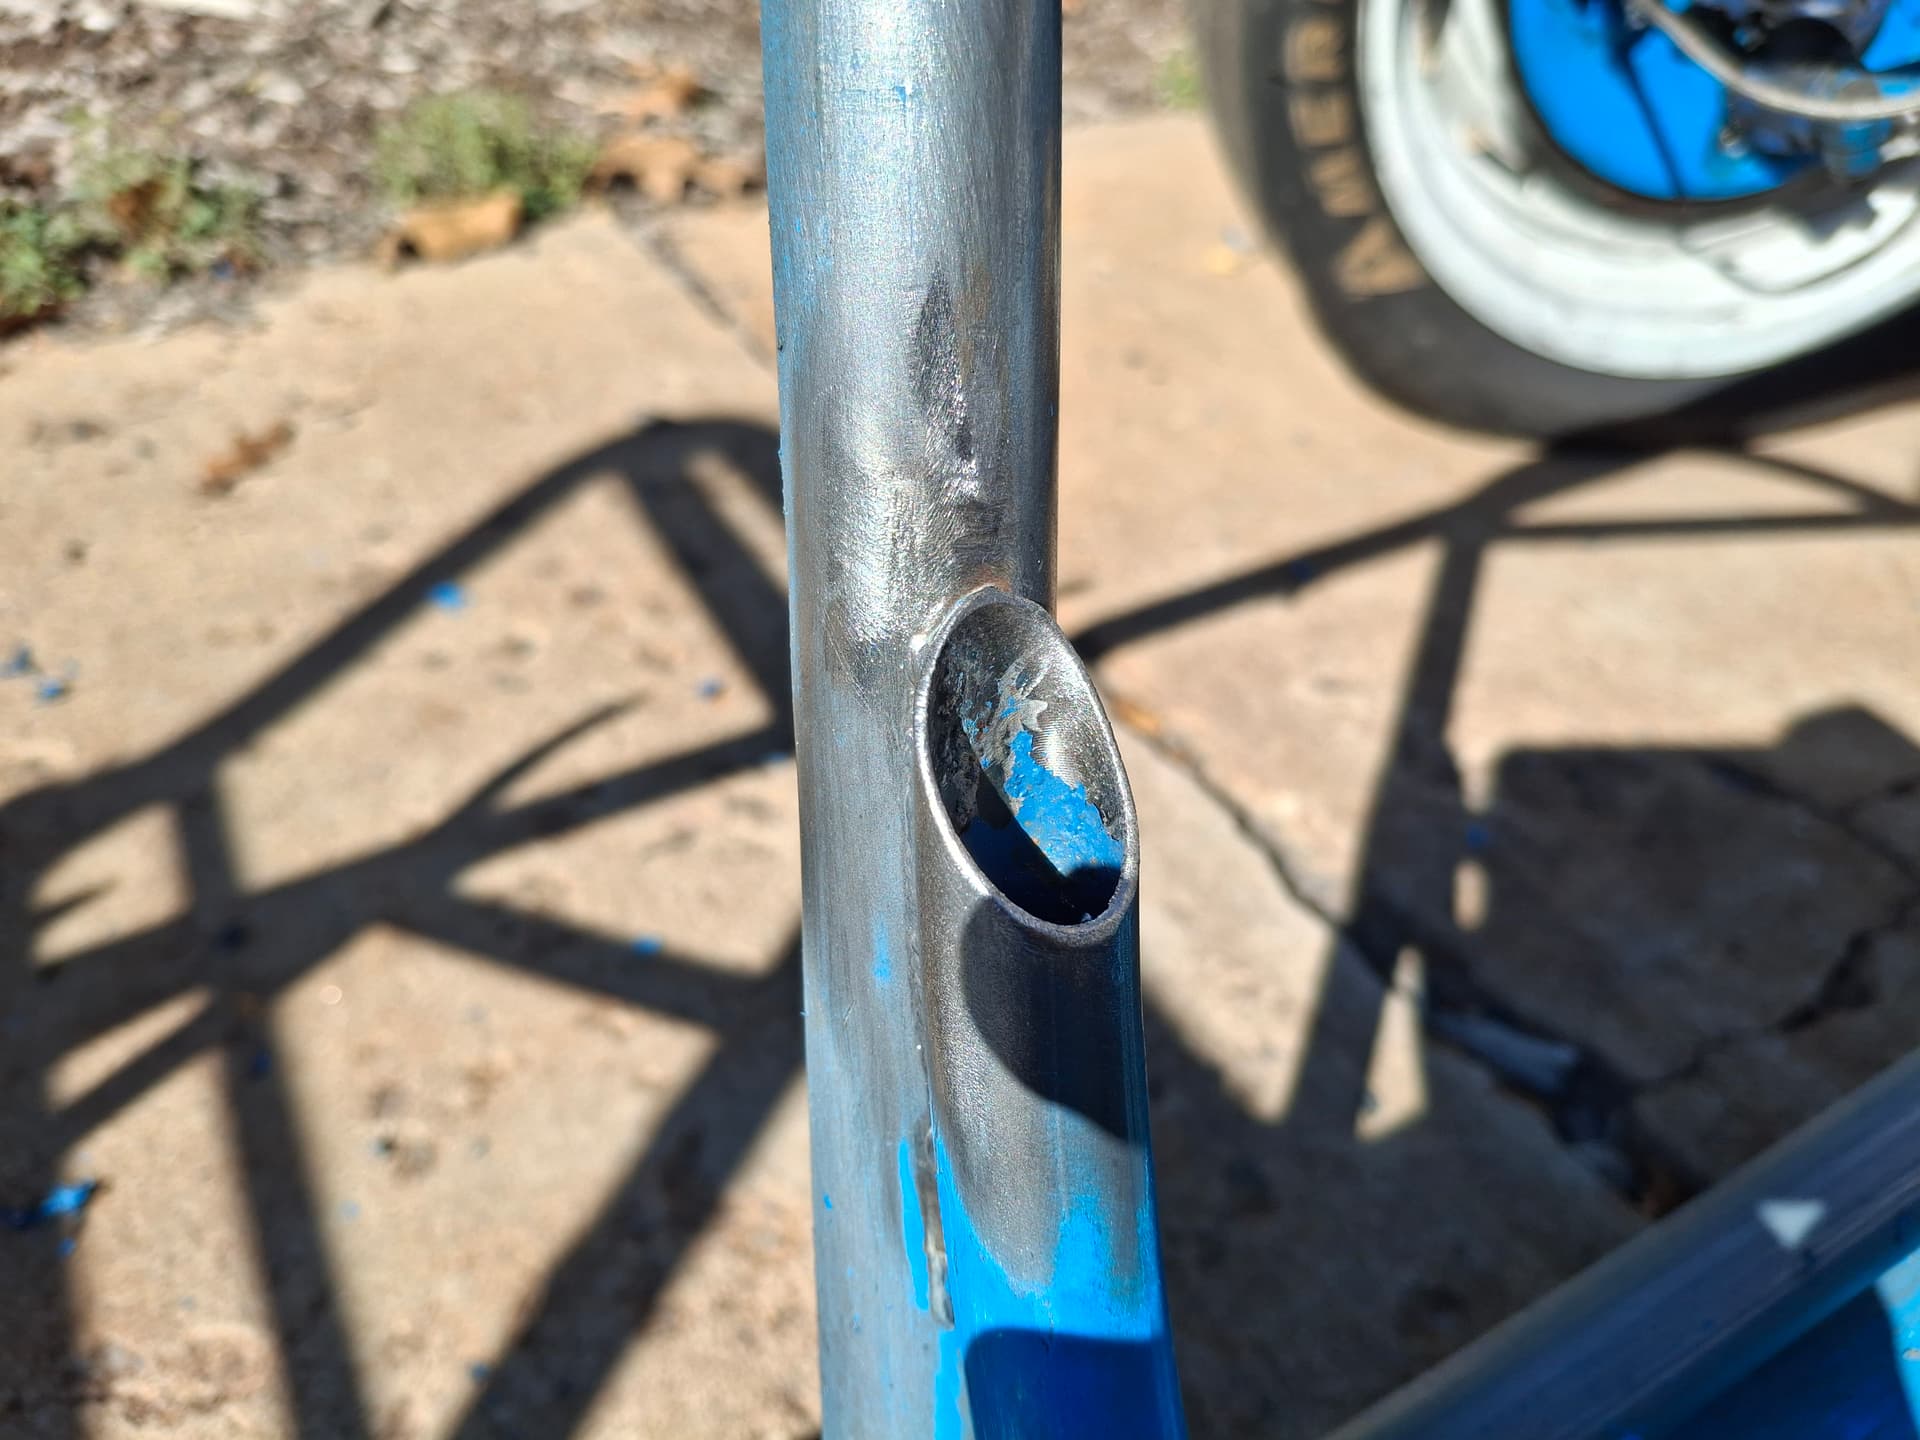
I haven’t really started inspecting the chassis, but I already found one big crack at the dashboard crossmember. My plan is to weld up the crack and gusset that area to discourage future cracks since there seems to be some flex happening in this area.

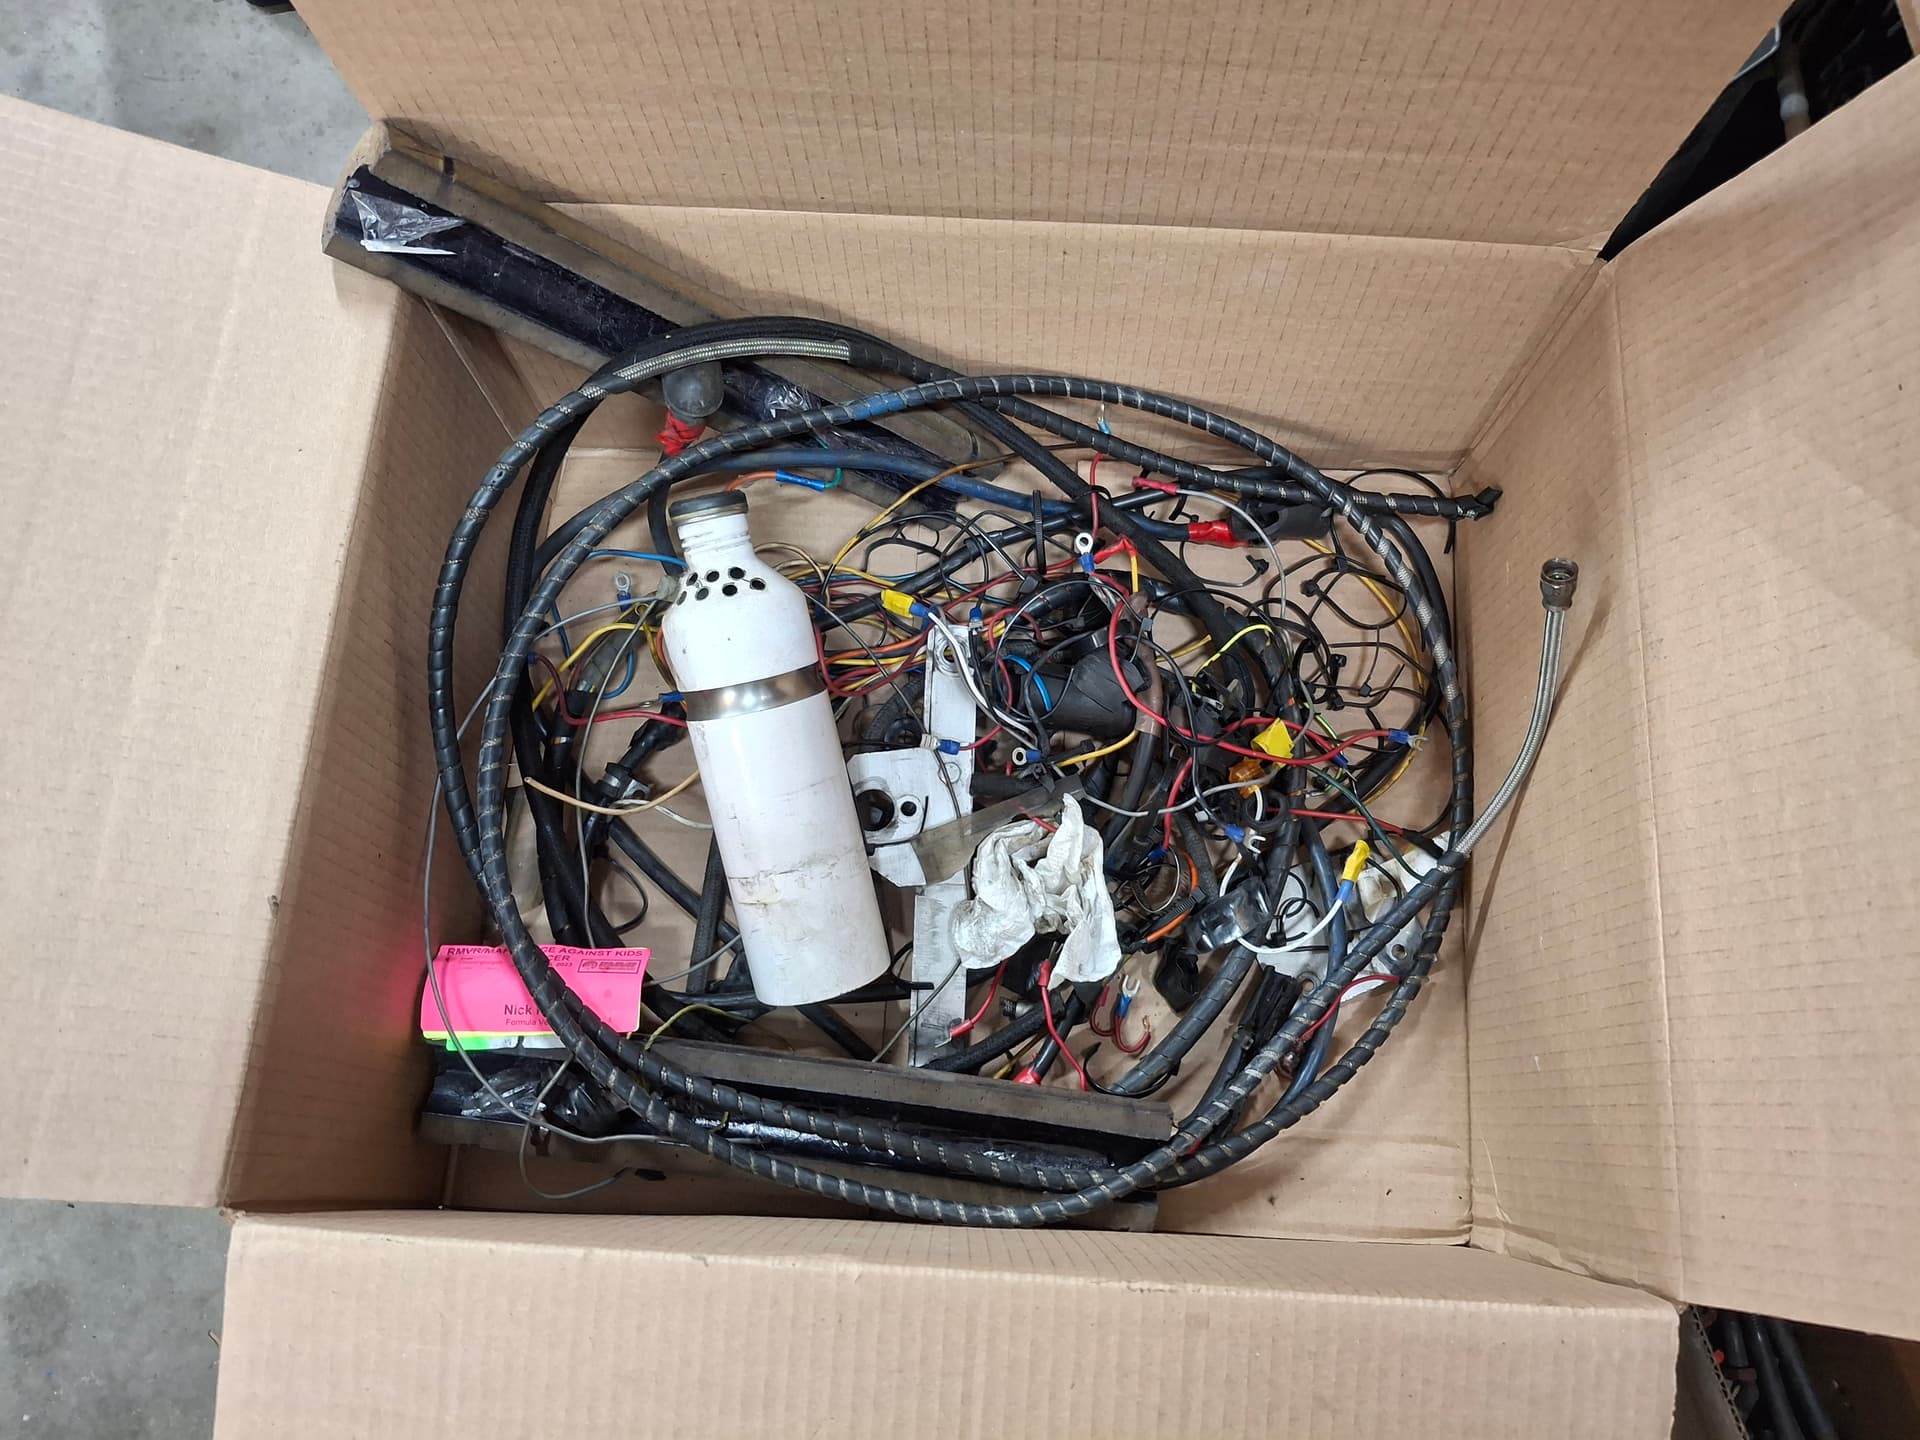
The box of stuff I won’t be reusing.

Post Alert:
@jonUU
@Sportsracer
@Datsun78
@Bob_Alder
@Rich
@Nick_H
@jackson_prime101
@Raybob9289
@GeorgeCurl
@dreimol

1 Like

Hmm. This reverberation between closed-wheel and open-wheel racecars sounds familiar. After racing production for a decade (1966 Porsche 912/199), I then went to open-wheel (1973 Merlyn mk24 FF, 1959 Huffaker BMC mk1 FJ), and just this past week i got back into a purpose-built closed-wheel racecar (1956 Lotus Eleven Le Mans TSRC4). The thing is, THEY ARE ALL FUN!!!

1 Like

Justin

I totally understand how you feel about “interfering” with history, but in the interest of your safety redoing things makes complete sense. An alternative argument could be made that racing a car in its original state is preserving history but it it’s unsafe and causes a catastrophic incident, the car gets destroyed and people get hurt. Not in the cars’ or occupants best interest.

You’re on the right track, pun intended. I totally rebuilt my bobsy chassis in the interest of safety.


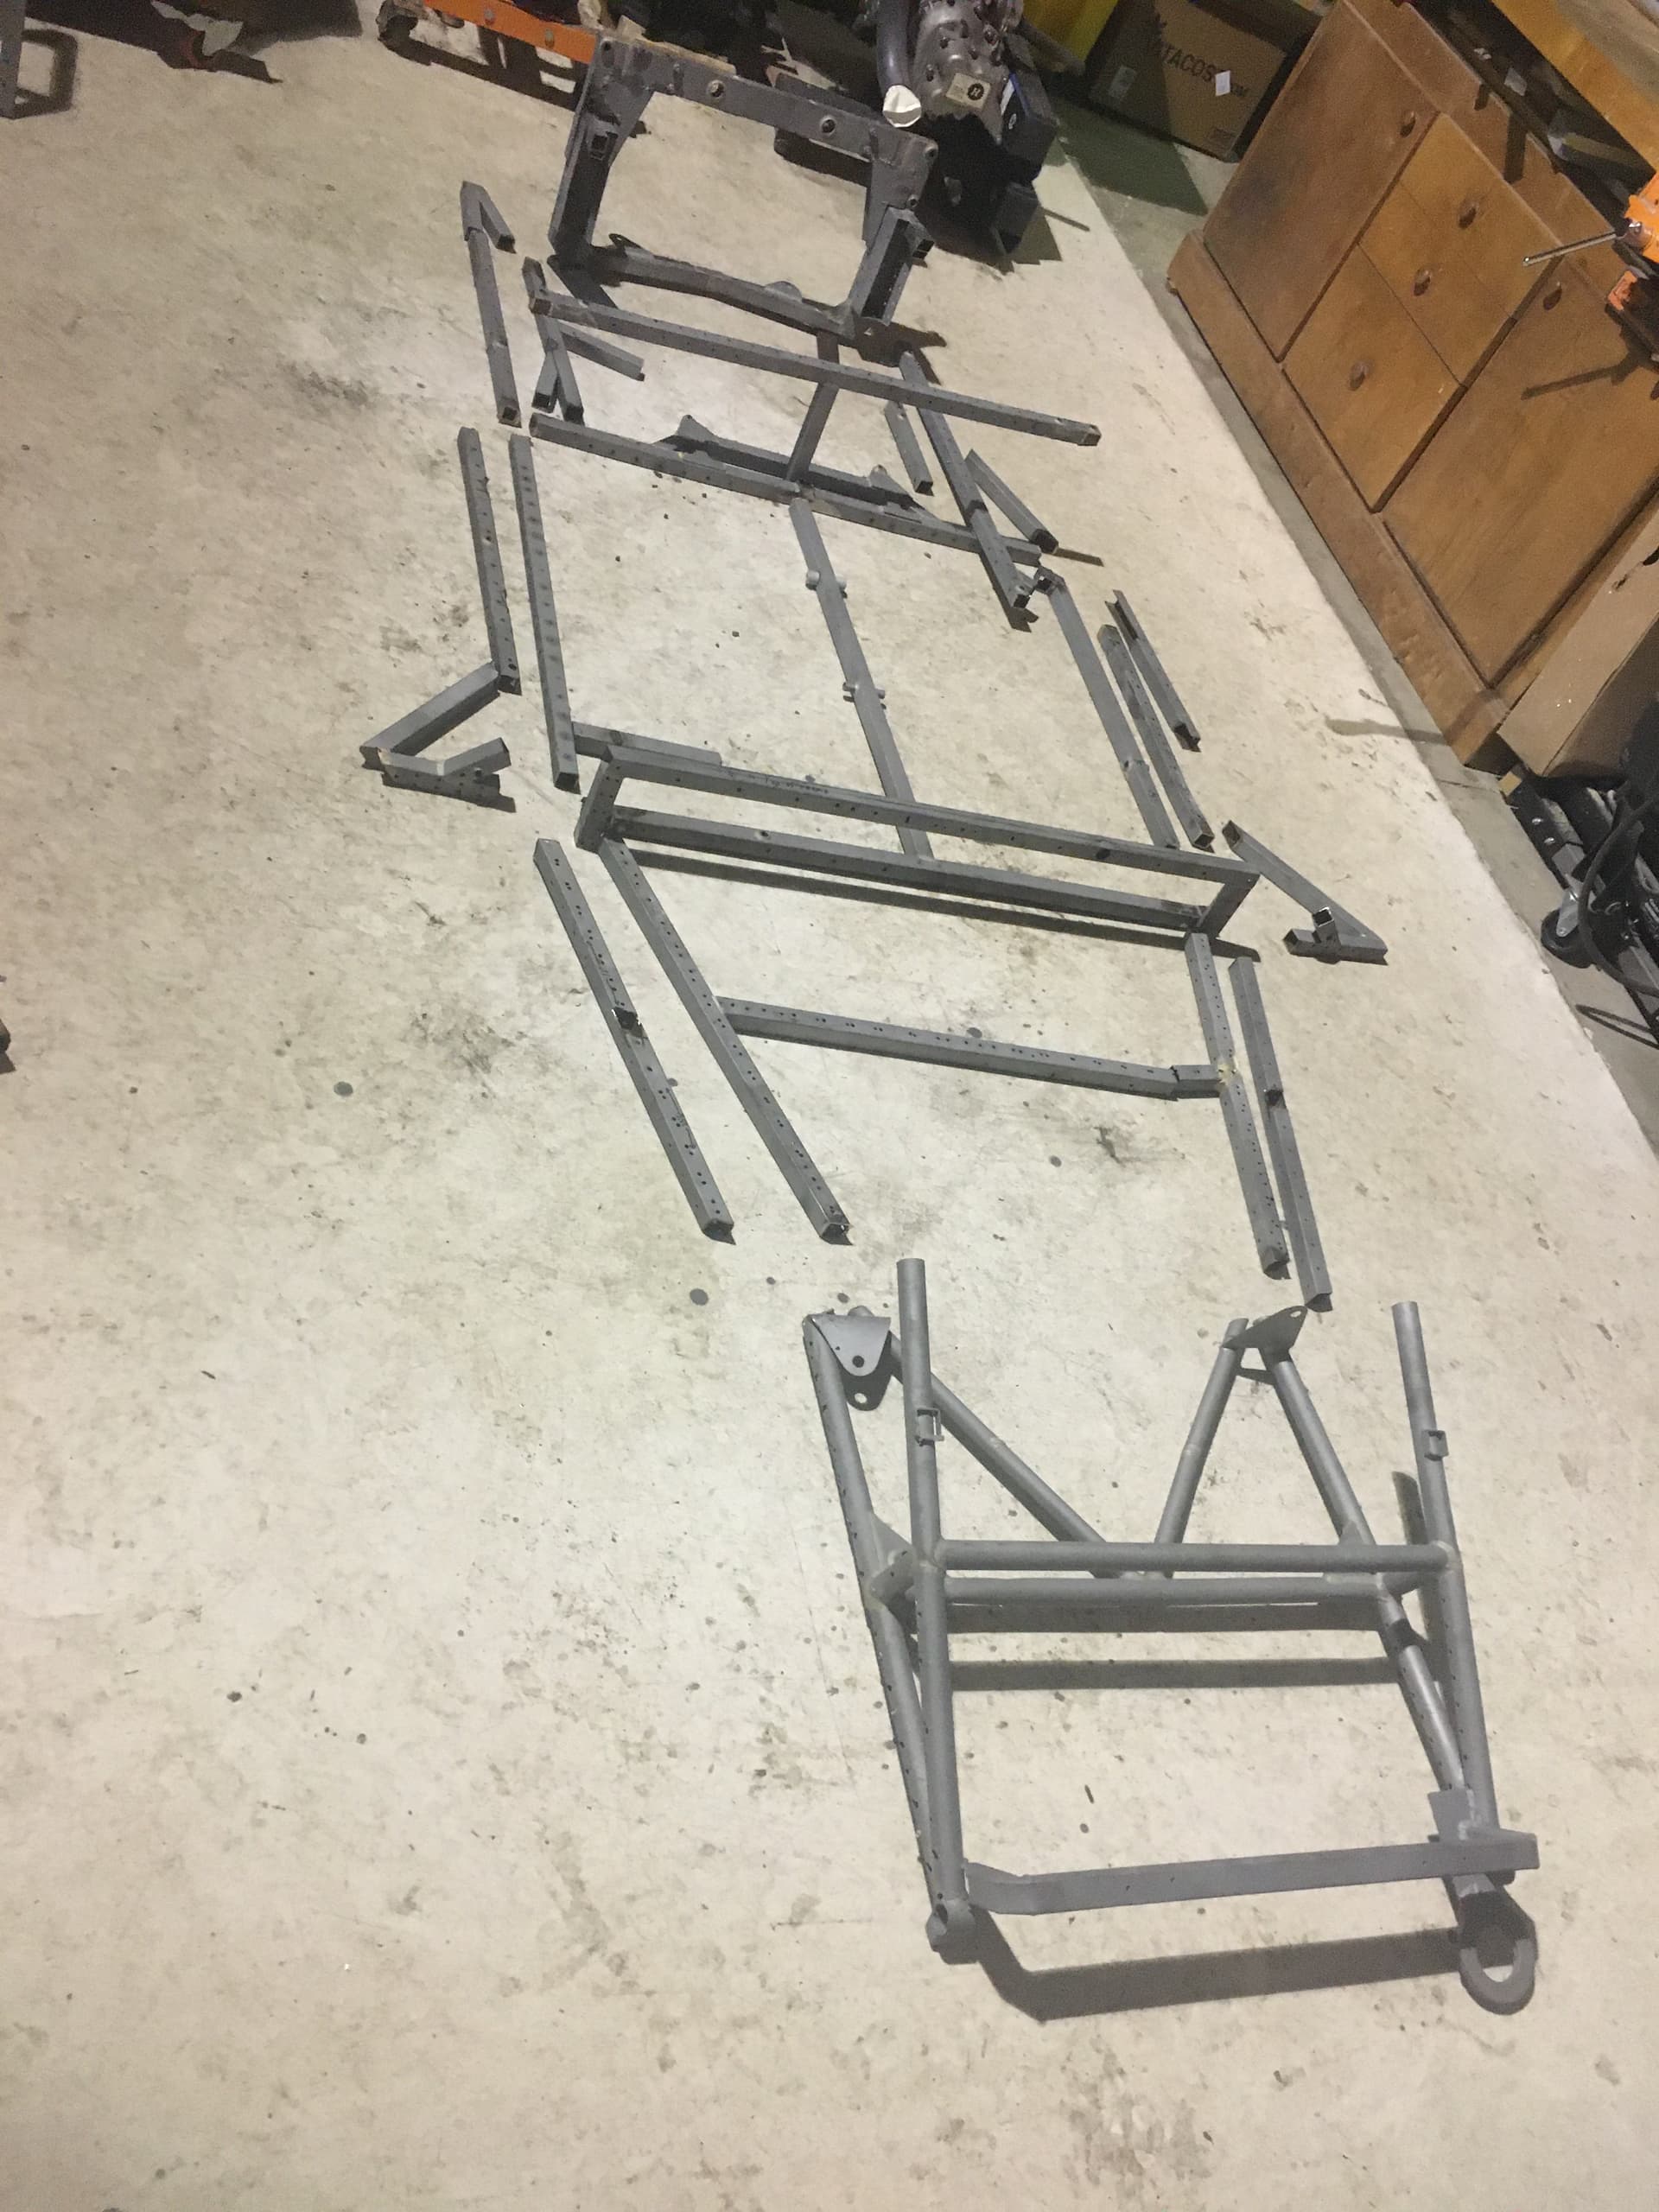
Pics of the tubes I replaced and of the finished chassis. In my mind racing a car with 50-60 year old chassis tubing is just not safe. These cars were designed with a few years of useful life, after all who would race a 5 year old chassis when the new model was better/faster. (At least according to the sales brochure)

Yes you certainly can repair cracks and reinforce weak areas, at the expense of adding weight and chasing further cracks after the stress gets moved by adding reinforcements.

When I cut mine apart I was shocked at the amount of rust internally in the tubes and the thin wall tubing used in construction. In my car the semi monocoque construction utilized thin wall sheeting as well as thin wall tubing. The Bobsy was designed as C and D sports racers with maybe 125 hp. Some cars had upgraded engines with 200 hp installed by racers like Jim Trueman who won the runoffs a few times with Bobsys. These cars were replaced every one to two seasons.

Anyway I my mind, going fast is just unsafe in an old race car without a proper restoration. Just my 2 cents.

I’ve seen your abilities in the construction of the cuda and I know you’re capable of quality repairs.

Best
Tom

2 Likes

Thanks Tom @Sportsracer. While I completely agree with your restoration and advice, I’m doing my utmost best at the moment to restrain myself on the Beach having just really thrown myself into going all out (for what I can afford) with the Barracuda :joy: I have to keep reminding myself that the Beach is supposed to be the “affordable and easy” race car for a change, which can very quickly turn into fabricating a new chassis and throwing out that whole “affordable and easy” thing.

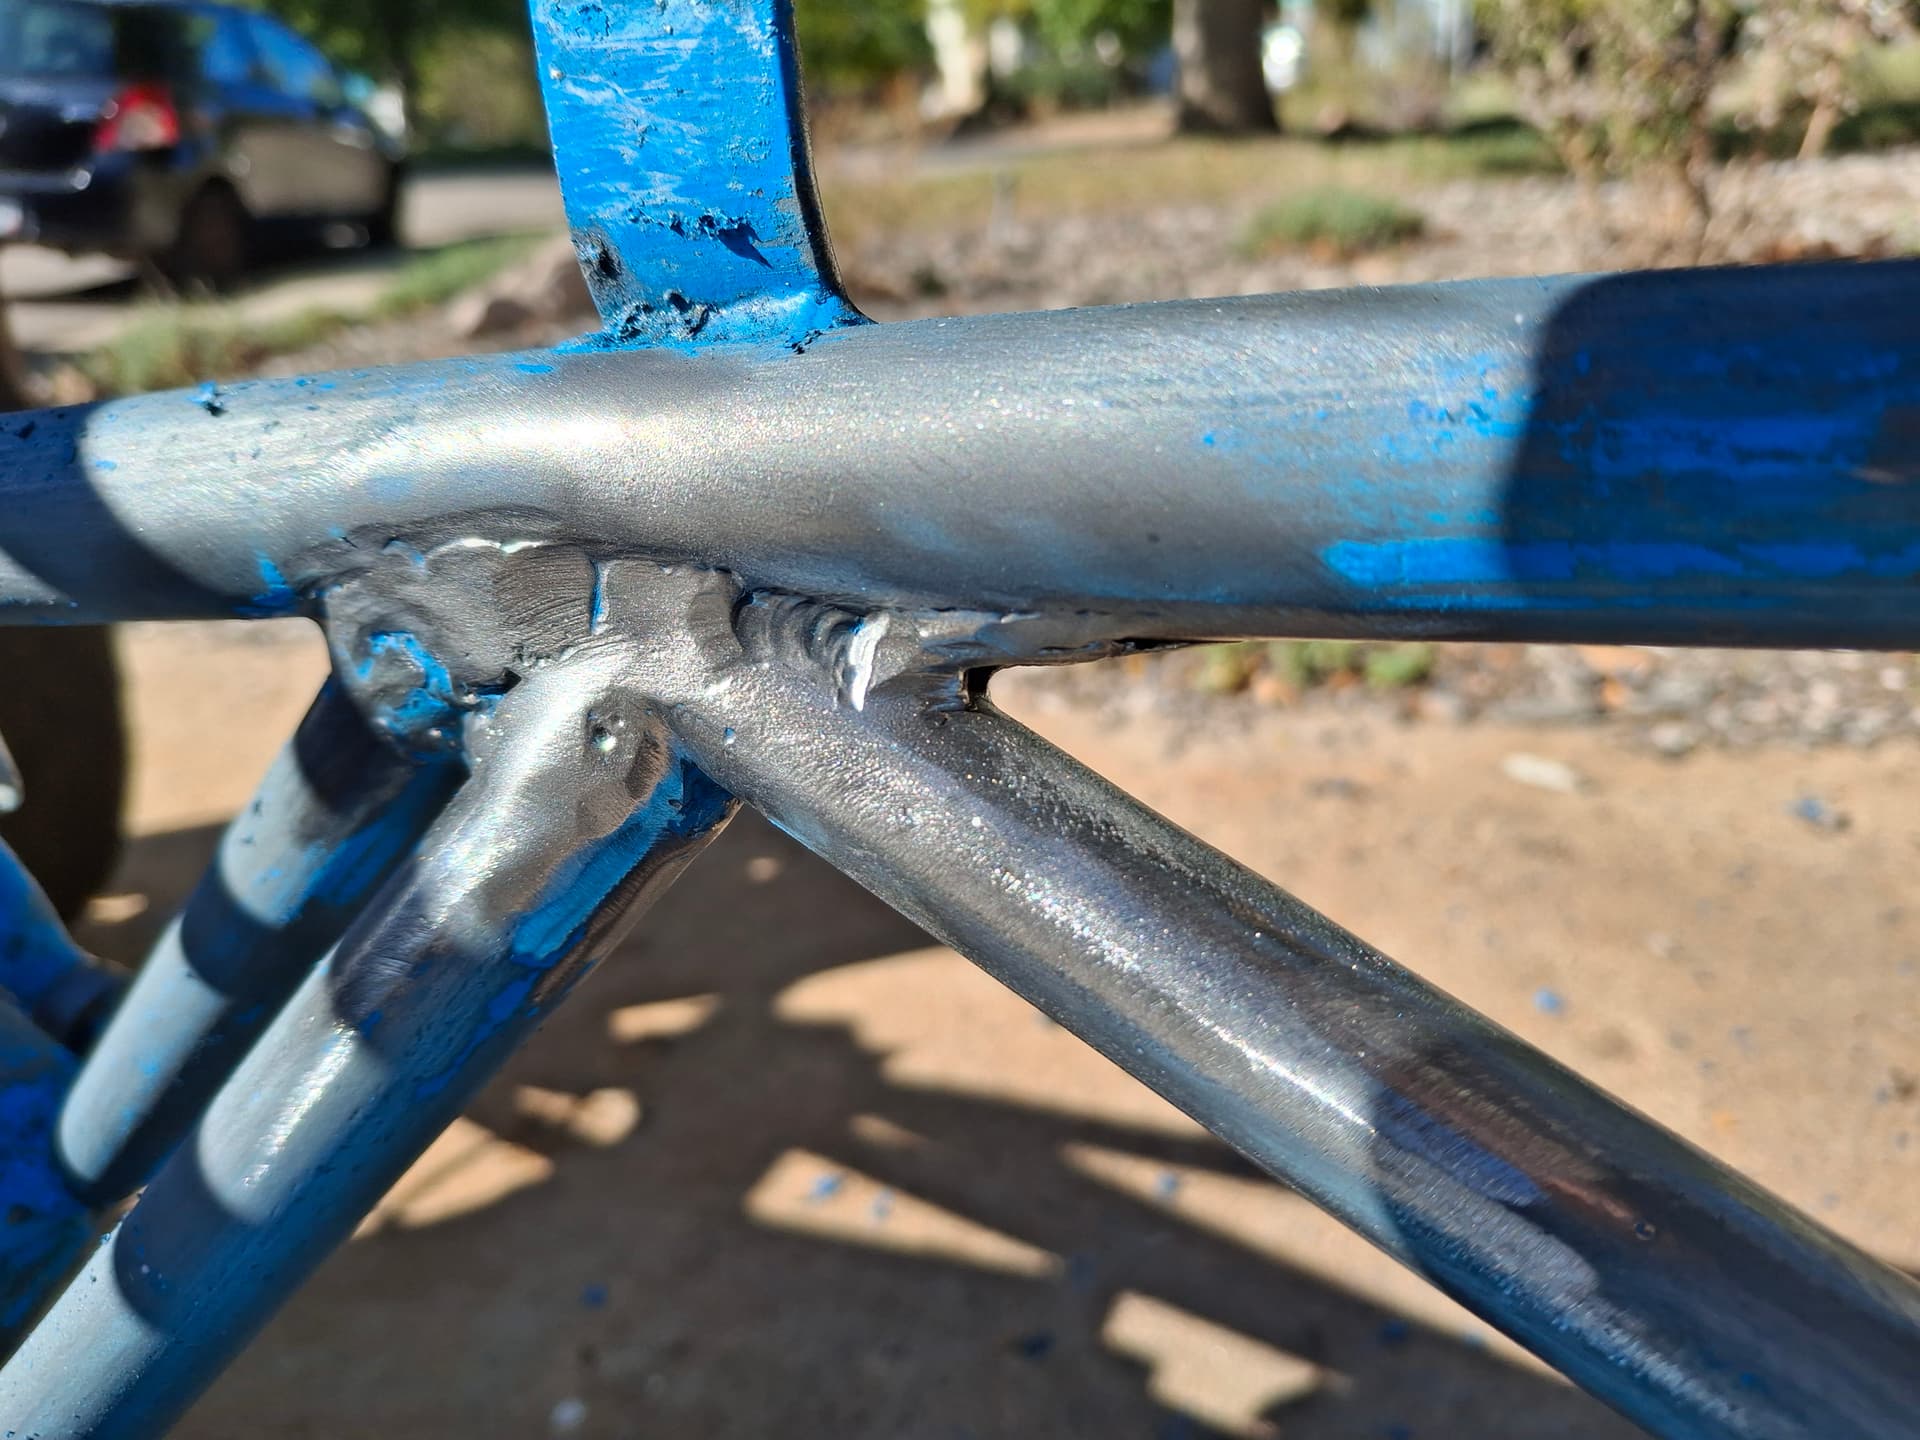
I’m starting to notice more welded repairs particularly at the triangulated section for the rear axle leading arms connection that really poured on the filler, so it’ll be interesting to see what’s underneath once I grind down the excessive filler. That section might need replacing, although I think a small gusset is likely wise regardless since it’s a stress point.

1 Like

Disassembly Continues
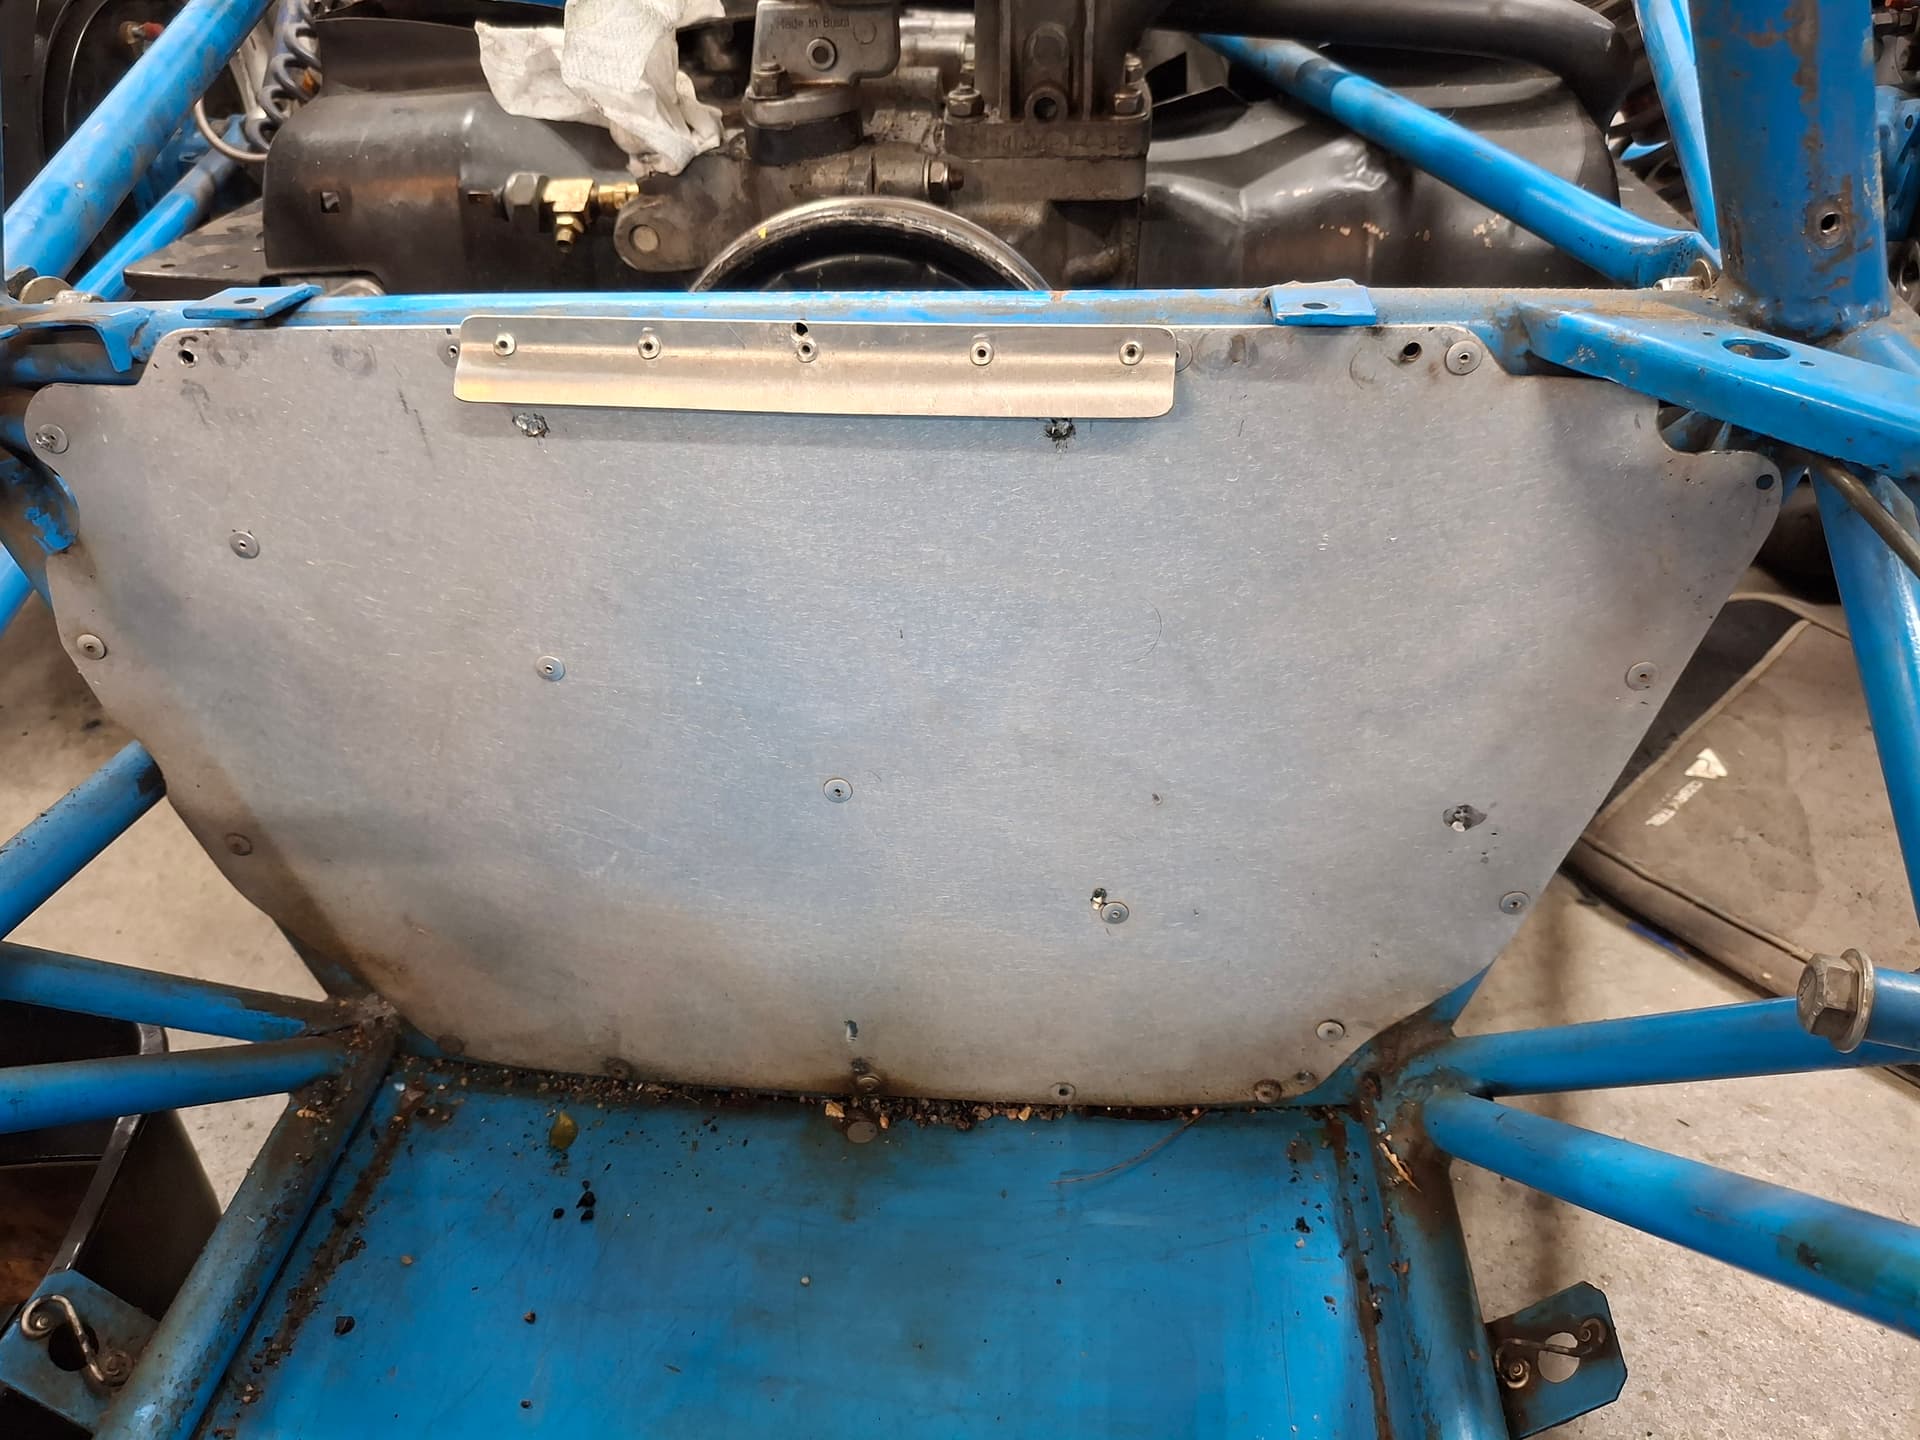
I’m plugging away at the disassembly and now have the engine ready to pull (maybe this weekend). The firewall was split into two 14 gauge aluminum panels, and I’m going to build a single panel of steel sheet since I need to add a little weight to the car to meet spec and I prefer to have steel between me/the fuel cell and the engine. The upper panel screwed to the chassis, while the lower was pop-riveted. I drilled out the pop rivets and removed the panel, and I’ll drill a small access hole in the tubing where a telescoping magnet can grab the pieces inside the tubing before welding up that hole (thanks Nathan Down for that tip).

Brake System Tabs
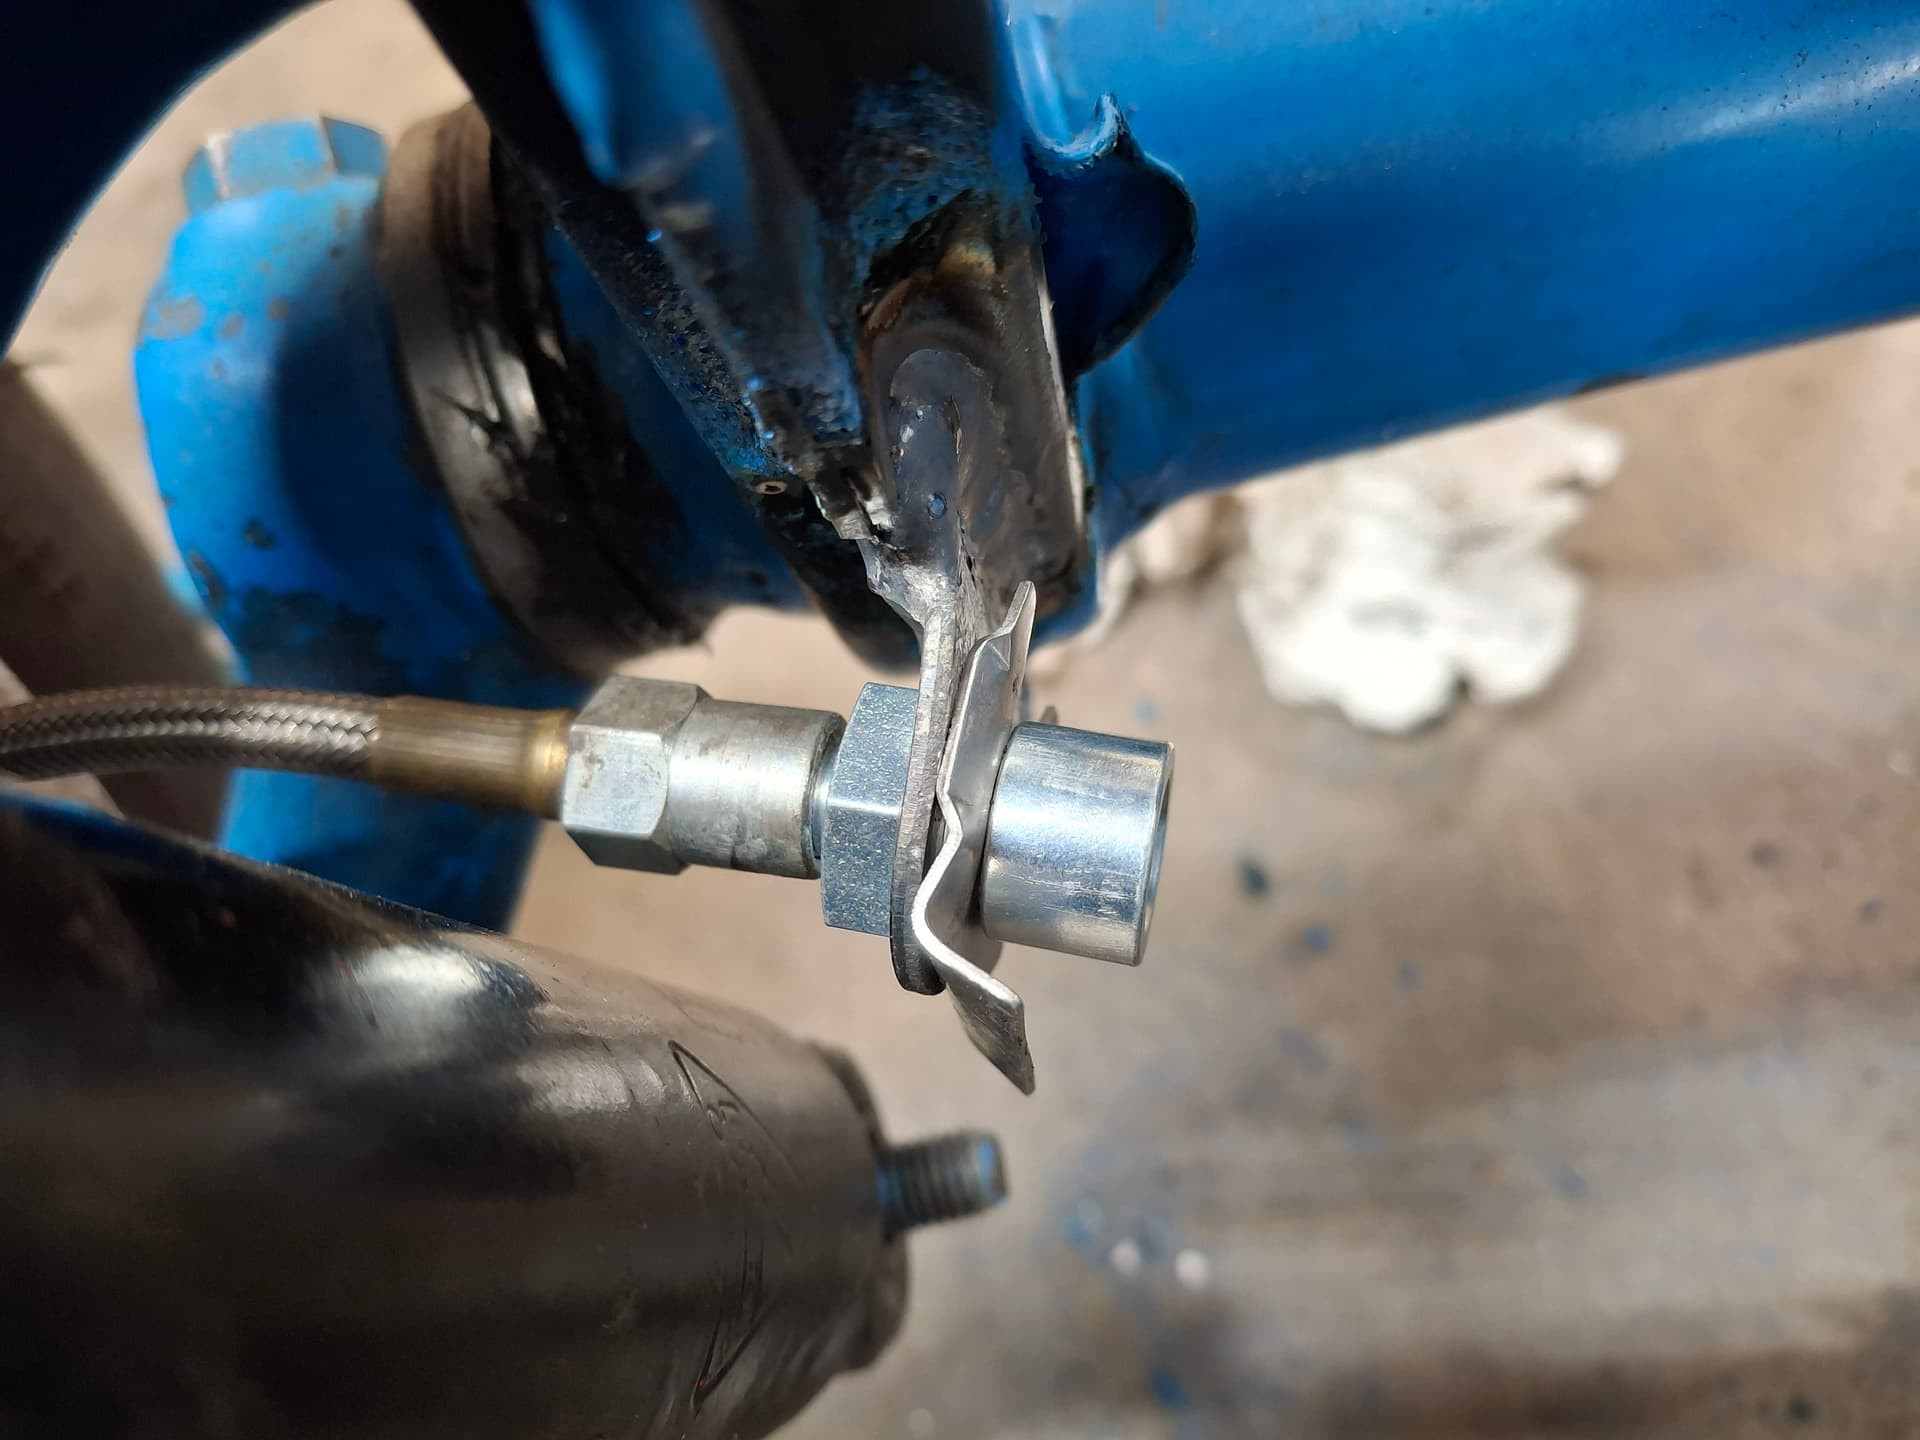
I finalized my plan for the new brake lines and laid them out. I’m going to run hard line throughout (I debated running hose throughout) and use 16"-long -3 AN braided stainless PTFE hoses from the hard lines to the wheel cylinders and clutch slave cylinder so that I only need one length of hose for a couple spares.

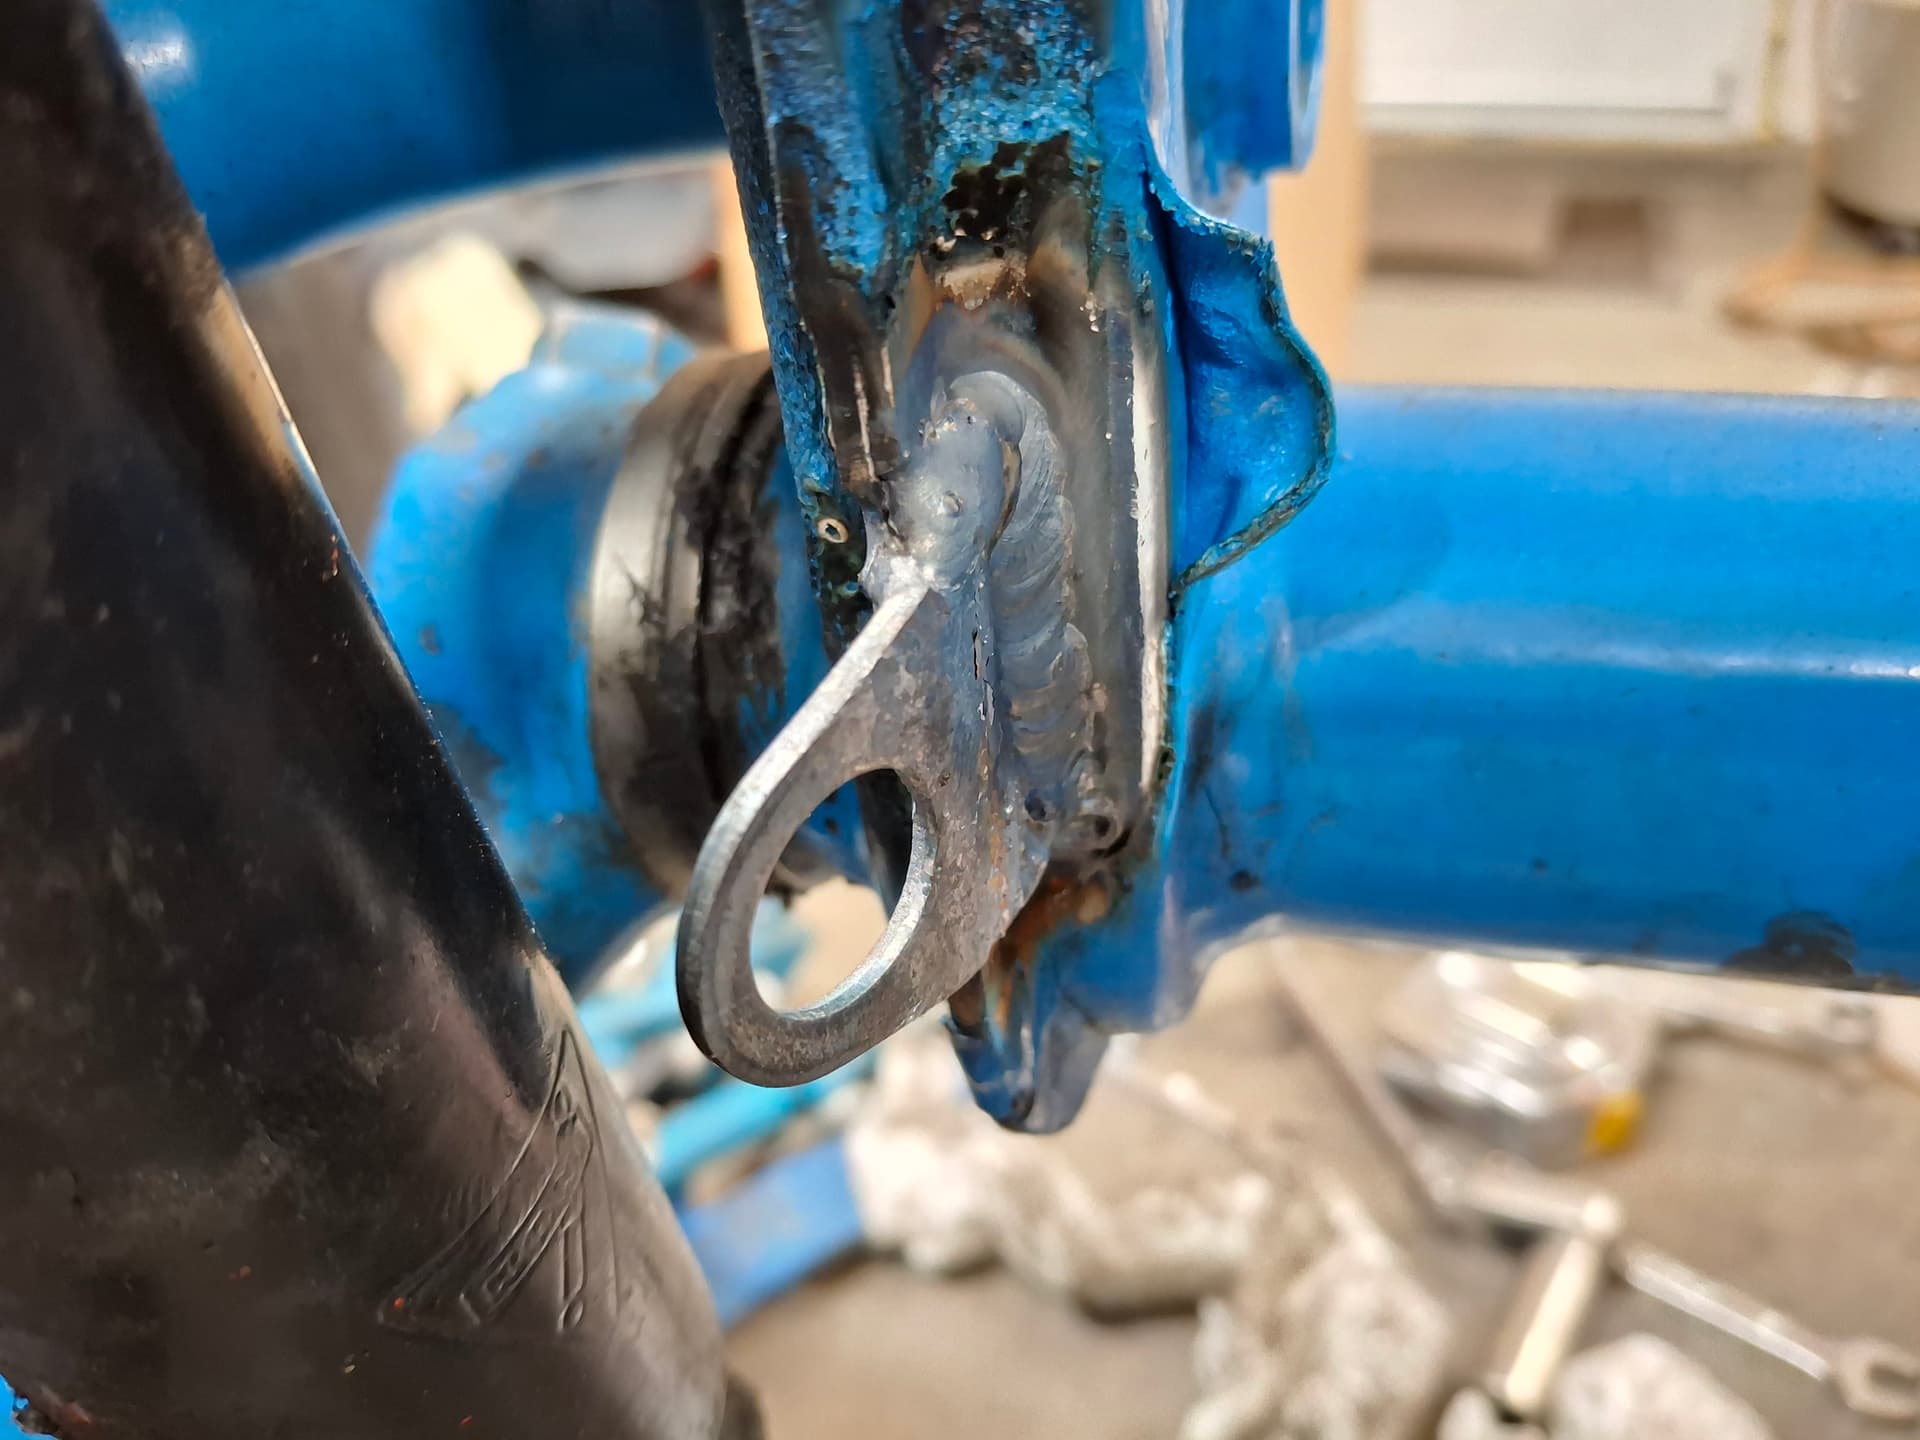
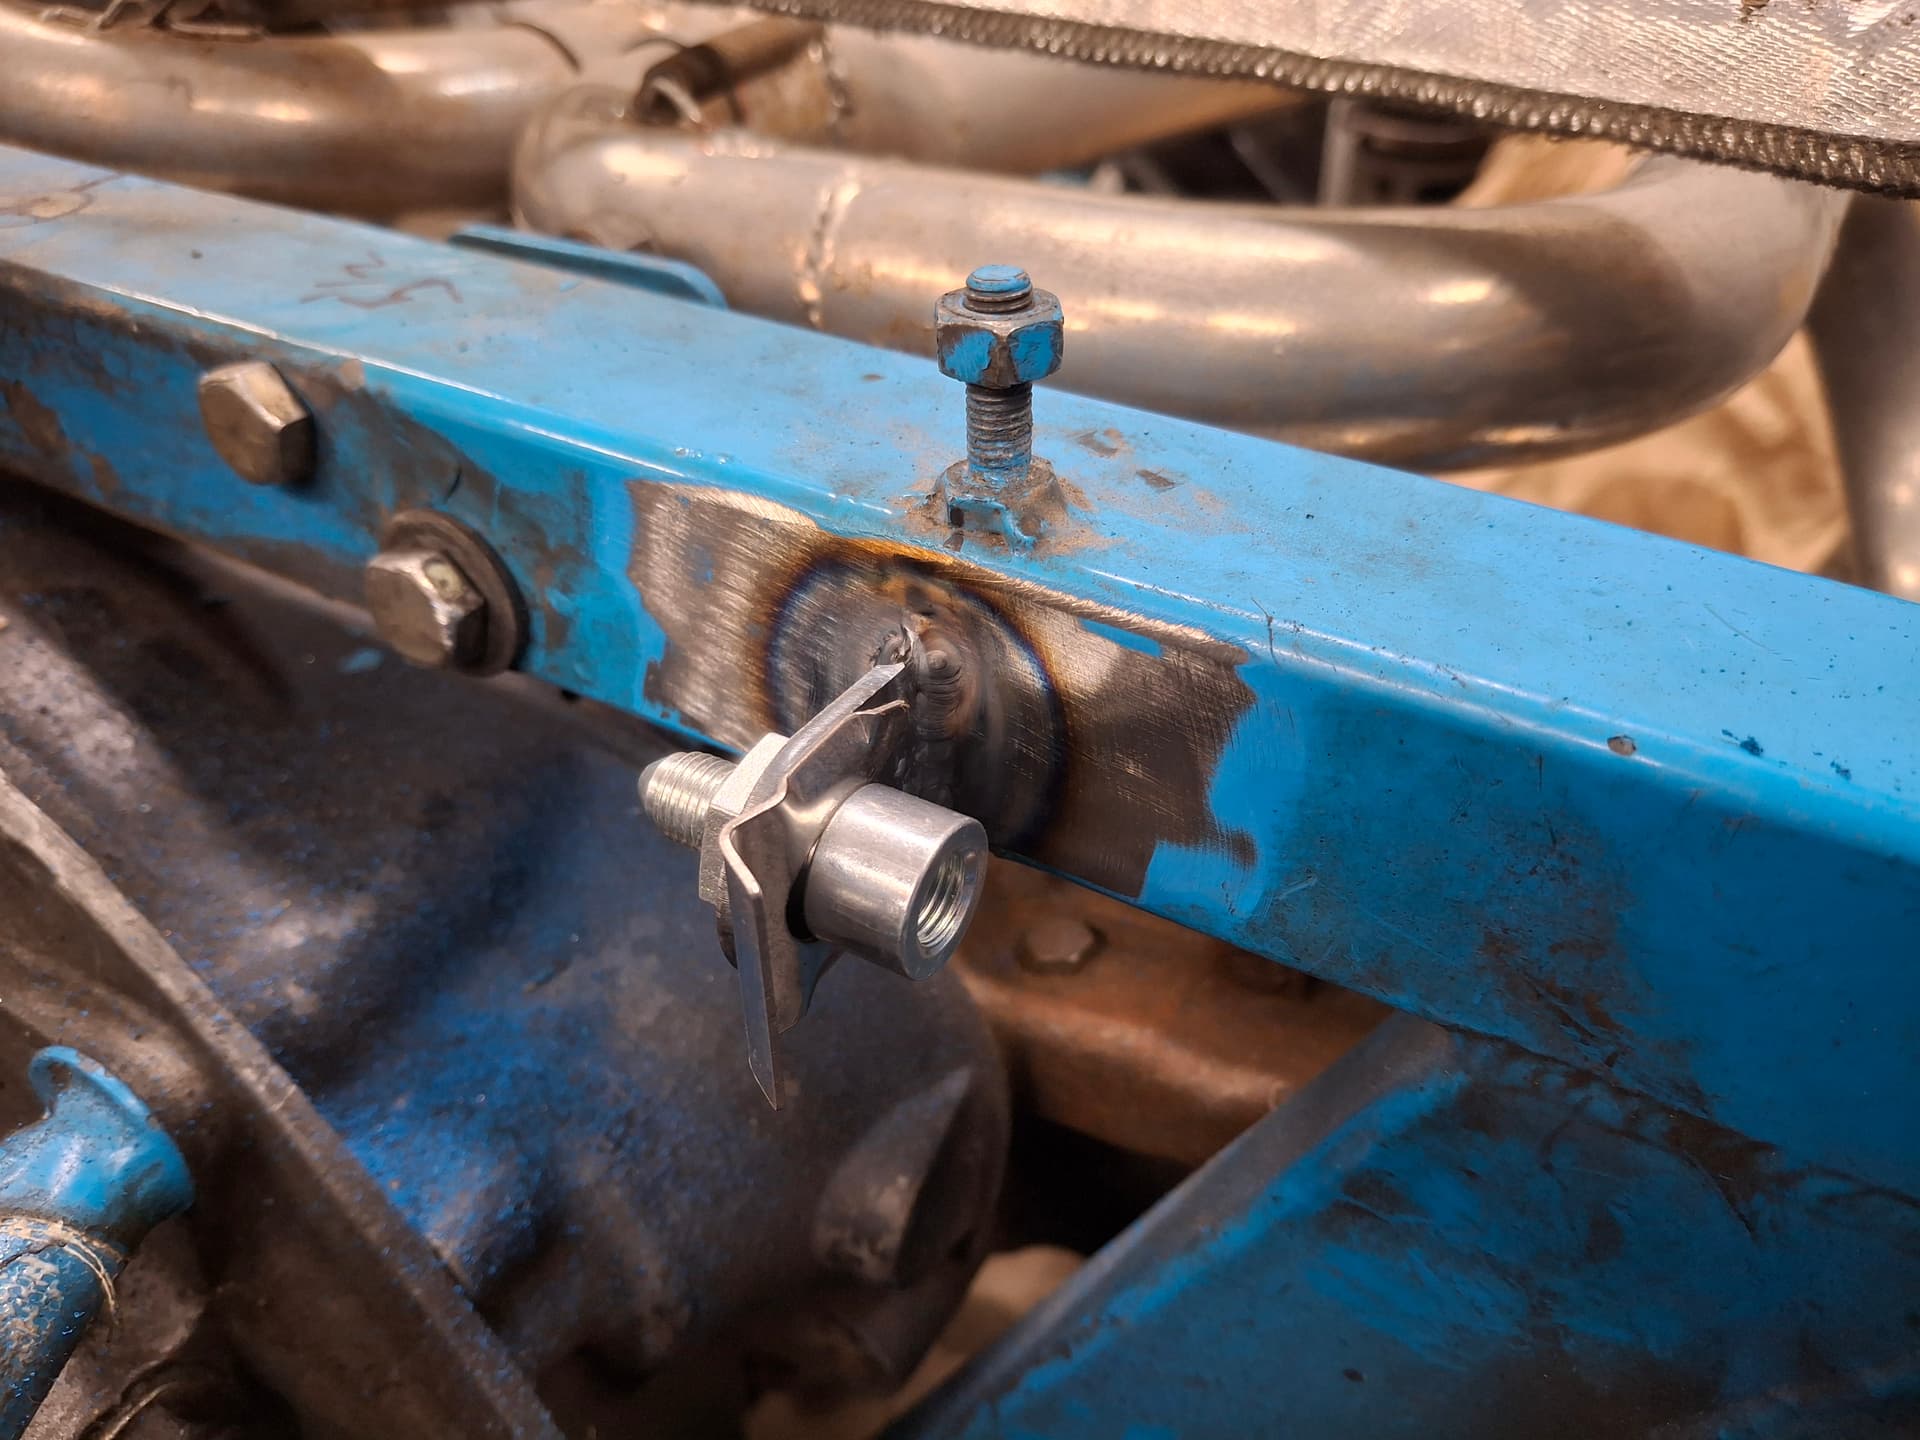
The front hard lines at the hose connections were tied to the axle with safety wire. I welded tabs to the axle that will now secure the 3/8 inverted flare to -3 AN adapters. In doing so, I learned the same lesson I learned with the Barracuda steel: factory VW steel doesn’t play well with TIG welding. I think it’s the higher carbon content that results in the puddle popping regardless of how clean I prep the material and how much I play with the argon flow. If I have to weld on the front axle any more (I don’t think I will), it’ll be using MIG, which puts down a much cleaner weld. For the clutch slave cylinder hose, I welded the tab onto the rear crossmember. I found that while the chassis is painted, the front axle is powder coated to my disappointment since I was hoping to strip it but will not likely inspect it carefully, scuff it, and paint it.

I haven’t placed an order for the brake fittings yet (I’m collecting more parts to place some larger Summit/Jegs/Speedway orders for free shipping), so I can’t bend up and flaring the lines just yet.

Post Alert:
@jonUU
@Sportsracer
@Datsun78
@Bob_Alder
@Rich
@Nick_H
@jackson_prime101
@Raybob9289
@GeorgeCurl
@dreimol

Justin looks like a great winter project is underway. The fun part these kinds of projects is the vision for the final evolution of the car. All the details that once finished make it what you had envisioned.

The tedious part is getting there! I hope the magnet trick will for you. An awful lot of blind rivets have aluminum “nails” which obviously aren’t magnetic. Yes there are handful’s of them hidden inside the tubes, I sure was shocked when I started tearing into mine.

I would never try to sway anyone’s thinking about their project, and by sharing my experiences I hope I haven’t done that.

One of the most overlooked aspects regarding weight in a race car is that by making the car as light as possible, you gain to ability to add the weight back where you need to put it to balance in the car. I wasn’t able to that with the Bobsy as I added quite a bit of structure to the chassis after I decided to add horsepower to the equation. The Miata however I had some room with weight. I ended up bolting in 40 pounds of plates in the right rear just in front of the shock tower for balance. Having tracked the car in its street version prior to conversion into a race car, the results are impressive. At RAKC this year I started to weekend on 200 treadwear street tires, and even though the car was a little understeery, it was very controllable. In dicing with Jeff Winters, pushing the car felt great, I never felt like I was going to lose the car. On Sunday when I put what I had left of the Hoosiers on, the car was fast. Almost 6 seconds faster than the street tires and it was super balanced setting a new personal best time at HPR in that car. I’m a believer!!

In the end race cars morph through the process of tuning them to do what you want. The key is being able to “see” and anticipate those changes and make appropriate accommodation for them during the build. Very tricky indeed.

Anyway enjoy this winter’s projects, I have a few myself, they never seem to end!

Best
Tom

1 Like

Hey Tom @Sportsracer, no, I didn’t take your input as you trying to sway me. I appreciate all the constructive feedback and and others give, especially since a formula car is completely new territory for me. Keep the info coming please.

Paint Stripping
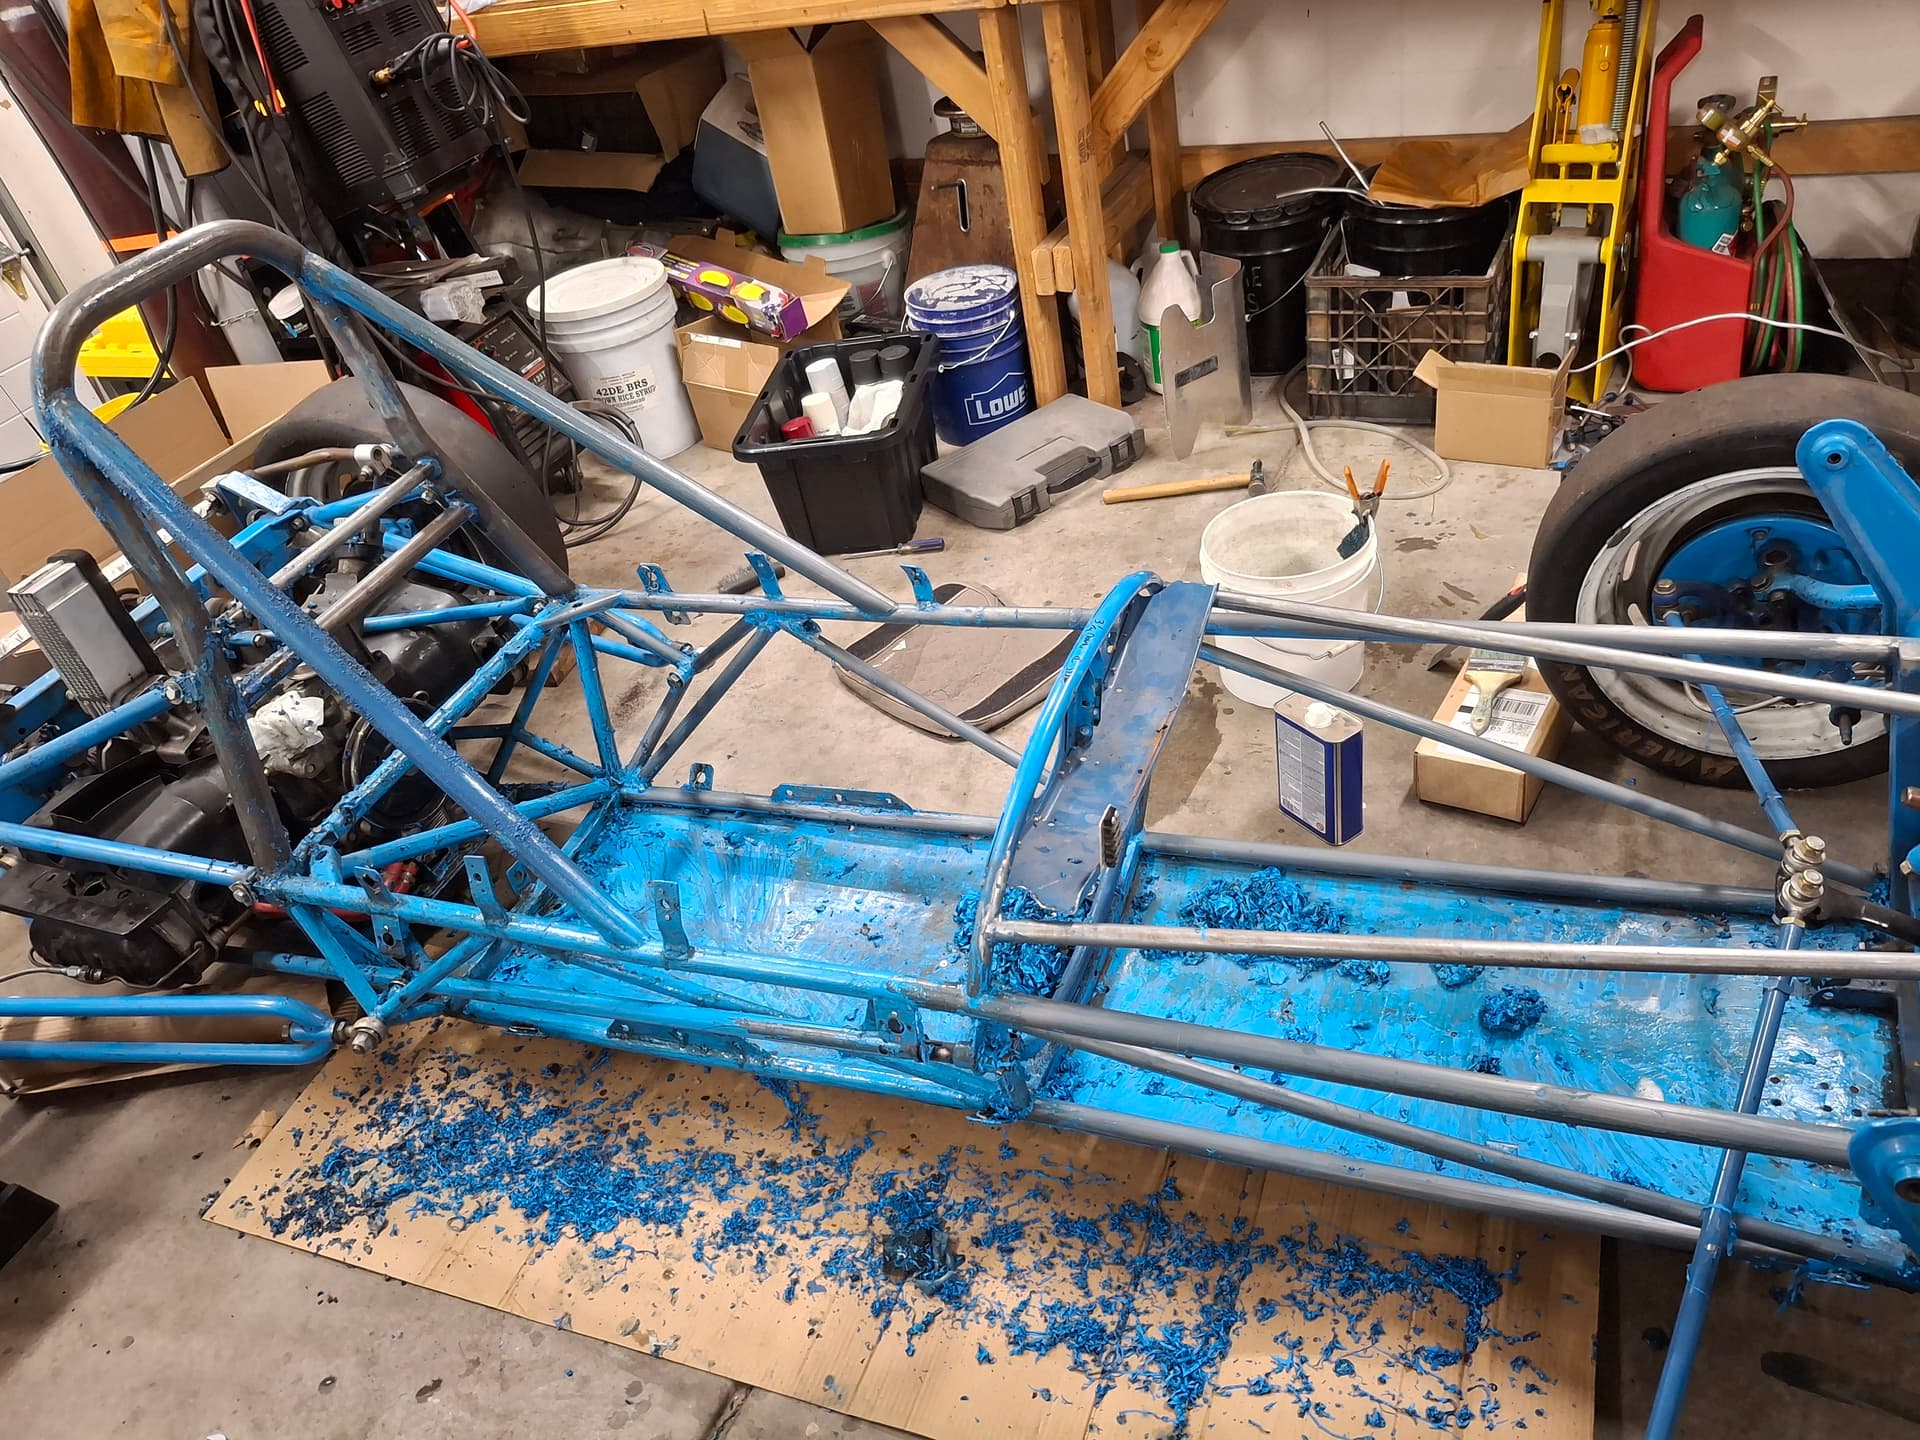
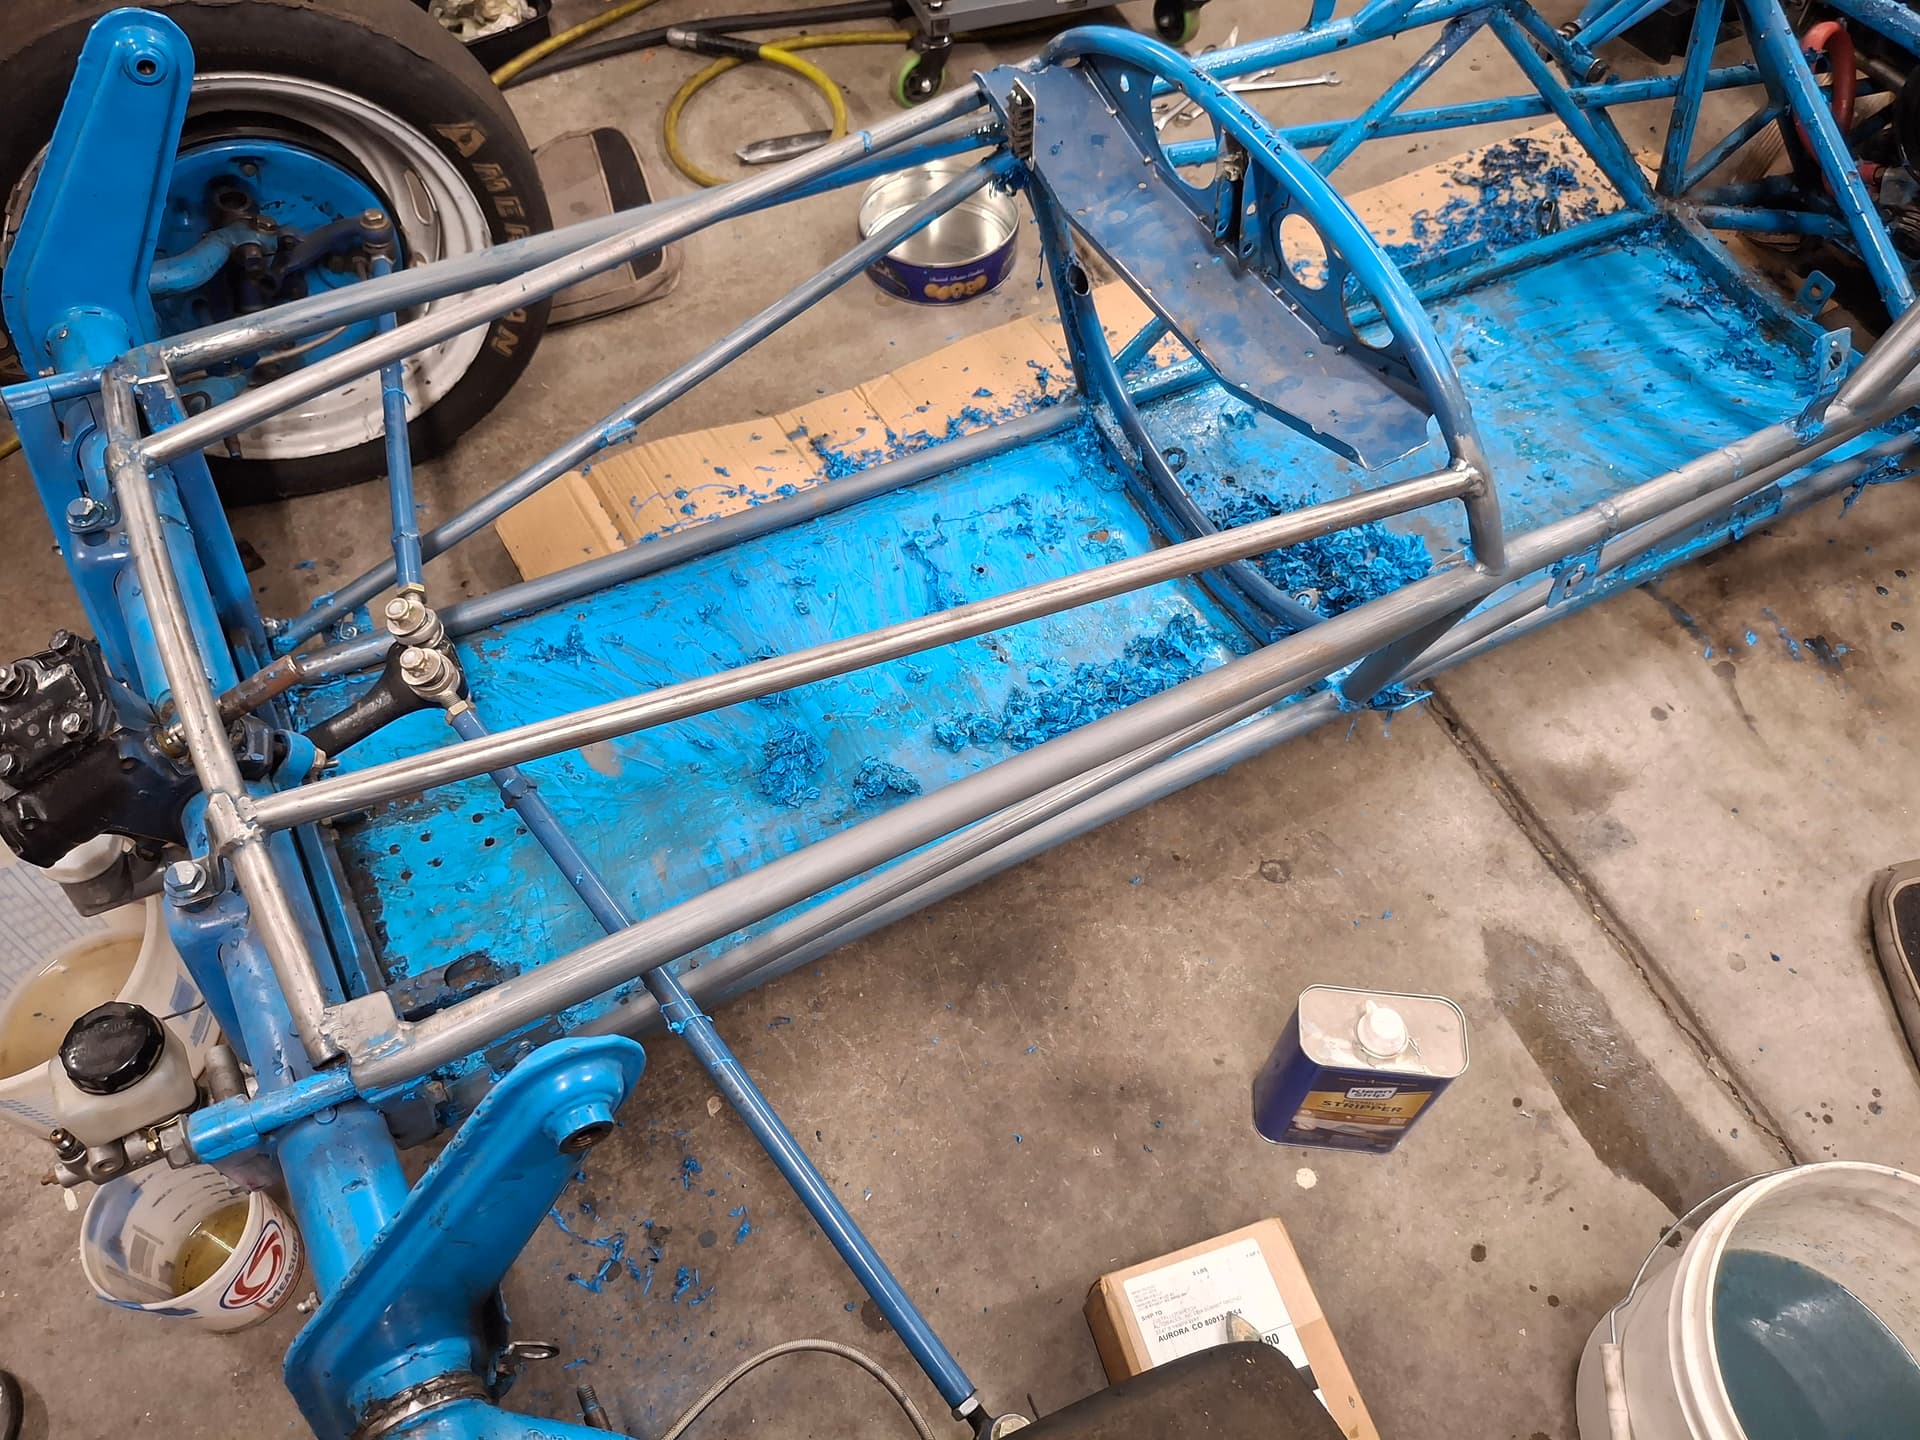
Initially, I looked into having the chassis media blasted. However, the guy I’ve used before who blasts on the side at his property in Parker isn’t responding, and I didn’t like the quotes I got from dedicated blasting shops for such a small job. My alternative was grim, but I decided to give it a shot. From the shelf came the can of paint striper.

What I found is that by coating a section in stripper, soaking it for an hour and recoating it for another 30-minute soak, most of the paint came off with a scraper. It didn’t bubble and peel off like modern enamel, but it scraped off in strips relatively easily. Any residual got another coat of stripper, another 10 minutes of soak, and then a red abrasive pad cleared of paint/stripper gunk in a bucket of water took care of the rest.

The challenges are the tubing joints. A wire wheel attached to my angle grinder will take care of many of them, and those too confined will get another coat of stripper and hand brushing. It’s not like I have to get every single bit of paint off–just enough to inspect for cracks and to clean up for new primer and paint.

The photos below show a good day’s work, but elbow grease now means funds to spend elsewhere. A heck of a lot more work than paying someone to media blast, but I’m a frugal simpleton.

Original Paint
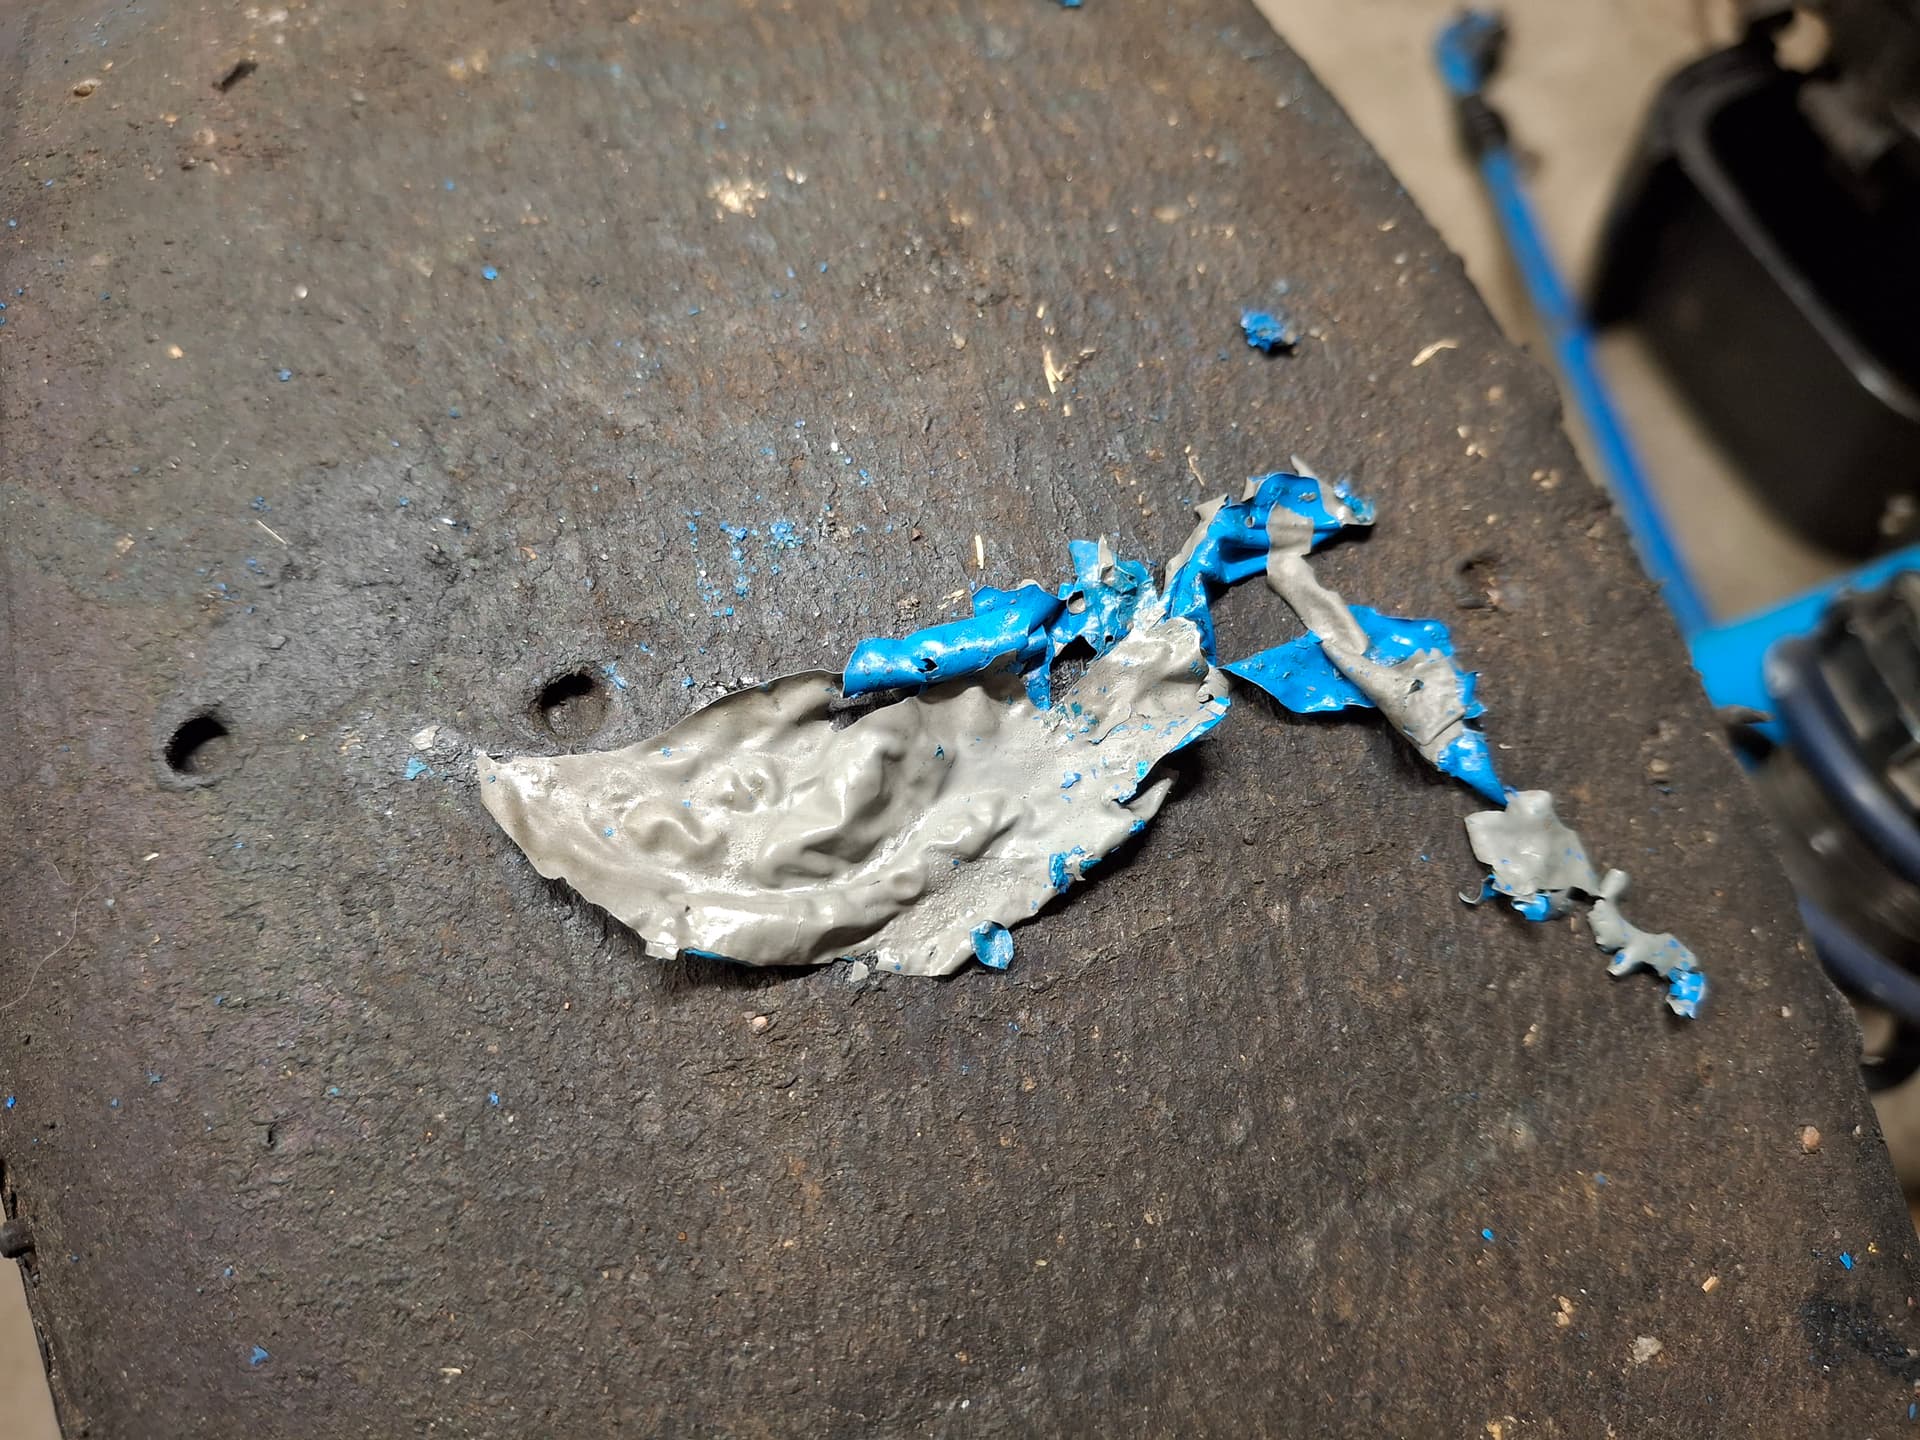
During stripping, I concluded that the chassis was painted twice in its life. The original paint was gloss medium gray, and the second coat is the bright blue. The chassis has never been media blasted because I found the original milling text painted on sections of tubing.

Old Structural Modifications
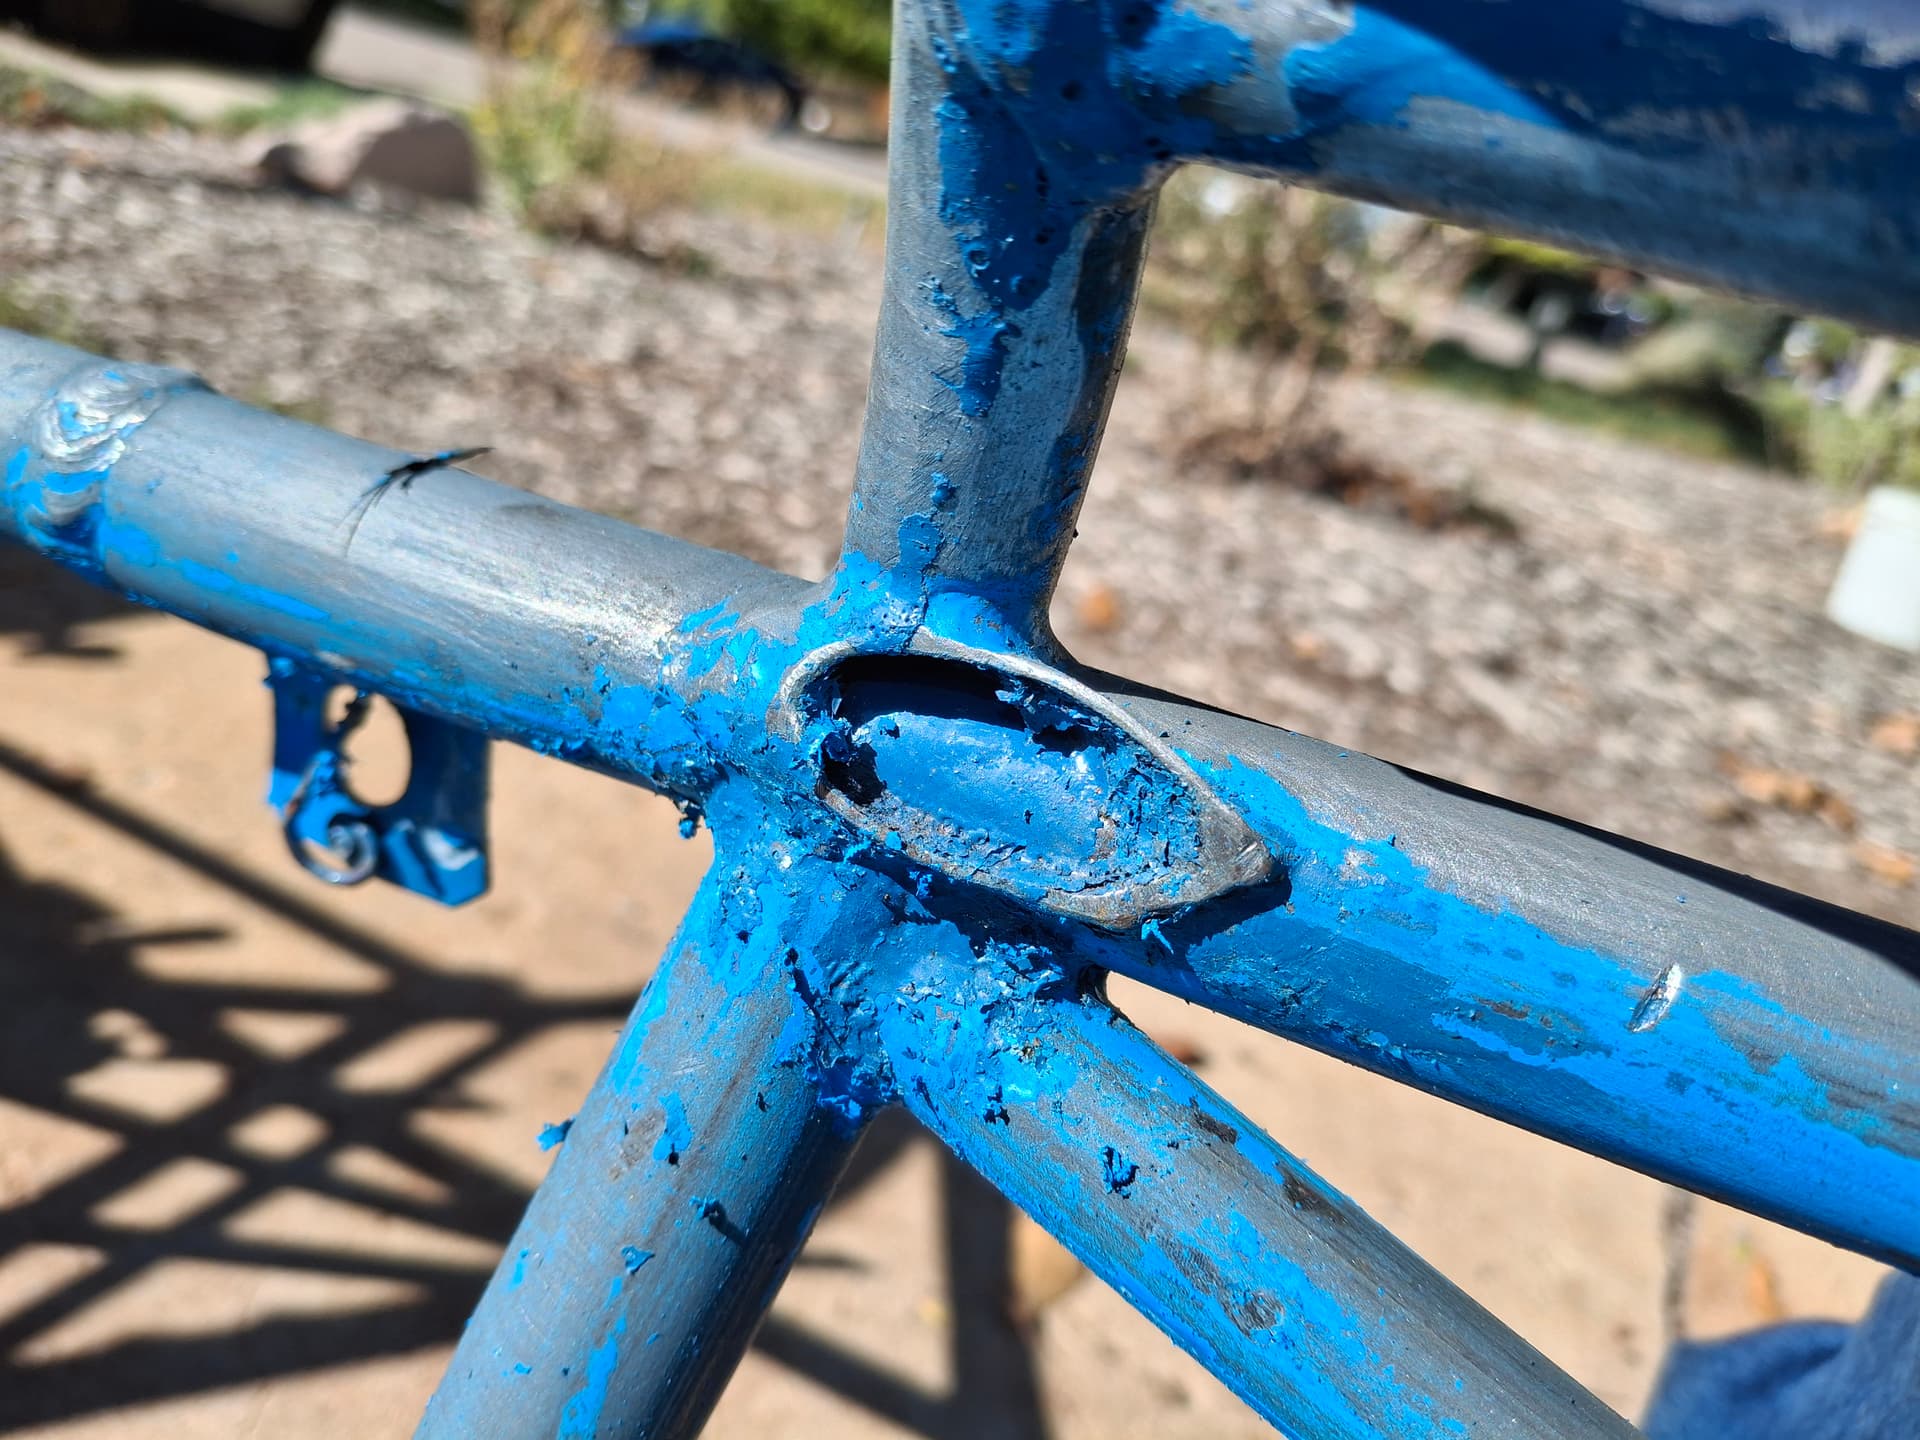
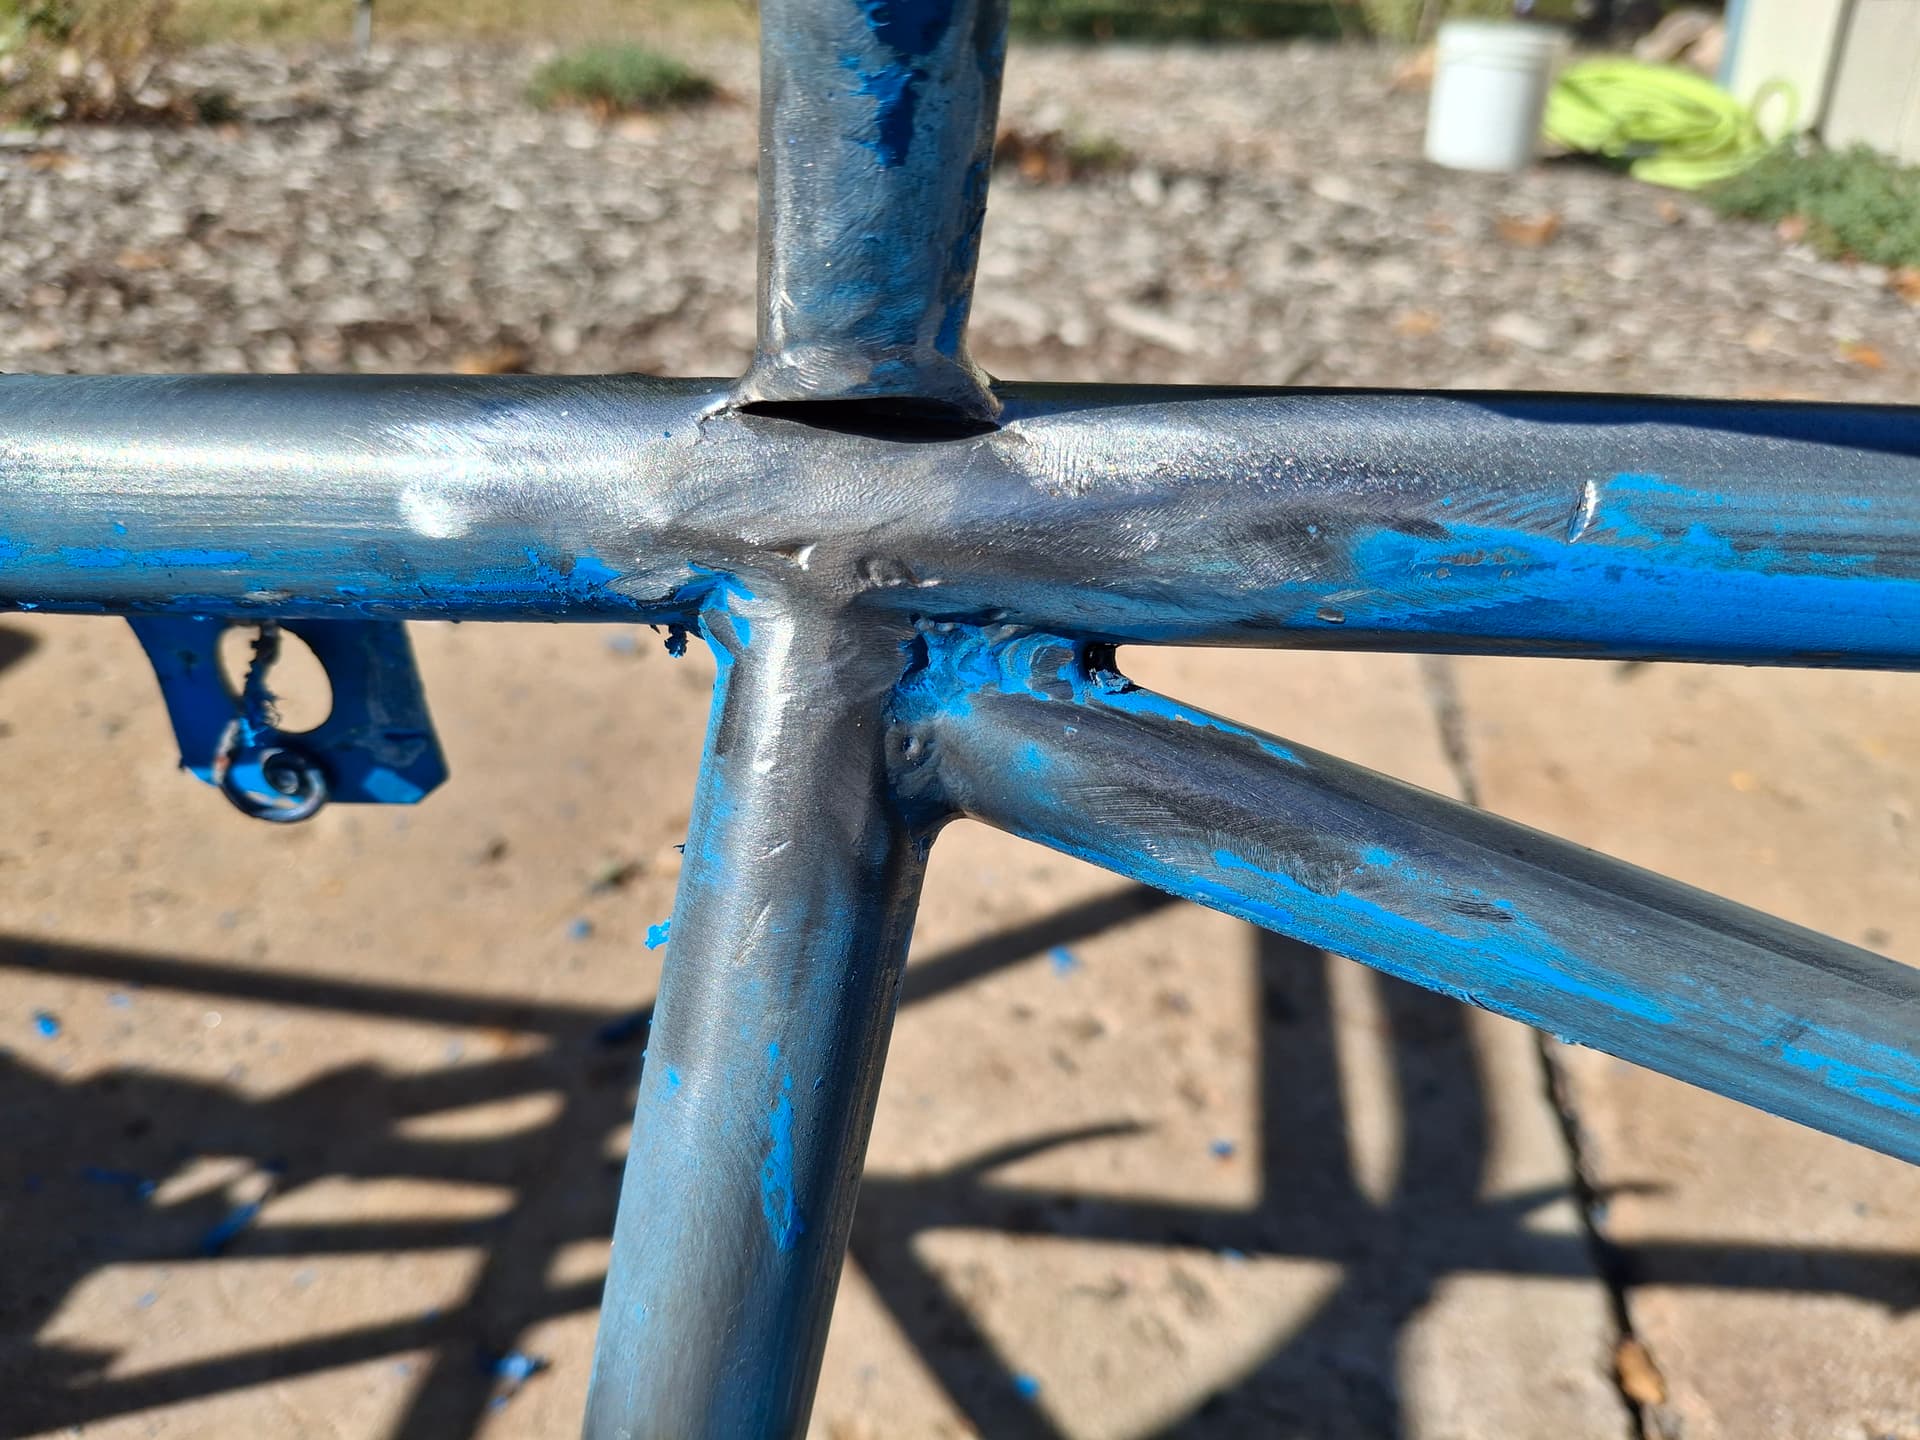
Throughout the car’s life, sections of the original support tubing have been removed for more driver room. In doing so, some unintended structural weaknesses were introduced due to incomplete welds. A four-tube joint at the sides of the driver had one forward tube removed and the fragment left, and there was also an old repair to the left joint that ground into some of the tubes, weakening them. After I used a flap disc and die grinder to carefully remove the fragment, I found that a 3/8" long side of one of the remaining tubes was unwelded. In many cases with chassis and roll cage fabrication, you fit all the joints, tack them, and then weld them together versus welding one tube 360°, fitting the next tube, welding, fitting the next tube, etc. Fitting and welding everything at once drastically reduces warping. So when four tubes are fitted, the exterior walls are welded, but the interior are not. Remove one of those tubes, and you remove the weld from one side, which is what happened here. I will complete this weld now that the fragment is out of the way.

Another joint with the same issue but amplified was the dashboard crossmember. When the forward tubes were removed, a large gap opened, and this is exactly where the dash crossmember cracked all the way around the remaining connection. I surmise that without support on the inside, the dash crossmember was allowed to flex back and forth until it work hardened and cracked.

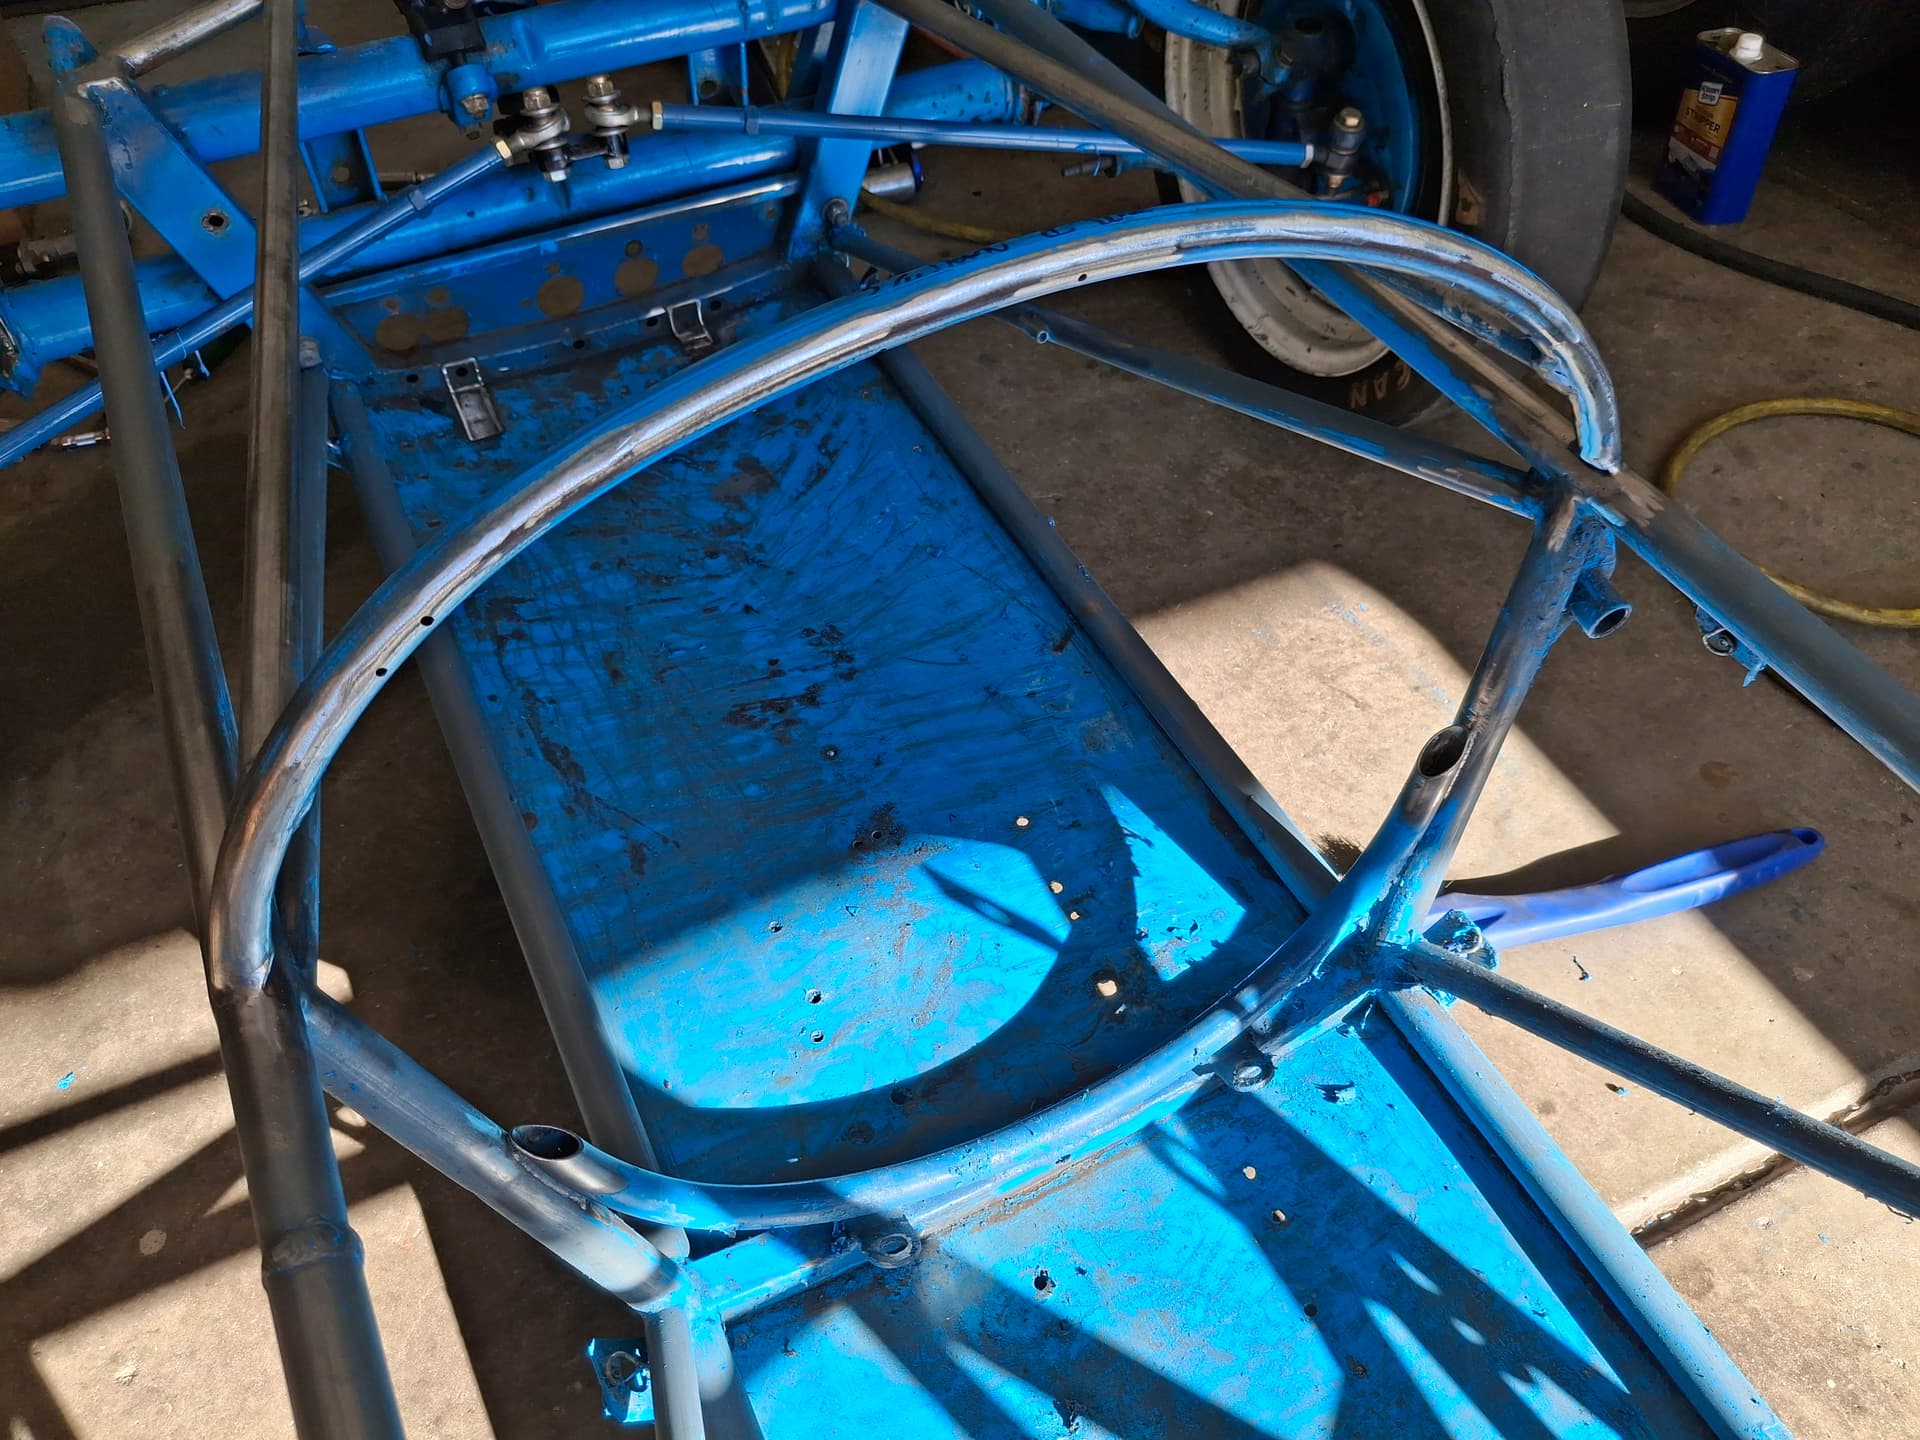
Unique to the Mark 5C not seen on the 5 and 5B chassis that I have found photos of, Beach added a hoop at the dashboard that went around the driver’s legs either for structural support or possibly driver protection. An old photo I found of this actual care shows the original hoop, dash, and those side forward tubes before they were cut out or modified. The cuts left the lower half of the hoop open ends. I debated simply removing the entire half hoop, but it makes for good gusseting, so I’m going to weld up the ends to address the sharp edges and stop debris from entering the tube.

Next up will be addressing these welding and a gusset plan to better support the dash crossmember.

Post Alert:
@jonUU
@Sportsracer
@Datsun78
@Bob_Alder
@Rich
@Nick_H
@jackson_prime101
@Raybob9289
@GeorgeCurl
@dreimol

Justin, I wonder if there’s a Beach owners group on FB or elsewhere. Original blue prints or knowledgeable past owners would be invaluable at this point. Especially if the collective brain trust has info on updates and proven modifications. I know there is a strong Vee group within RMVR, I would guess someone should gave joined in this discussion if they had any such info. But someone who knows someone may lead to the this type of info which would make updates more prudent.

With your welding skill there shouldn’t be any issue with getting the chassis tidied up. I’m guessing you’ve already tried or at least own some of Jody’s diffuser style cups for your tig torch. They allow an insane amount of stick out so you can get into some of those tight spots on the chassis.

Cant wait to see this on track next season. Take lots of pics and share.

Best
Tom

1 Like